Right on time for the Blitz Constructed Skirmish Season 4 event series which runs March 26-April 17 worldwide, this three part Hero Showcase series zooms in closer on six young heroes who received Specializations for the first time, or made their first appearance as a hero with the release of Everfest.
We'll get up close and personal with Valda, Kayo, Data Doll, Benji, Kassai and Iyslander over the next three weeks and check out some key cards, lines of play, hero background and of course, decklists.
Whether you're just getting started and looking for the perfect Blitz hero for you, wanting to fine tune your strategies for Armories, Skirmishes, Battle Hardeneds or Callings, or find yourself anywhere in between, take a second to get to know some of the young heroes of Rathe a bit better, this Skirmish Season.

Valda Brightaxe
'Twas said that she showed up at the doors of the tavern one hot afternoon, another lost and wayward child that had stumbled upon Korshem (as so many do) through some strange turn of events. She had naught but the clothes on her back, and a small tag upon her personnage inscribed with indiscernible characters and a symbol that vaguely resembled an axe. With nowhere to go, she was taken in by the aging Innkeeper, and raised as his own. He tried to teach her the way of the Braumeisters, but she wasn’t much interested. She’s too impatient, her temper too fiery to bother with all the delicate processes that lead to the richest of flavours.
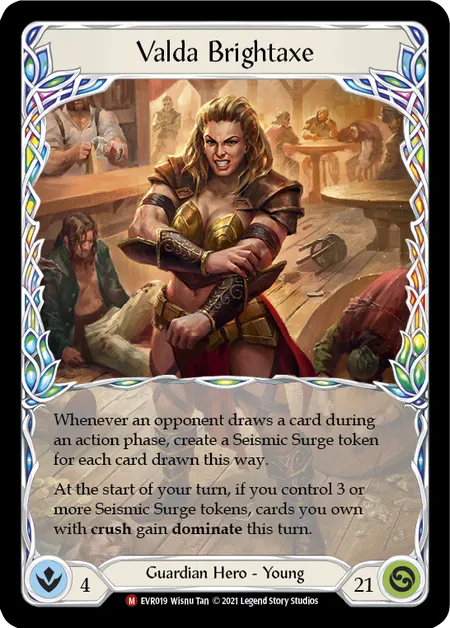
Valda Brightaxe
Key cards:
- Seismic Stir
- Earthlore Bounty
- This Round's on Me- in combination with either Blessing Of Deliverance or Tome of Fyendal.
- Pummel
Basic Strategy
This take on Valda- the young Guardian who was first seen way back on the art of Cranial Crush in Welcome to Rathe, could be seen as your basic 'stompy', beatdown style deck. We aim to apply consistent pressure through swinging Anothos or Titan's Fist or throwing massive attacks at the opponent such as Cranial Crush, Chokeslam and the paralyzing Spinal Crush while having turns off from attacking where we create our Seismic Surges to reduce the costs of said massive attacks and setup an earth shaking situation. From there, the plan is to be able to still defend with most of our hand against their assault, playing a strong "defend with two to three cards and swing back with a hammer" strategy and then the payoff- hit them back hard with a large dominated Crush attack on the cheap. Tear Asunder is a fantastic enabler in this dominated Crush attack plan. Whether its effect is applied to a hammer or attack action card, the result is devasatting as not only does your attack gain dominate and +1, but your opponent will have to discard two precious cards of their own if this attack connects!
Cards like Pummel and Blessing Of Deliverance help fuel our big comebacks for when our opponents slip up and are unable to pressure us back after our setup turns. Pummel not only provides you with an attack buff, but also the threat of yet another discard effect for your opponent when this attack reaction hits your them when played on an attack action, bringing you back from the brink of disaster. Pummel's mere existence alone will have opponents trembling in their boots and playing like you always have it!
Blessing of Deliverance is another useful tool when biding your time and setting things up. Not only does the extra life gained help you buy time to do what you need to do, it also draws you a card and in a deck with so many blue strips, those three extra resource points really can go a long way. Then if we really wanna go even bigger than that, Mage Master Boots in combination with Tome of Fyendal will pull you right ahead in the game with an abundance of both life and no doubt the resources to pull off something truly spectacular.
Shatter the earth and your opponents' defenses as you take over the tavern and stir things up.

Seismic Stir
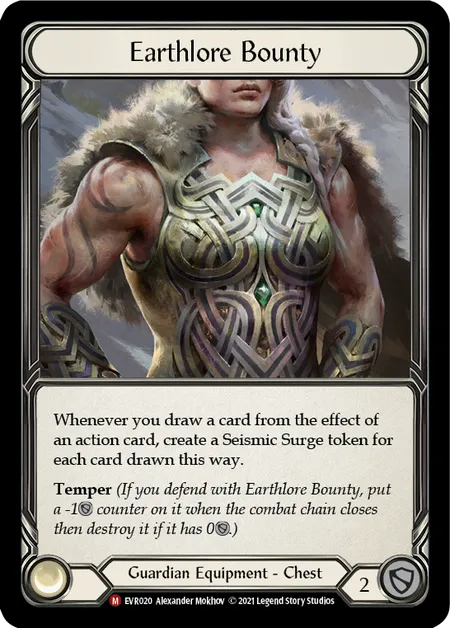
Earthlore Bounty
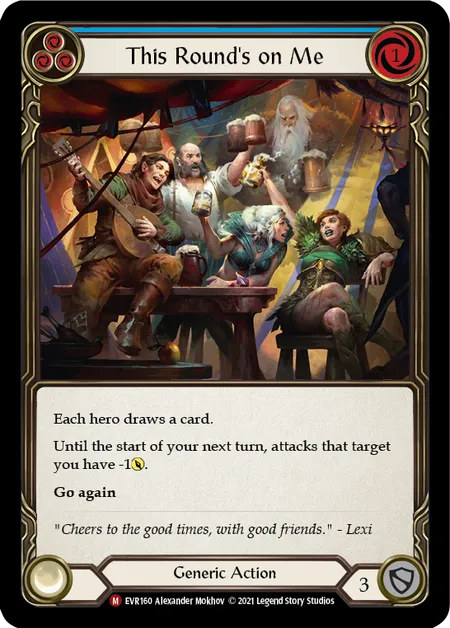
This Round's on Me
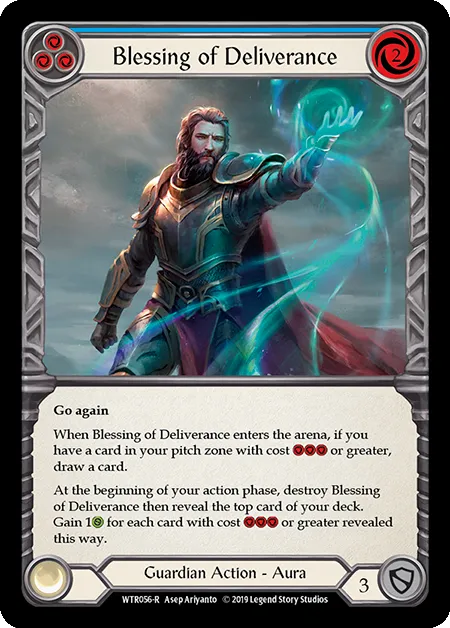
Blessing of Deliverance
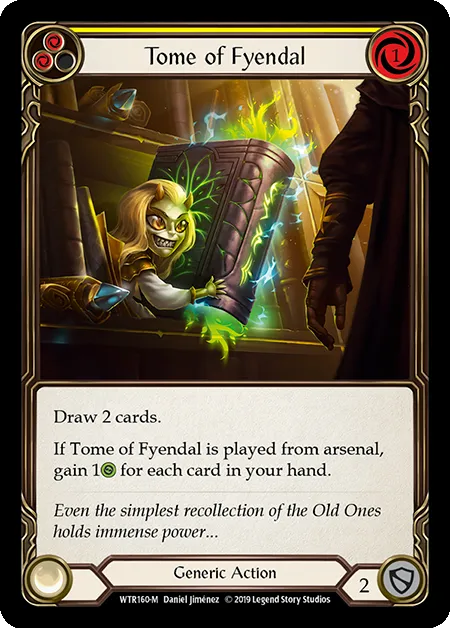
Tome of Fyendal

Pummel
Kayo, Berserker Runt
As a cub, Kayo was born small and slow; a death sentence within the jungles of the Savage Lands. In his struggle to survive, he wandered further and further to the east, trying in vain to escape the predators that stalked him through the trees. However, as time passed, instinct took over, bloodlust driving him to challenge beasts three times his size. What Kayo lacks in size and strength, he makes up for with sheer ferocity, tearing his prey apart piece by bloody piece.
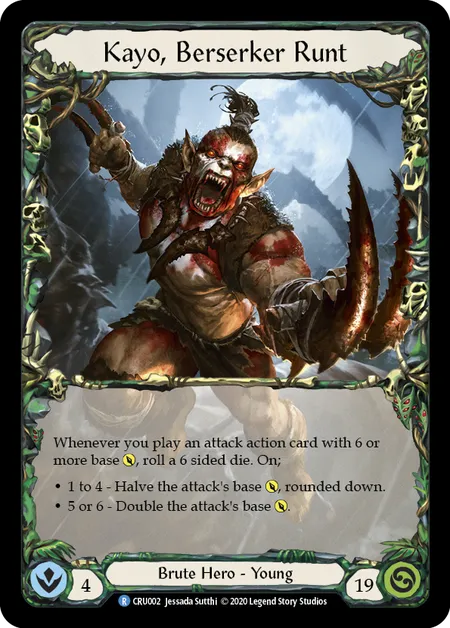
Kayo, Berserker Runt
Key cards:
- Ready to Roll
- Tear Limb from Limb
- Rolling Thunder
- Bloodrush Bellow
Basic Strategy
This build of Kayo is a combo midrange deck. What this means is if we see an opportunity to combo we go for it, otherwise we spend the rest of the game pressuring our opponent with 6 power attack actions and trying to defend as well as possible. Our KO combo can appear in a few different forms, but the knockout part is one tenet of this deck that stays the same. Intimidation is key when going for the game ending One Turn Kill. Your OTK might consist of Tear Limb from Limb, any number of Barraging Beatdown, Kayo's new Specialization- Ready to Roll, Rolling Thunder and some carefully manipulated dice rolls.
Kayo's hero ability either says you halve or double your attack action's base attack so, your OTK will have some parts "make sure you roll a five or six", some Rolling Thunder for extra power, a little bit of Tear Limb from Limb to become juiced to the gills and lay the opponent out for the count and a few plans within plans for when luck isn't quite on your side. Gambler's Gloves will give you another chance at rolling high and Ready to Roll will ensure your chances are plentiful for any and all die rolls that turn.
Kayo's hero power plus Tear Limb from Limb is an interesting interaction. When the TLFL effect is in place, and you play a 6+ power card, the value of X is determined immediately, and applied as a modification to the card. Then when Kayo's triggered layer resolves, it modifies the base power of the card, but doesn't change the +X{p} value for the TLFL effect. This means a card with 6 power can turn into either 9 (3 base + 6) or 18 (12 base + 6).
This was changed in CR1.4 and carried over into CR2.0
Energy Potion and Reckless Swing can help you get things set up for a huge turn or buy you precious time while slowly whittling away at the enemy's life total. With a tear Limb from Limb on a Ready to Roll turn we can push truly thunderous levels of damage! Patience is key and luck is an always welcome visitor.
When we are not ready to roll with the thunder, we are playing more of a traditional Brute game plan. Slow and steady wins the race with this little mongrel. Defend with two to three cards, chip away with a range of two cost, six power attack actions and wait for the perfect moment to KO anyone who steps up. The aim is to continue applying pressure with intimidate triggers and attack actions, as well as an occasional spicy Bloodrush Bellow-Mandible Claw mauling, while we wait for our prey to stumble and the runt to become pick of the litter.
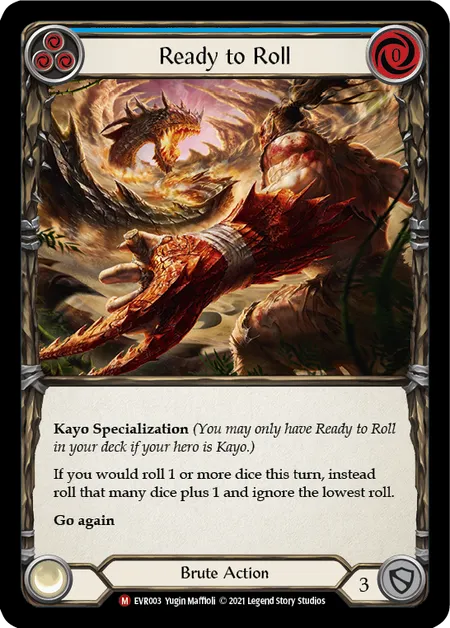
Ready to Roll
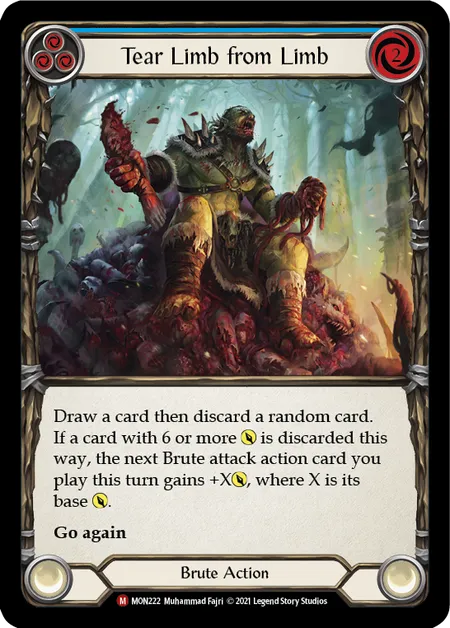
Tear Limb From Limb
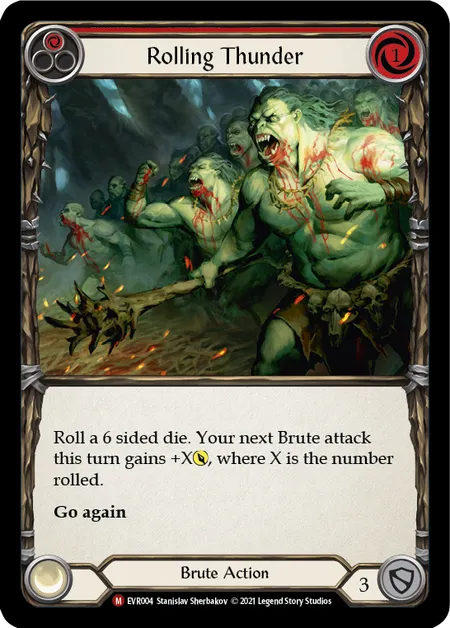
Rolling Thunder
