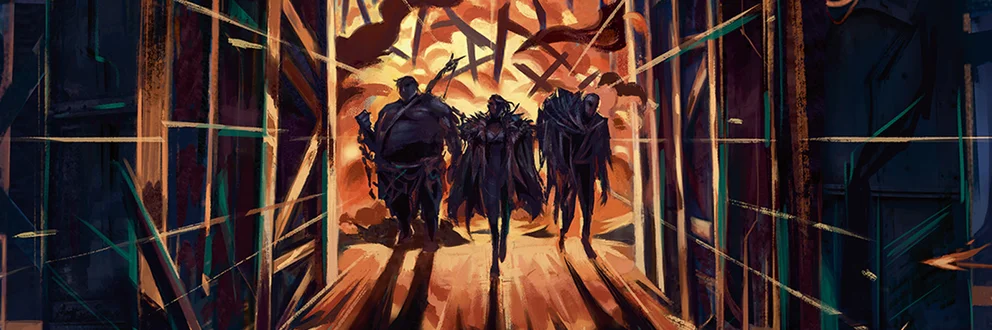
The Pits is a dark and dangerous place, full of treachery, back-stabbers, and wrong turns.
As you venture down into the depths, the keys to survival are careful planning, quick thinking, and artful bluffing.
With so many new heroes, cards, and strategies to explore, this primer will give you the tools you need to navigate the underworld and hopefully make it out alive.
The Right Tools for the Job
In Outsiders, the name of the game is synergy.
With hybrid cards that can be utilised by multiple classes, generics that cover a broad range of effects relevant to each hero, and the varying levels of pitch, cost, and power - you’ll be looking to craft a deck from your pool that contains as many cards as possible that work well with each other and also with your particular hero ability and equipment.
Before you dive into deckbuilding, it’s useful to consider what kind of strategies you enjoy and feel most comfortable with.
Outsiders rewards sharp tactile gameplay and careful decision making, so playing a strategy that’s familiar to you may free up more thinking space for those critical in-game decisions.
Do you enjoy going wide and aggressively hitting your opponent in the face like Arakni and Benji? Do you prefer patiently blocking and efficiently disrupting your opponent like Uzuri and Riptide? Would you rather take time setting up devastating combo turns that leave your opponent in ruins like Katsu and Azalea?
There are many intricacies between these heroes, and it can be tricky settling on the right choice, so we’ll go through them one at a time to explore how they each benefit from the cards available, and what you can do to put yourself ahead of the pack and bring the best gameplan to the table.
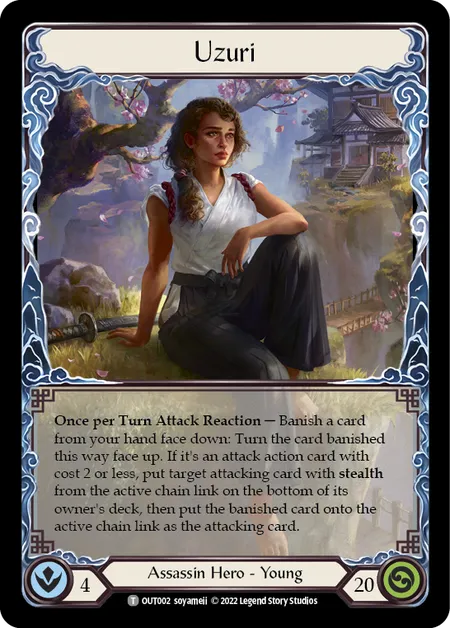
Uzuri
Uzuri is all about keeping your opponents guessing until just the right moment.
Uzuri
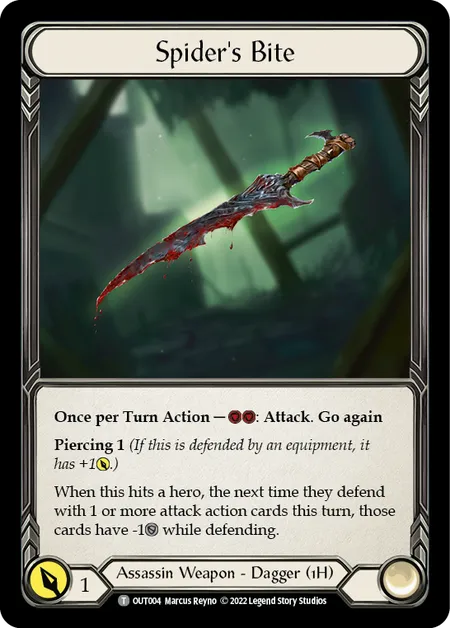
Spider's Bite
Spider's Bite
Her ability may seem a bit dense at first but once you’ve activated it a few times it will feel like second nature.
To simplify the effect, you attack the opposing hero with a card that has stealth. Then once the opposing hero has declared blocks you move to the reaction step.
This is where you can swap the attacking stealth card with one in your hand, placing the original card on the bottom of your deck.
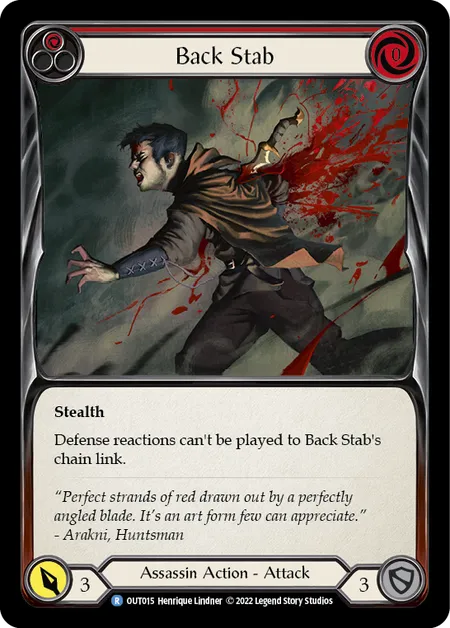
Back Stab
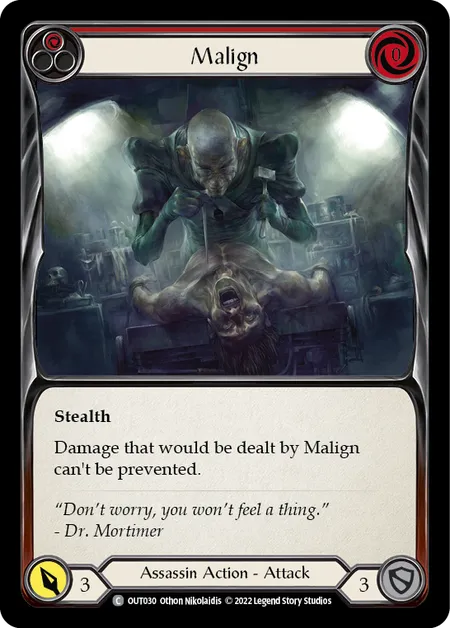
Malign
Because you’re not technically playing the new card, you don’t have to pay its resource cost, or heed any playing restrictions.
This means Uzuri is more flexible when it comes to pitching, and benefits from lots of high power cards that she can cheat onto the combat chain.
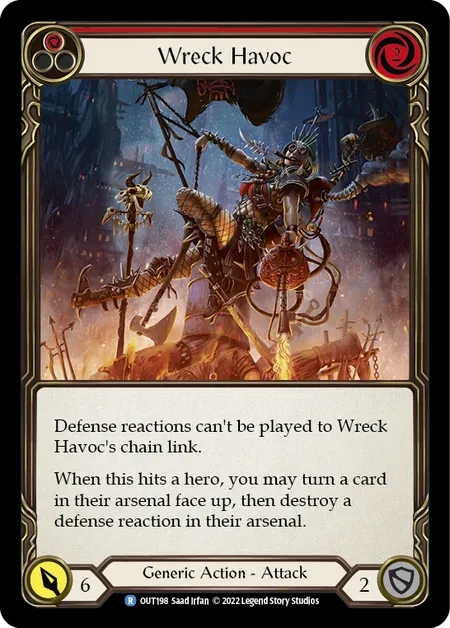
Wreck Havoc

Death Touch

Sneak Attack
If the opposing hero is frightened of the unknown and they decide to overblock your attack, you can just arsenal the card you were planning to tag in and play it next turn.
Having a good poker face is key to keeping your opponent in the dark, then punishing them for making the wrong call.
One of the key cards you’ll want to keep an eye out for is Isolate, which restricts your opponent’s blocking before you tag in your big threat.
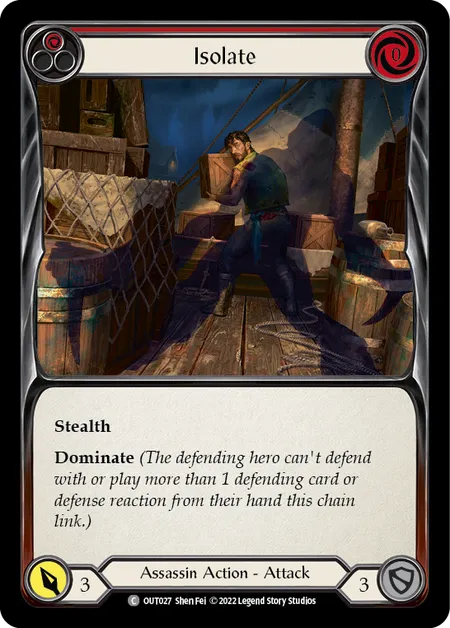
Isolate
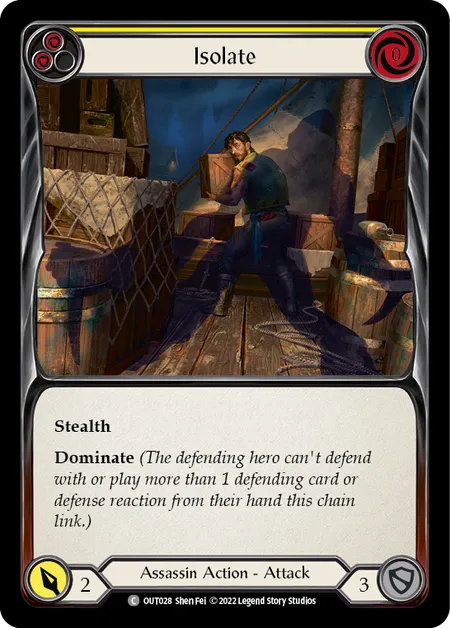
Isolate
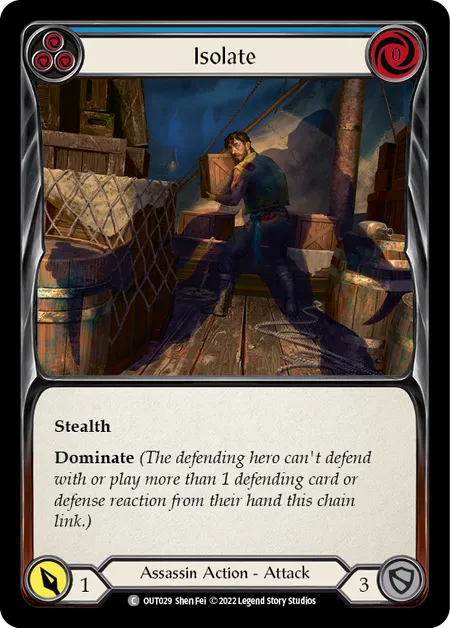
Isolate
When building Uzuri, you’ll mostly be looking for cards with stealth in any colour, in order to trigger her ability. Likewise, you’ll want to stock up on big payoff cards that you can tag in.
When playing Uzuri, you’ll want to be making good use of the high block values of the assassin cards, and playing smaller turns that chip damage and disrupt your opponent.
Arakni, Solitary Confinement
This new version of Arakni sadistically stretches his opponent’s defenses thin, stinging them with multiple attacks backed by lethal reactions.
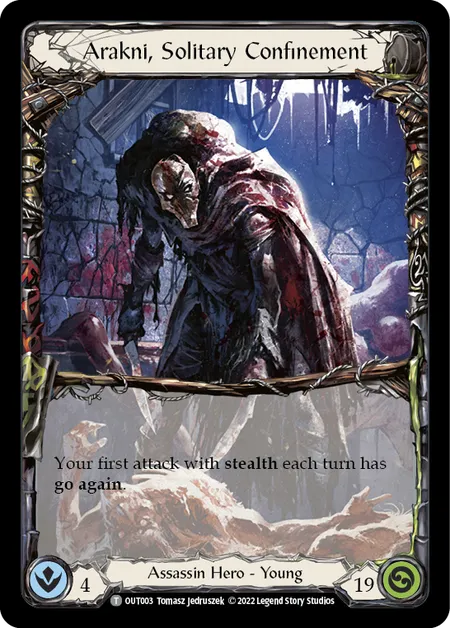
Arakni, Solitary Confinement
Spider's Bite
Spider's Bite
The built in go again on Arakni allows you to pressure your opponent with multiple on-hit triggers per turn.
This non-stop aggression will strip the opposing hero of cards, which lets you play bigger hands to afford dagger swings that will reduce your opponent’s blocking capabilities further.
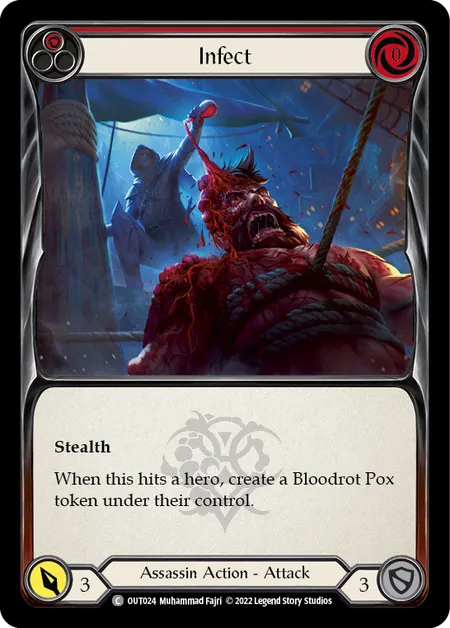
Infect
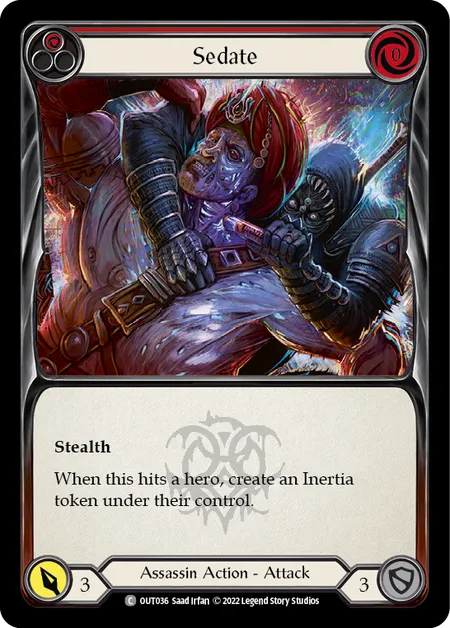
Sedate

Wither
On top of this, you can use the many assassin attack reactions to force hits through, or create an extra on-hit trigger that your opponent wasn’t expecting.
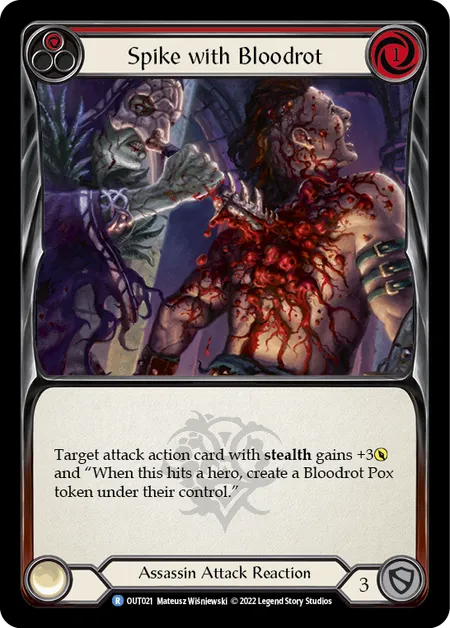
Spike with Bloodrot
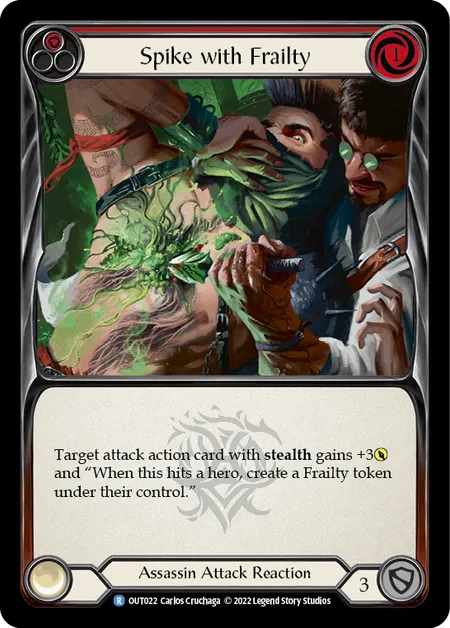
Spike with Frailty
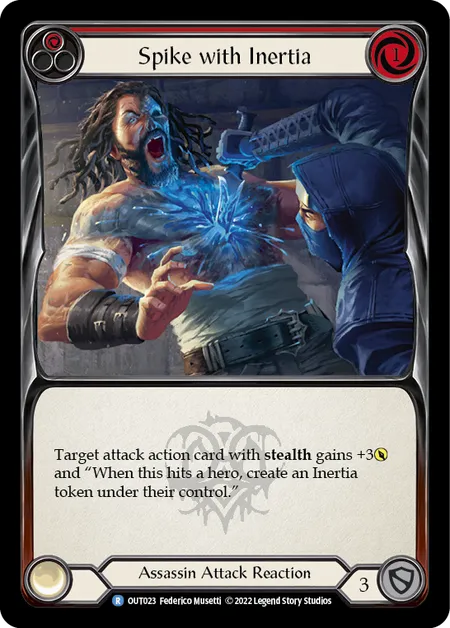
Spike with Inertia
Key cards to look out for are Prowl, which will help you reach breakpoints that can be annoying to block, and Razor’s Edge, which enables efficient 0 pitch turns.
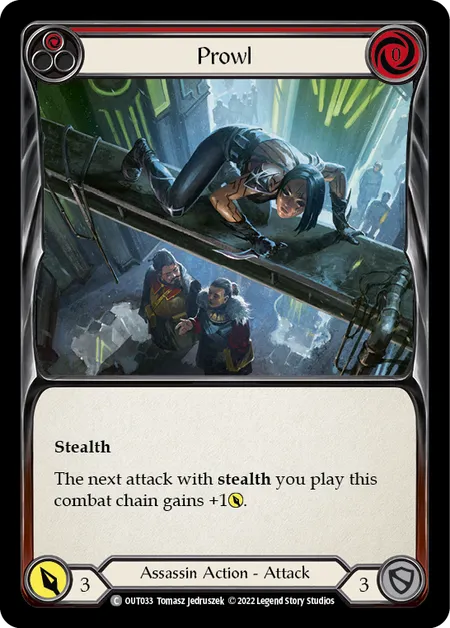
Prowl
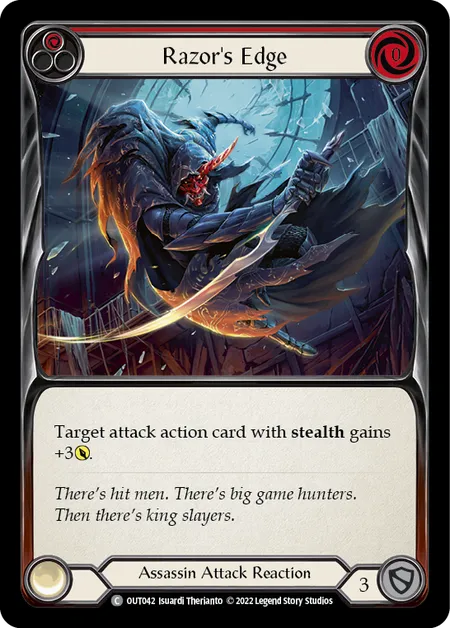
Razor's Edge
When building Arakni, you’ll be looking for a good mix of stealth attacks with on-hit triggers, as well as several attack reactions to back them up. It’s important to have a mix of red cards that will deal damage over your opponent’s blocks, and blue cards to afford dagger swings.
When playing Arakni, you’ll want to assess each hand as they come and decide if it’s time to swing with everything you’ve got, or if you should block and play a quieter turn.
Katsu
Katsu keeps his opponents on the back foot with wide combat chains, always looking to set up the monster combo that seals the deal.

Katsu
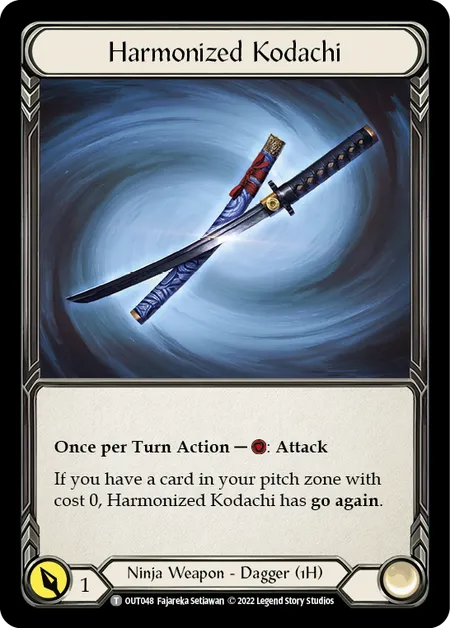
Harmonized Kodachi
Harmonized Kodachi
Katsu is a familiar face, with a playstyle that many players will be used to.
But Katsu is a long way from home and will need to adapt in order to overcome the new threats lurking in the shadows.
Katsu is at his best when he’s combining strings of combo cards, gaining extra value with each attack to overwhelm the opponent.
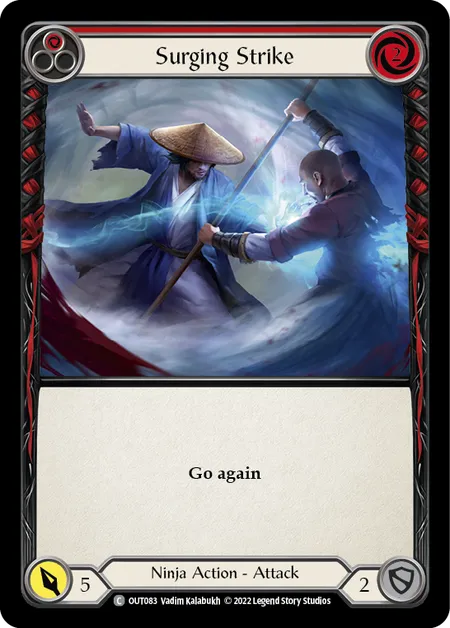
Surging Strike
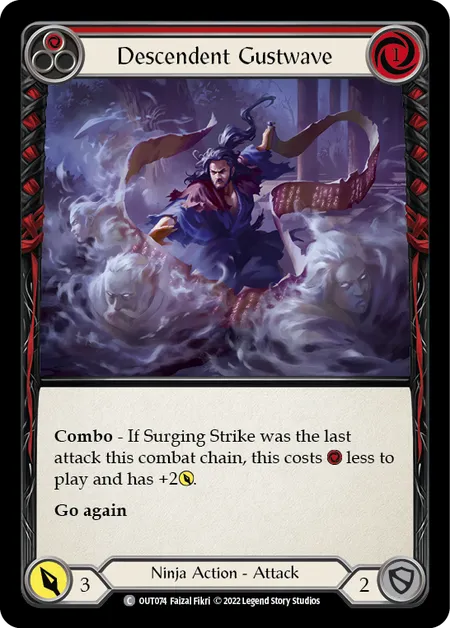
Descendent Gustwave
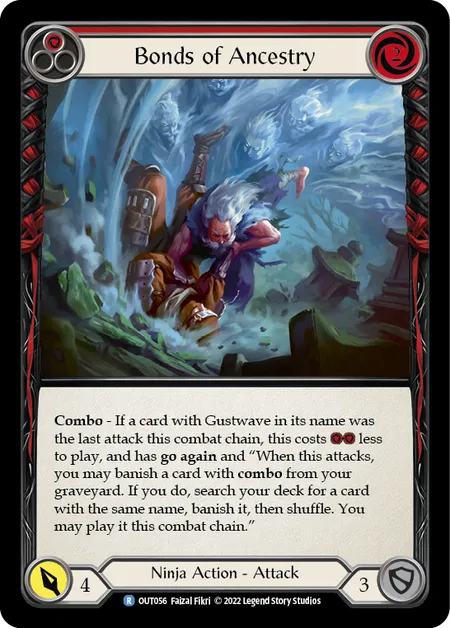
Bonds of Ancestry
Consistency isn’t always on your side, so having access to starter cards with natural go again is super crucial to building long combat chains so that you can keep your opponent at bay until the window to combo appears.

Twin Twisters
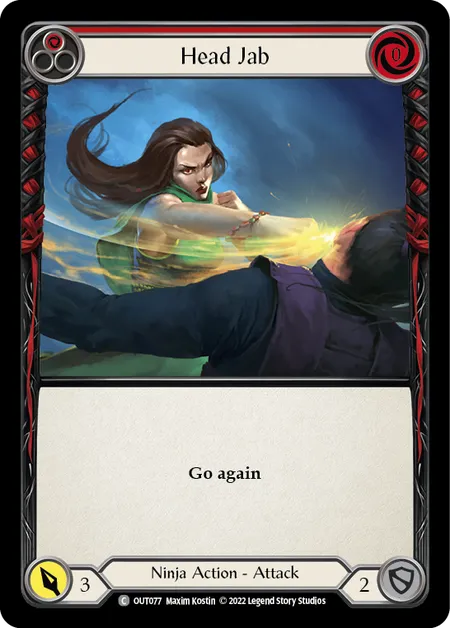
Head Jab

Spinning Wheel Kick
Key cards to look out for are name-changers, which allow you to substitute combo pieces and avoid missing a critical opportunity.
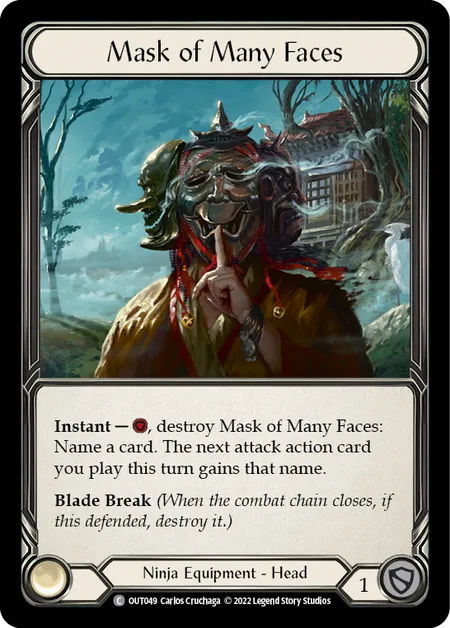
Mask of Many Faces

Be Like Water
When building Katsu, you’ll want to have lots of starters, a few complete combo lines, and lots of 0 cost cards that you can discard for Katsu’s ability, or pitch to attack with Harmonized Kodachis.
When playing Katsu, you’ll be mostly pitching one card each turn to swing with your daggers and other attacks while looking for opportunities to arsenal combo pieces to set up massive turns to blow your opponent sky high.
Benji, the Piercing Wind
Benji is a nimble young menace, delivering death by a thousand cuts.
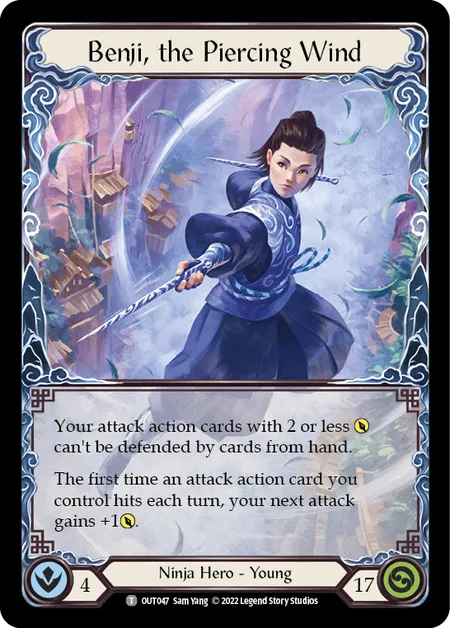
Benji, the Piercing Wind
Harmonized Kodachi
Harmonized Kodachi
Benji is less focused on creating combo lines, and more centred on chip damage, as well as making the best out of the free damage bonus from his hero ability.
Benji has a lower life total because he can leak damage a lot easier, which gives him an advantage going first and also in the late game.
If your pool contains many lower power cards that would normally be detrimental to other heroes you may want to consider Benji to maximise on value.
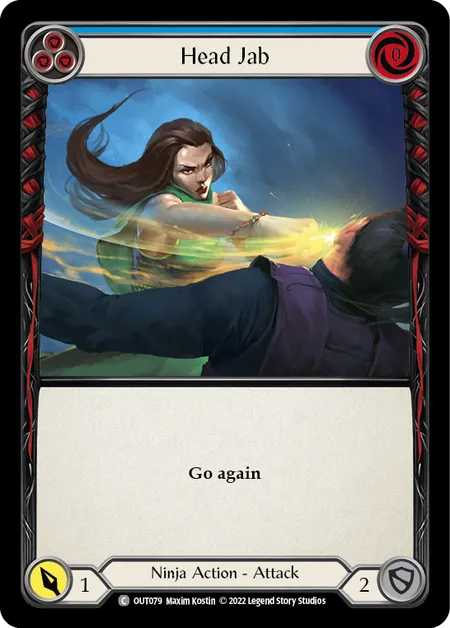
Head Jab
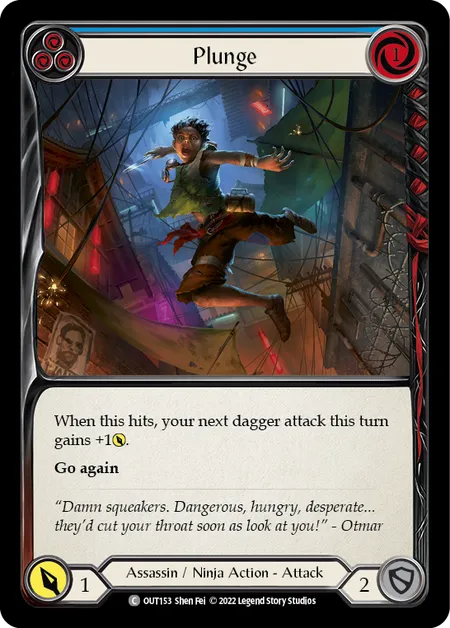
Plunge
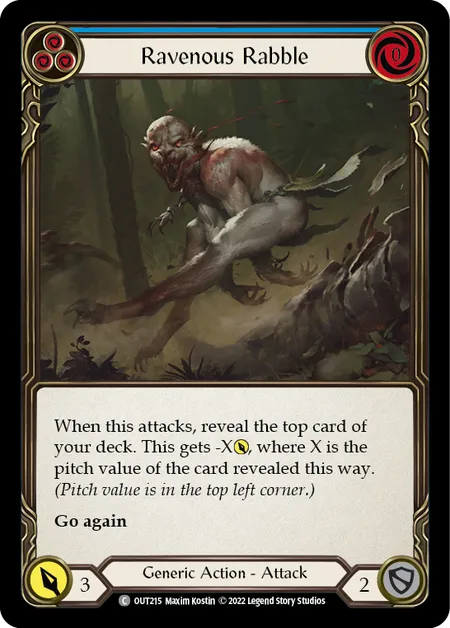
Ravenous Rabble
Because you’re running more blue and yellow cards, you have a surplus of pitch at your disposal, which allows you to benefit from generic big hitters, playing them with an extra +1 power after you’ve hit with a small hitter.
It’s important to note that if you increase a card’s power above 2, then the opponent will be able to block, so be careful about adding attack reactions to boost a card’s power if you suspect they are packing a defense reaction in hand.
Benji’s hero ability is incredibly versatile, and with various ways to increase power, you’ll find many ways to stack the bonuses and come in harder than your opponent is expecting.
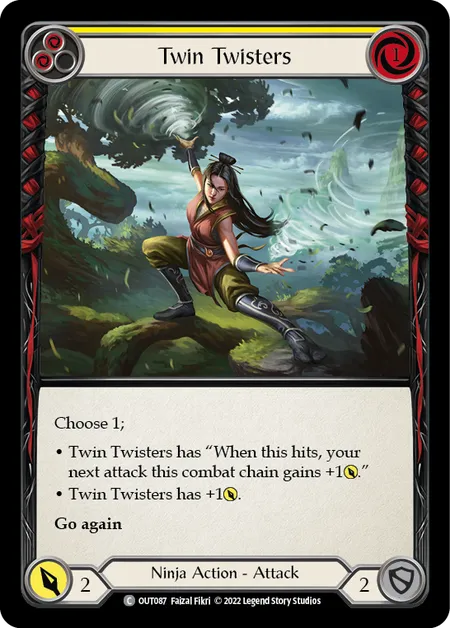
Twin Twisters
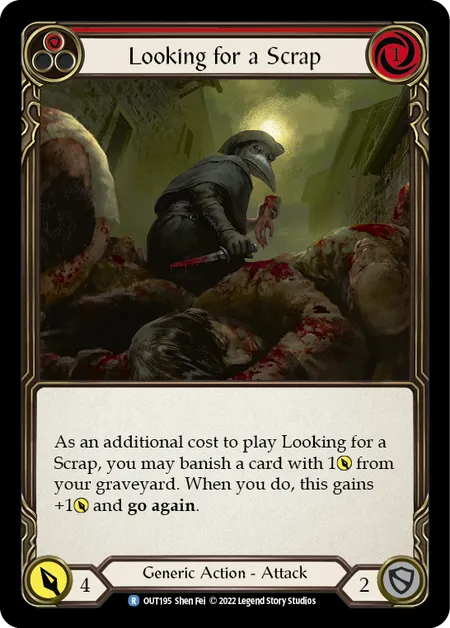
Looking for a Scrap
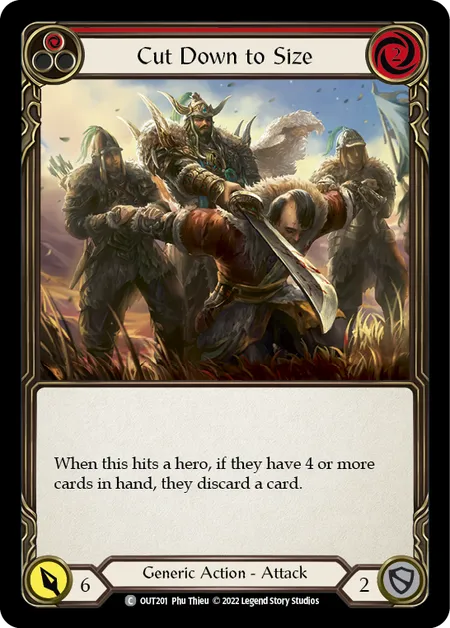
Cut Down to Size
Some key cards to look out for in blue and yellow are Deadly Duo, which synergizes well with Benji’s ability, and some of the cards that combo off the back of Head Jab.
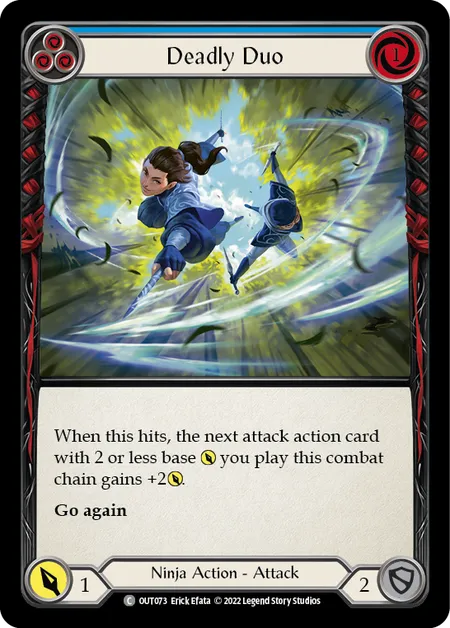
Deadly Duo
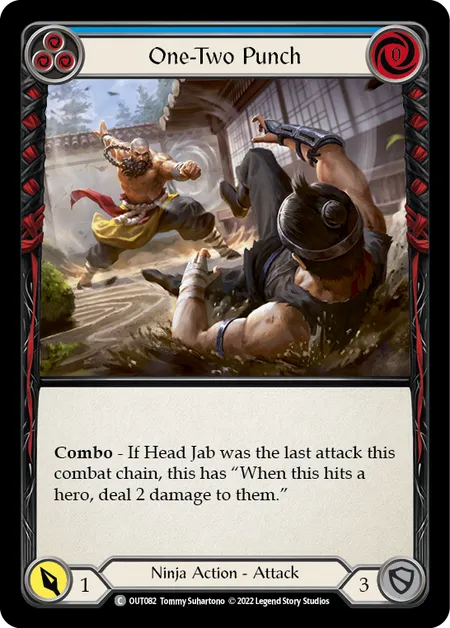
One-Two Punch
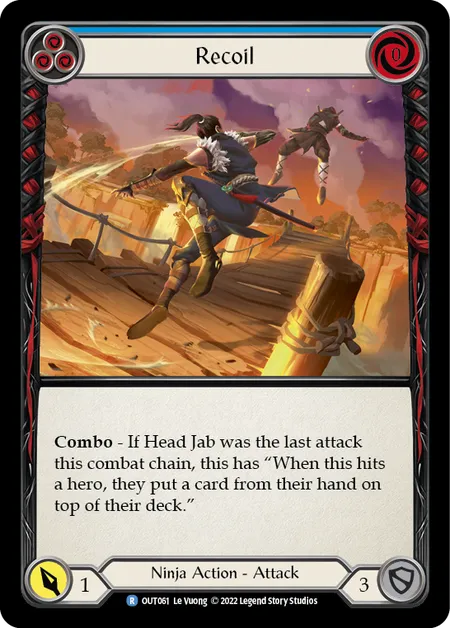
Recoil
When building Benji you’ll be looking for anything that has 2 or less power, as well as cards that can benefit from the power bonus. You’ll also want a decent number of 0 cost cards to pitch for your daggers.
When playing Benji, you’ll be trying to string together multiple attacks that your opponent can’t block from hand, in order to maximise on free damage.
Look for opportunities to close the game out quickly, as your lower life total will mean it’s a race to the bottom.
Azalea
Another old school hero jumping back into the fray, Azalea has returned as a force to be reckoned with.

Azalea
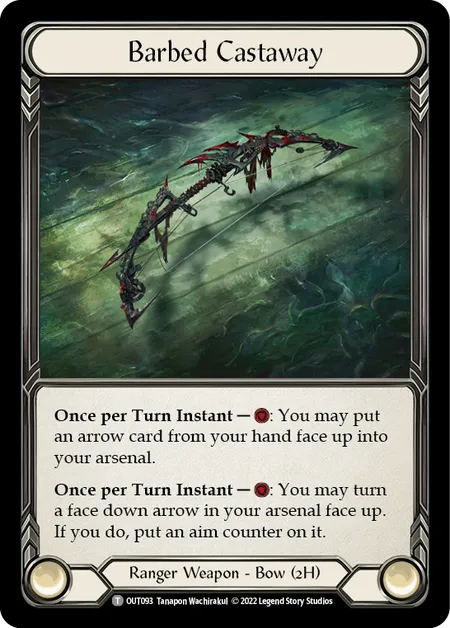
Barbed Castaway
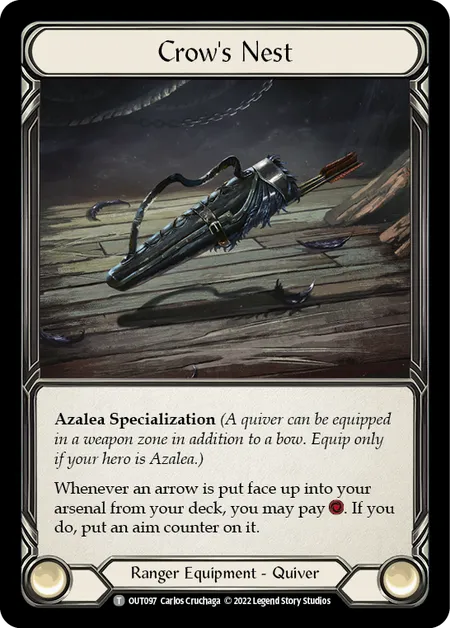
Crow's Nest
As an expert markswoman, Azalea is looking to punch through with the perfect shot, and this is enabled by her hero ability, which allows her to dominate arrows.
You can load the dominated arrow up with several pumps and on-hit triggers, which will take a sizable bite out of the opposing hero’s life total, while also disrupting their turns.
You’ll find several cards that can increase the power of an arrow, including the arrows themselves when they have aim counters placed on them.

Sedation Shot
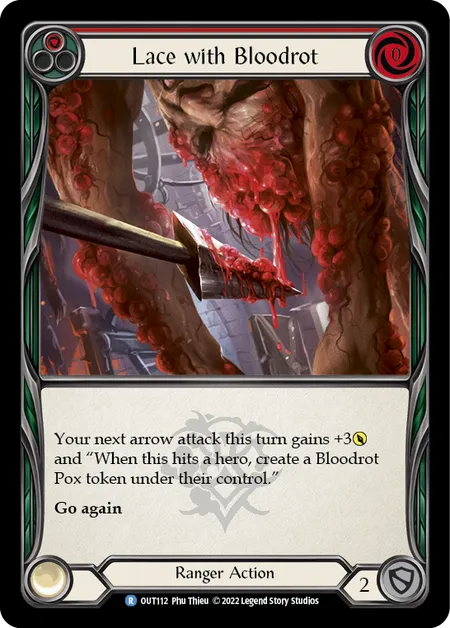
Lace with Bloodrot

Lace with Frailty
Azalea’s hero ability is extremely powerful, but it can be tricky to pull off in the early stages of the game when you’re unsure what you will find on top of the deck.
There are many cards in Outsiders that will improve the consistency of this ability by manipulating or checking the top of your deck to ensure you don’t miss.

Wayfinder's Crest
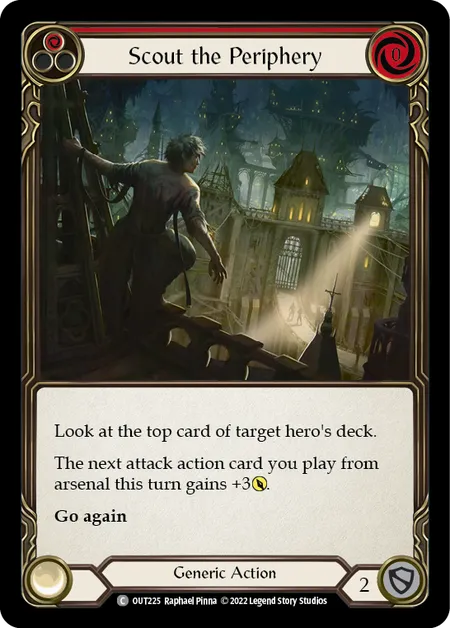
Scout the Periphery

Seek Horizon
Key cards to look out for are the Fletch's, which are extremely useful in all three colours.
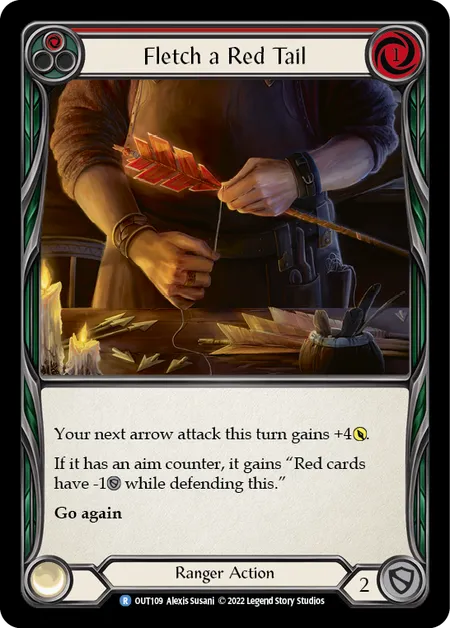
Fletch a Red Tail
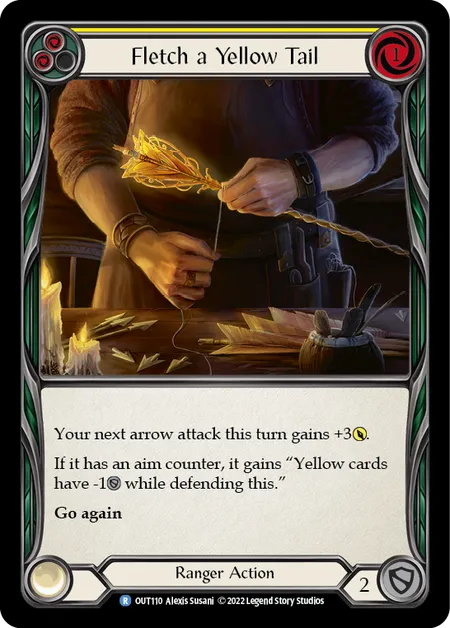
Fletch a Yellow Tail
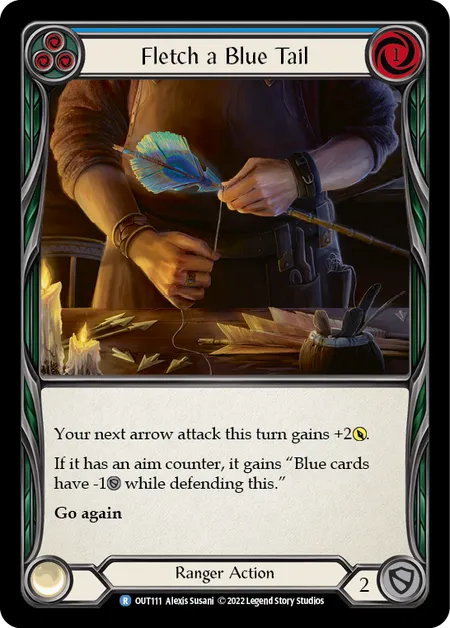
Fletch a Blue Tail
When building Azalea, you’ll want to include lots of high impact arrows and damage pumps, as well as cards that can allow you to look at the top of your deck.
When playing Azalea, you’ll want to keep a card in arsenal almost every turn in order to set up huge arrows, and using her ability if there’s a high chance you’ll hit a premium arrow off the top.
Riptide
Bringing a new and twisted feature to the ranger playstyle, Riptide patiently waits for prey to stumble into his clutches.
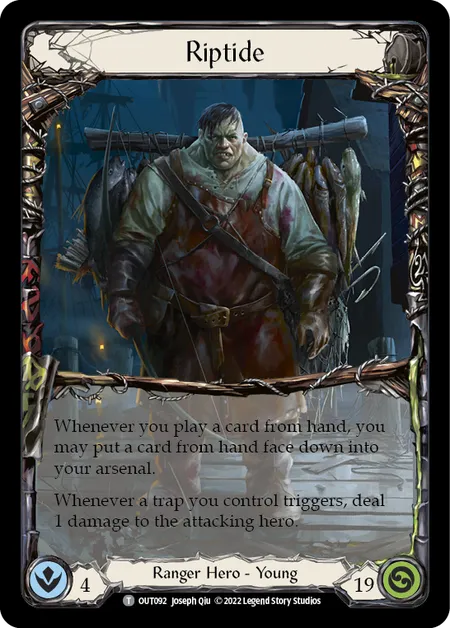
Riptide
Barbed Castaway
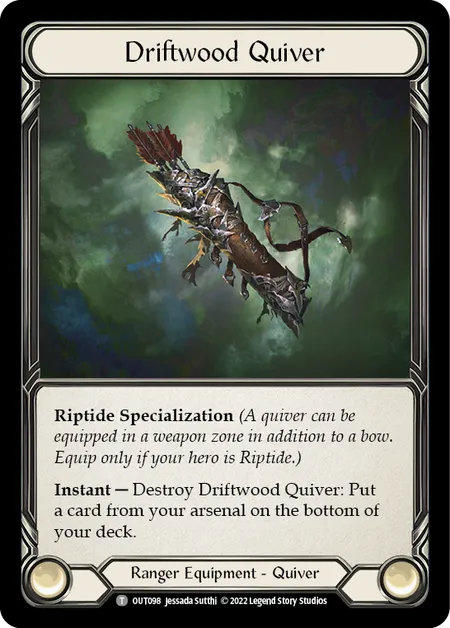
Driftwood Quiver
Riptide rewards patience and forward thinking. While some traps are easy to trigger, others are more situational.
Predicting your opponent’s moves and having a specific trap waiting to counter it will not only disrupt their gameplan, but also allow you to benefit as much as possible from his damage dealing ability, which is crucial to whittling down their life total.
It may not seem like much at first, but the more you can line up good value defensive manoeuvres, the more incremental advantage you’ll gain over time.
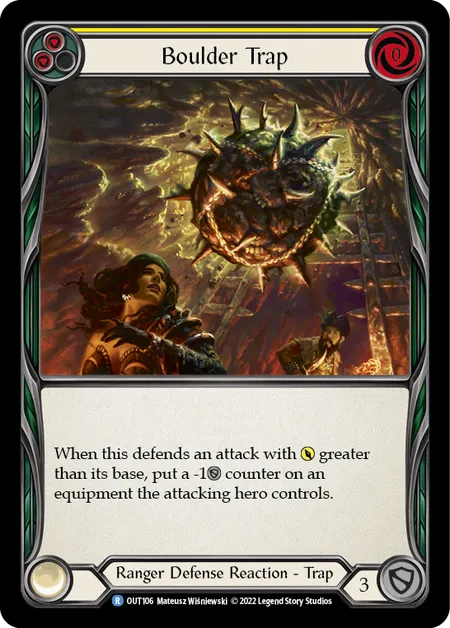
Boulder Trap
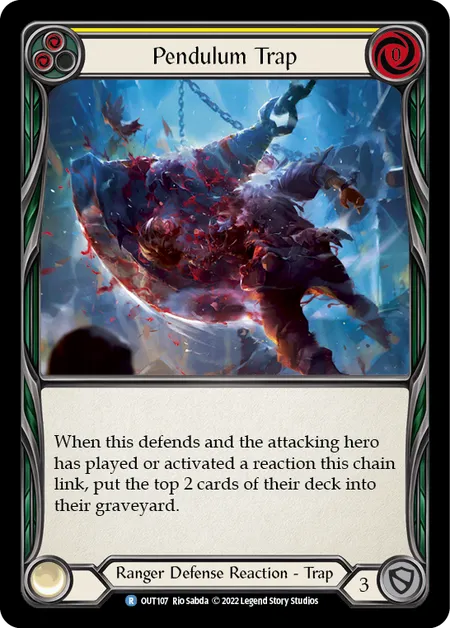
Pendulum Trap
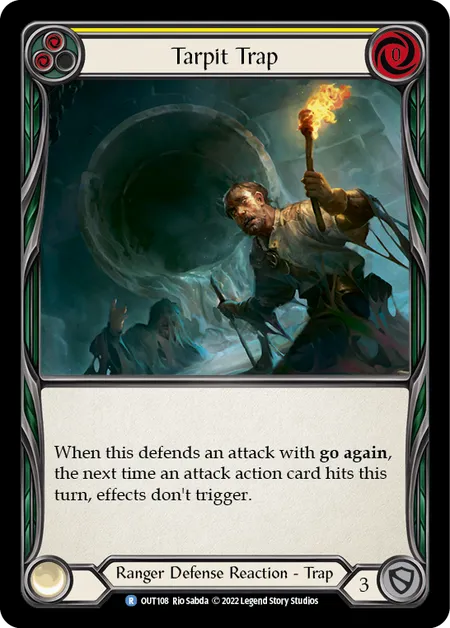
Tarpit Trap
But traps aren’t the only thing Riptide excels at. His ability to place a card face down in the arsenal every time he plays a card from hand can create extremely efficient plays.
You can trigger this on either player’s turn using many different cards, placing an arrow face-down and then flipping it with Barbed Castaway to give it an aim counter.
This gives you the freedom to block efficiently and swing back with decent damage each turn, and you’ll be looking to trigger it often.
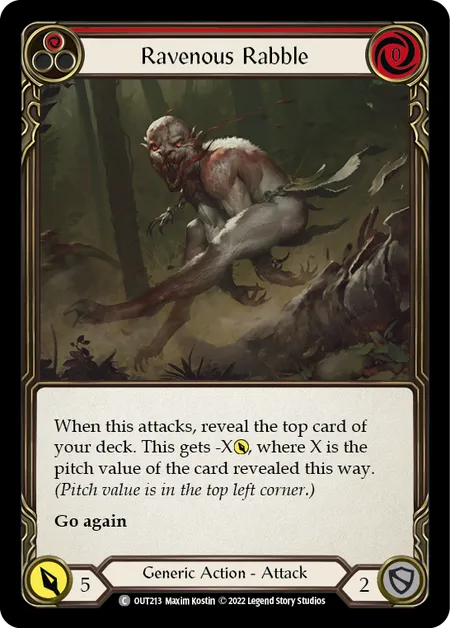
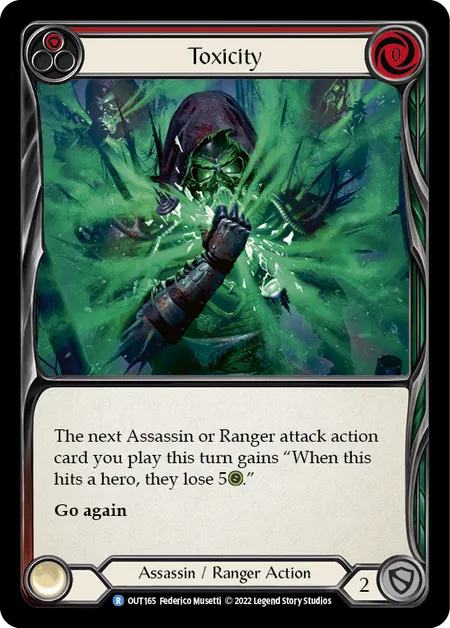
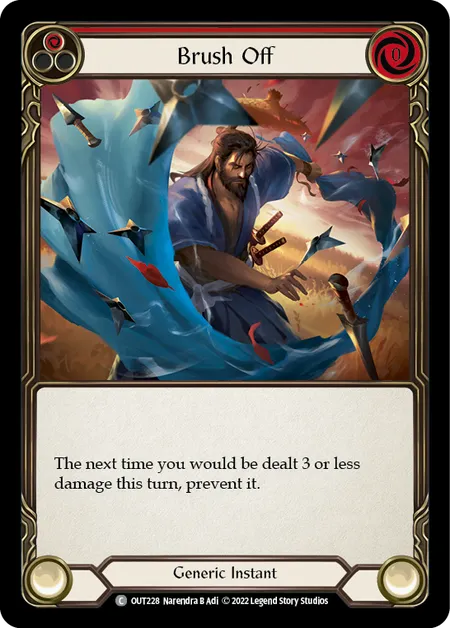
Ravenous Rabble
Toxicity
Brush Off
Key cards to look out for are cheap 0 cost attacks that you can play from arsenal after triggering Riptide’s ability with another 0 cost card, creating lean and mean 2 card plays.
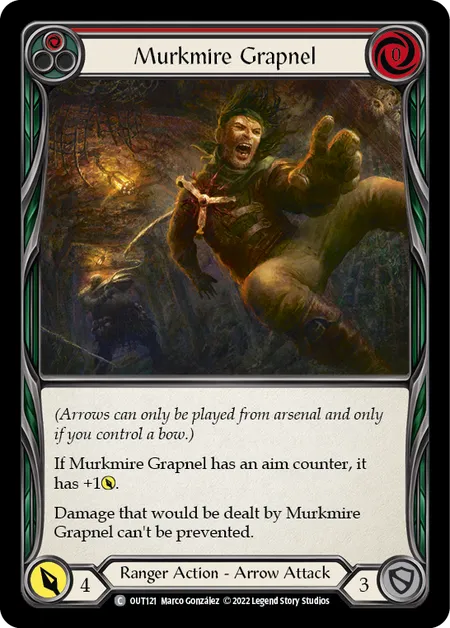
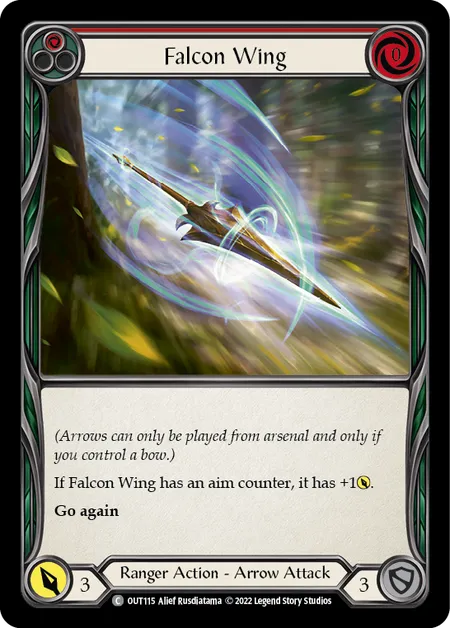
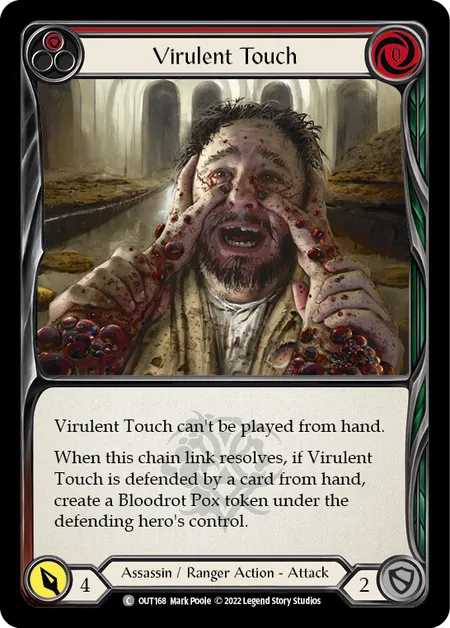
Murkmire Grapnel
Falcon Wing
Virulent Touch
You may want to consider building Riptide if you have good arrows but not enough pumps to support them. When building the deck look for efficiency in your attacks and a sizable amount of defensive options.
When playing Riptide, you will want to protect your life total and hit your opponent back with low cost turns to chip them down. Try and anticipate what they will do next so that you can set up the correct traps to catch them off guard.
Getting Down With the Sickness
The murky caverns of Outsiders are riddled with three varieties of plague - Bloodrot, Frailty, and Inertia.
Gameplay revolves around these tokens, as well as the coveted Ponder token.
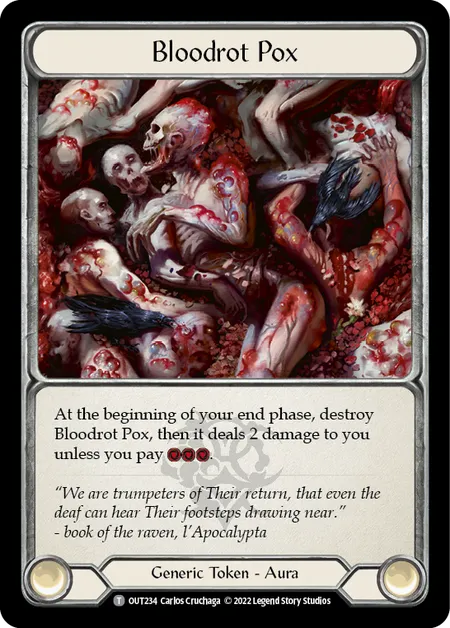
Bloodrot Pox
Frailty
Inertia
Ponder
Depending on your pool, you may find that you lean towards building a deck centred around one of these tokens, or even just a mix of each.
Don’t feel overwhelmed by these extra options, as each of them are extremely useful in almost any situation.
Bloodrot
Bloodrot works best when you can punish your opponent for not blocking, as the prevention cost is very expensive, so most of the time you’ll get free damage out of it.
It can also be used as a game finisher, when you’ve already forced blocks from your opponent, leaving them without any cards to pay the cost.
If your pool supports it, you can even focus on stacking multiple bloodrots to force your opponent to give up multiple cards to avoid death at a crucial moment where keeping cards is vital.
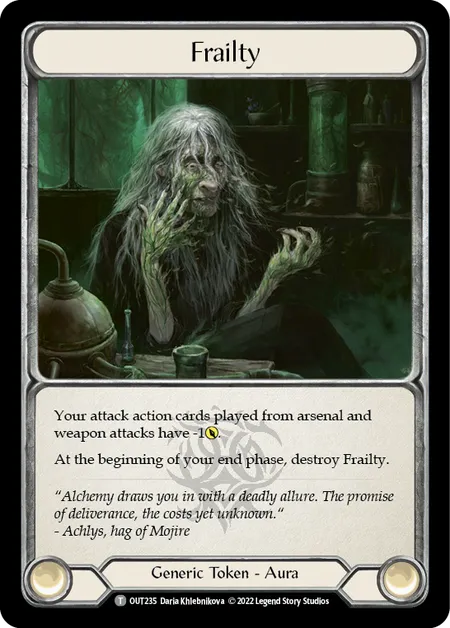
Frailty
Frailty may seem like only a slight disadvantage but the difference it can make is huge.
It will shut off any dagger attacks, which prevents Ninjas from building chains and chipping in damage, and stops the pesky on-hits of Assassins dead in their tracks.
It also affects the arsenal, preventing breakpoints on arrows and other attacks that rely on stretching your defenses thin.
All of the heroes in Outsiders are affected by Frailty in some way, which makes it useful to have in any deck.
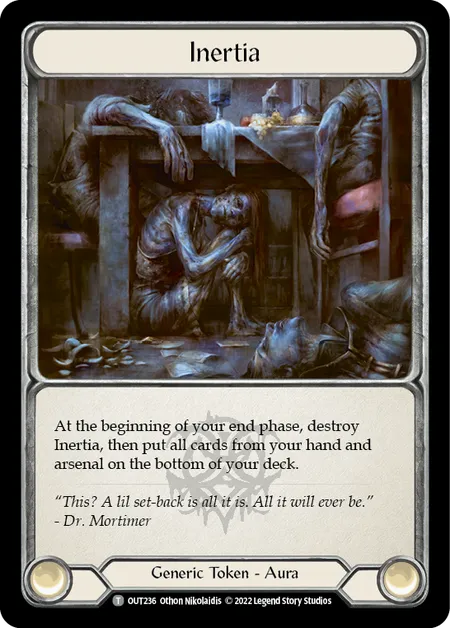
Inertia
With so many arsenal-based strategies running around, Inertia is the perfect way to slow your opponents down.
Even Ninjas and Assassins like to store valuable cards in the arsenal, which makes them vulnerable.
It’s important to note that your opponent can choose which order these tokens resolve, so they can pay for Bloodrot before Inertia, and draw from Ponder after Inertia.
Knowing when an Inertia token will really throw a spanner in the works will give you a huge advantage when you pull it off.
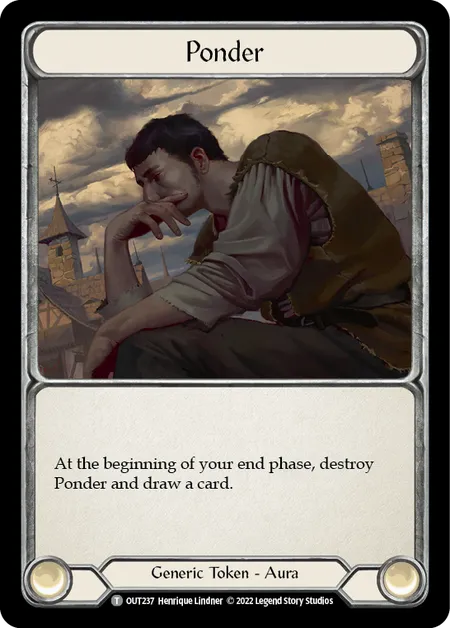
Ponder
Ponder is a great way to take back the tempo from your opponent, or keep up your momentum.
If you can land a Ponder token, it allows you to replace resources you’ve used this turn with extra resources next turn.
Many cards in Outsiders benefit from being played from arsenal or having a card in arsenal.
Even if you’re not on an arsenal-based strategy, one extra card could change a mediocre turn into a game-winning counter-attack.
Remember that if you have multiple tokens that trigger at the end of turn, you can choose the order in which they resolve, whether that’s drawing a card to pay for Bloodrot, or drawing a card after Inertia has already soaked your hand and arsenal.
Built Different
If you try out a hero in the first round of your local Pre-Release and it doesn’t work too well, try switching to the other hero of that class and building slightly differently for your next round.
You’ll be surprised to see how certain cards that didn’t quite hit the mark with one hero perform exceptionally well with another.
There’s lots of hidden combinations and subtle synergies to explore in Outsiders, and discovering what you can do better than anyone else in the room is the best shot you have of making it back to the surface in one piece.