Kiki Labad is known for bringing spicy decks to the table with Shiyana, becoming a Quicksilver Prodigy with Dorinthea, and boosting a Heart of Fyendal with Dash in the finals of a Road to Nationals. They are a renowned player, community figure, and early adopter of Flesh and Blood, who reached the finals of the Monarch Limited Calling: Auckland in 2021.
A librarian… A soldier… A servant… A monster…
The world of Monarch dictates an epic war between the forces of Light and Shadow, and you get to dictate which side you represent in draft!
As a Calling Finalist from an event that used both Monarch draft and Monarch sealed deck, it’s safe to say that I really enjoy this limited format. Monarch provides an interesting draft experience with four classes divided into two talents. Both talents make use of an alternative resource system - Light has soul, and Shadow has Blood Debt. Let’s break it all down so you can head into your local War of the Monarch event with confidence…
Light - Prism and Boltyn
The heroes of Light fight on the side of Solana, using the righteous power of their soul in order to reach their full potential. Soul is typically built up through combat, with Prism relying on her Heralds to hit in order to place them into soul, whereas Boltyn relies on his charge mechanic to put cards from hand into soul. As a result, the two heroes play very differently.
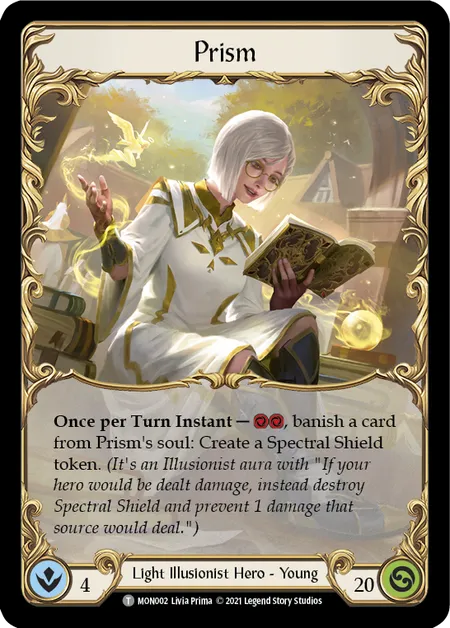
Prism
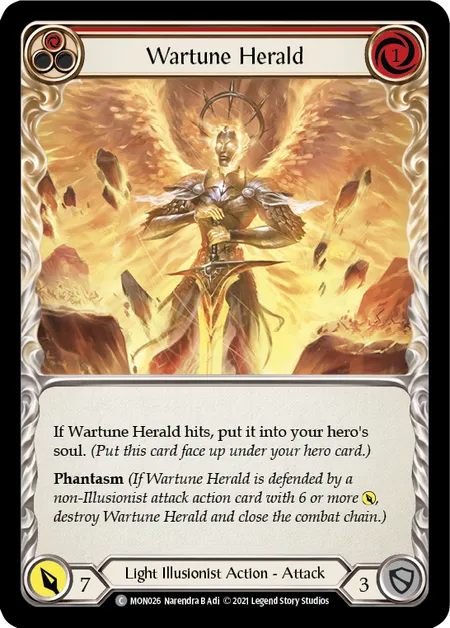
Wartune Herald
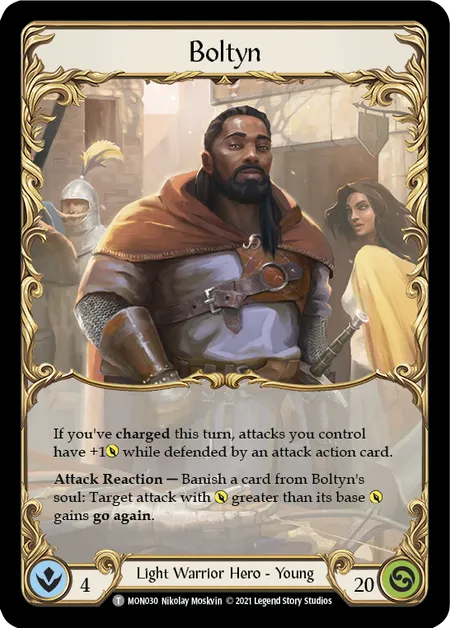
Boltyn
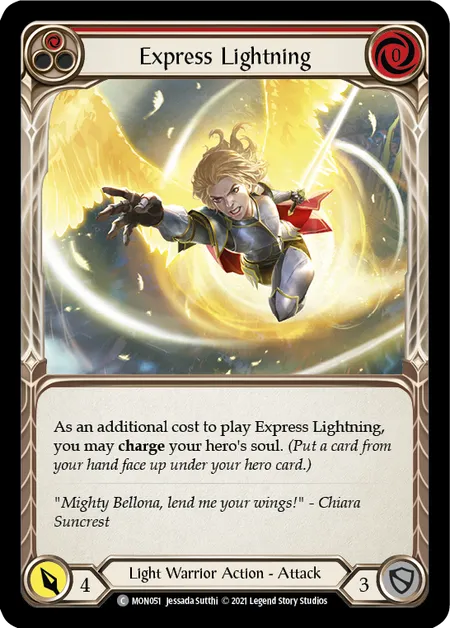
Express Lightning
Prism is one of the safer heroes to play in this format. She has attacks that are generally above rate, with the majority of her red attacks being 6+ power cards with abilities. The downside is that she’s the only hero that doesn’t start with a weapon that can attack by itself.
That’s where soul comes in. Her hero ability allows her to make Spectral Shields, which can be transformed into weapons that swing for 4 with go again using her token weapon Iris of Reality. Your early game should be focused on trying to get a Spectral Shield by either hitting with a Herald or if you’re lucky enough to get one, using the rare Prismatic Shield. From there your focus will be grinding the game out and keeping the shield(s) alive to continue applying pressure.
Due to the resource cost of creating and attacking with Spectral Shields, a relatively high blue count is very important. A specific blue you may want is Brandish or Belittle. These are 1-cost go again attacks, which at face value don’t seem like they fit. But if you can get it into arsenal late game, it allows you to attack with a Spectral Shield, then play the go again attack, then follow up with a Herald, in order to leak the final points of damage.
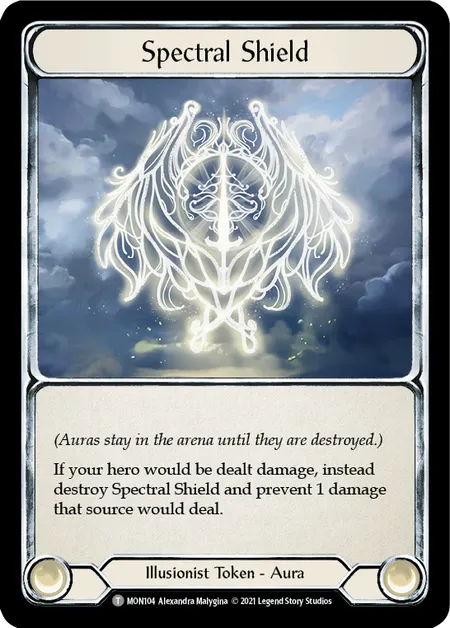
Spectral Shield
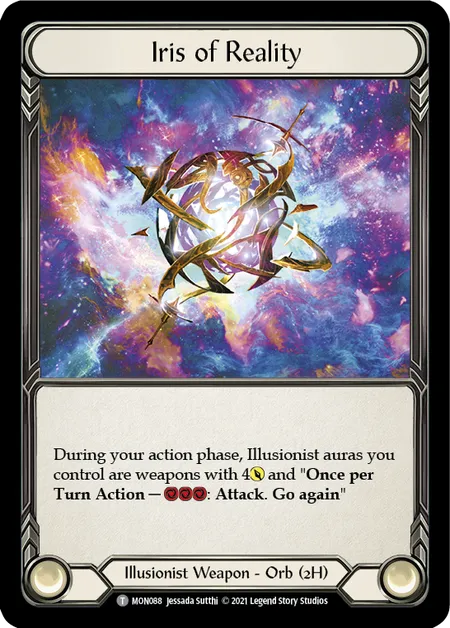
Iris of Reality
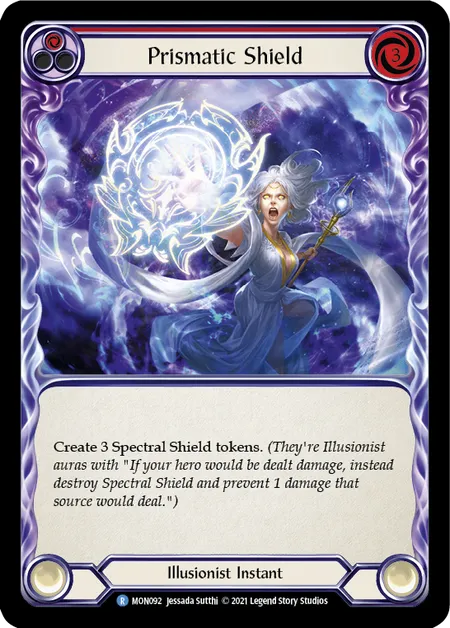
Prismatic Shield
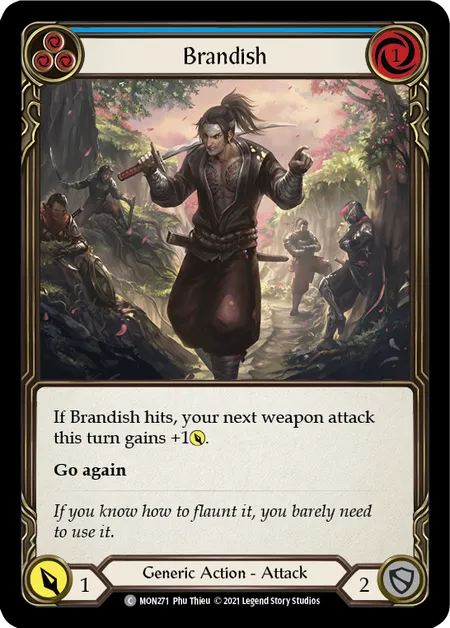
Brandish
Unlike Prism’s grindy strategy, Boltyn is aiming to go big on a few key turns after some setup in order to go over the top. Your early turns will involve charging an attack and hopefully leaking some damage due to Boltyn’s hero ability. Take Flight is the perfect card as it allows you to attack with an axe afterwards.
Once you’ve built up enough soul, you’re looking to go wide with power cards like V of the Vanguard, Courageous Steelhand, or Valiant Thrust, using Boltyn’s second ability to give go again to your attacks. Power-increasing cards are crucial for these combo turns so that you can give go again regardless of how your opponent blocks.
Other cards you may look for to fill out the rest of the deck are things like Illuminate, Rising Solartide, and Invigorating Light, which have good stats and can also give you soul without needing to charge.

Take Flight
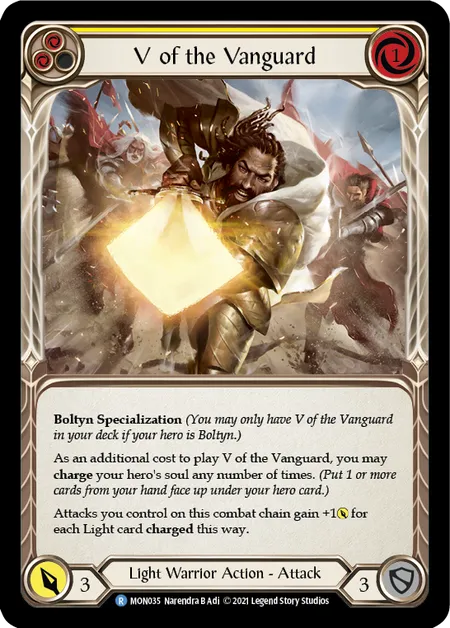
V of the Vanguard
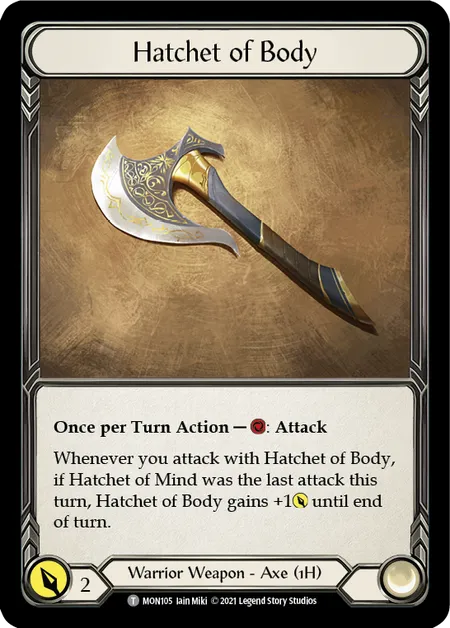
Hatchet of Body
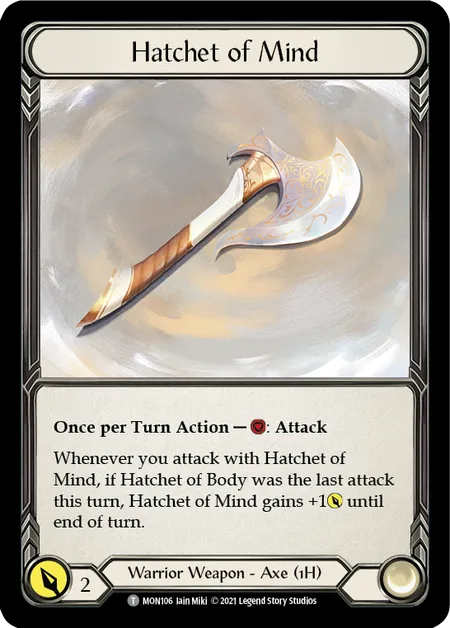
Hatchet of Mind
Shadow - Chane and Levia
The Shadow heroes are both hungry, for power or for carnage. To achieve their goals, they’ve turned to powerful demons to gain access to forbidden abilities. But their strength comes at a price. The demons require a Blood Debt.
Blood Debt is a resource system that occurs mainly in the Banish zone, which represents a world outside of Rathe. Blood Debt cards are powerful tools, but if you don’t constantly meet their conditions you will lose life instead. Despite both using the same mechanic, Chane and Levia interact with the darkness in very different ways.
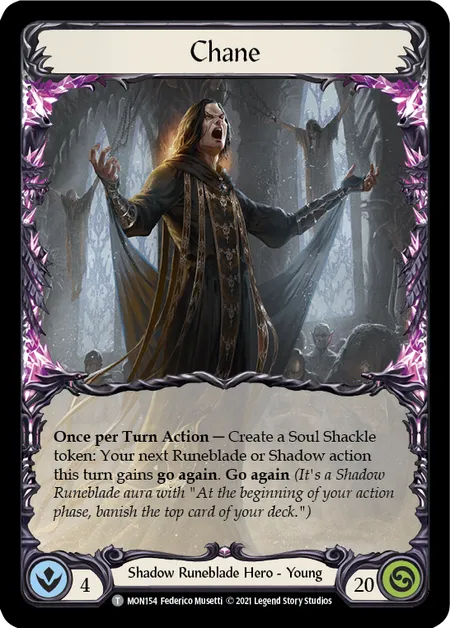
Chane
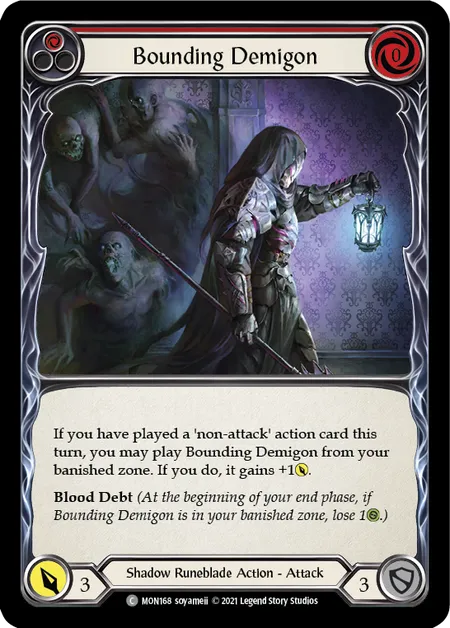
Bounding Demigon
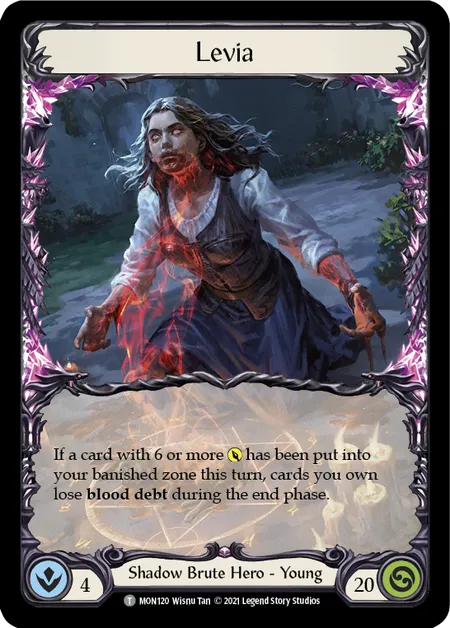
Levia
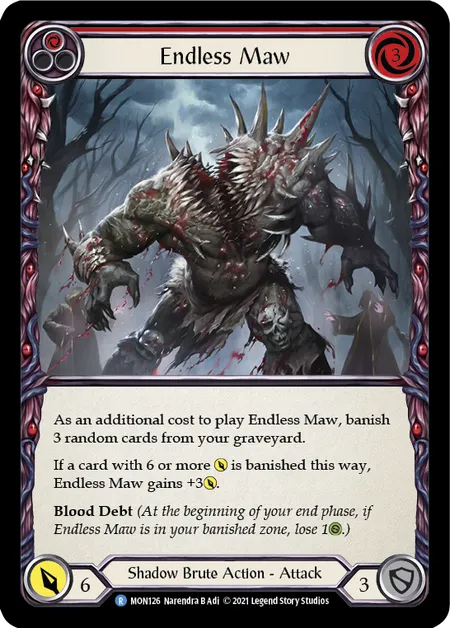
Endless Maw
Chane is an advantage based aggro deck. His hero ability allows you to give go again to any Shadow or Runeblade card at the cost of giving you a Soul Shackle. While this might seem like it will eat up your whole deck, it’s actually an upside as it grants access to more Blood Debt. Usually having more debt is a downside (especially in real life), but Chane navigates this by playing most of his Blood Debt cards from the Banish zone, and settling them safely in the graveyard.
The sheer card advantage, as well as lower resource cost means that Chane will often have access to very wide turns. Due to the nature of how fast he goes through his deck, Chane can often be a hero that can play above 30 cards. He will aim to win the game as fast as possible, because the longer the game goes, the more Blood Debt he accrues and either drowns to the demon’s demands, or fatigues himself out of the game.
The key card that Chane is looking for is Seeds of Agony. This is so important as it ticks every box. Seeds of Agony will help enable your other Blood Debt cards such as Rift Bind and Rip Through Reality, allowing for some vicious turns to appease Ursur. With extremely limited Arcane damage prevention in the format, you’ll also want to look for opportunities to cheat those last few points of damage, such as Arcanic Crackle and Vexing Malice.
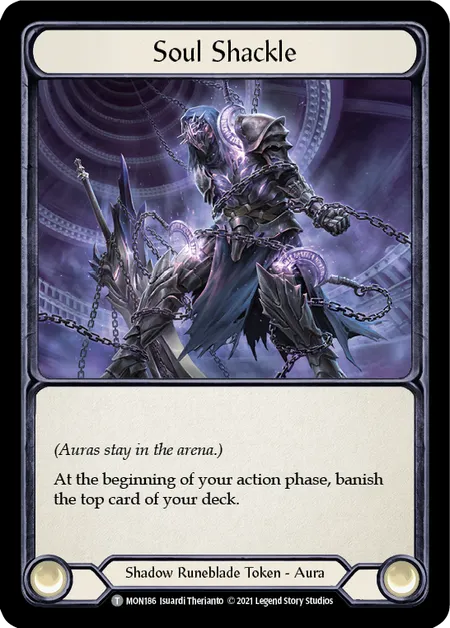
Soul Shackle
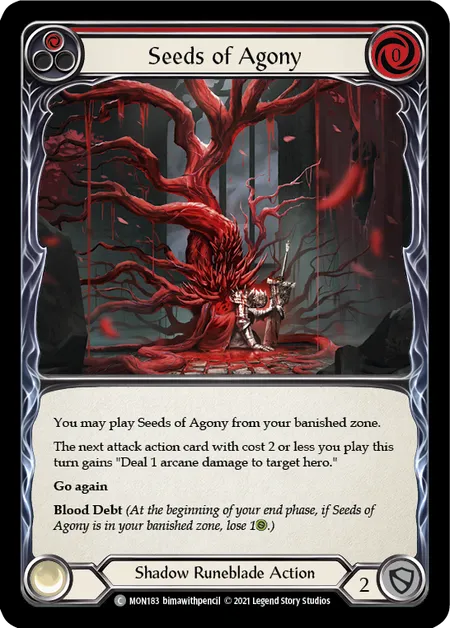
Seeds of Agony
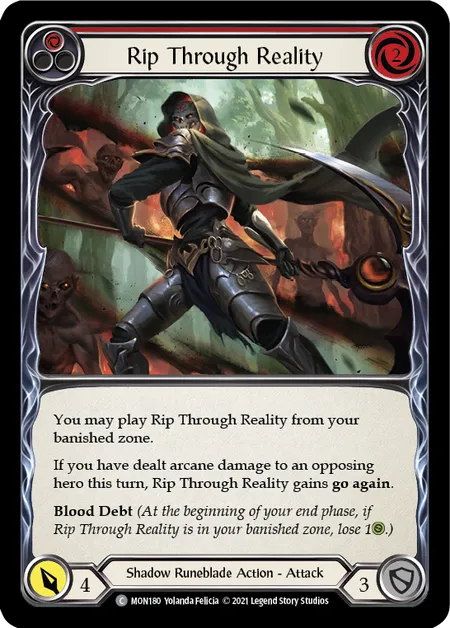
Rip Through Reality
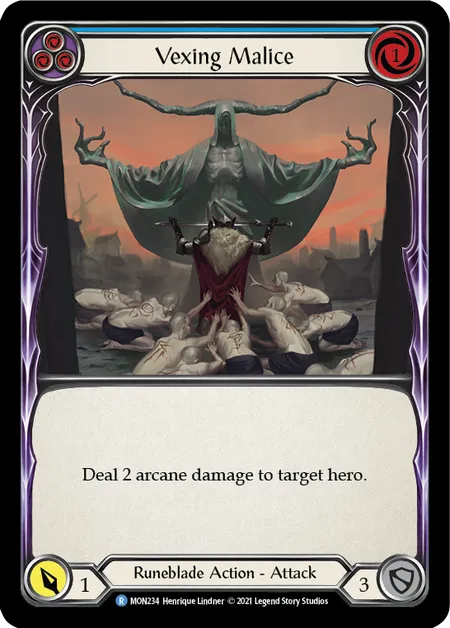
Vexing Malice
Levia, like her fellow Brute Rhinar, cares a lot about 6-power attacks. Levia will want to load up on ways of getting 6-power attacks into the graveyard, whether it be through blocking, attacking, or discarding with her axe. Focus on building up the graveyard then closing out the game with powerful Shadow Brute cards like Boneyard Marauder and Unworldly Bellow. These cards will allow you to hit hard for the cost of banishing three random cards from your graveyard. But be warned, once you start the Blood Debt train, you need to ride it all the way.
The top pick to look out for is Dread Screamer. This card is a high damage attack for low cost, but most importantly, it can gain go again. This will be the most efficient method the deck has to both force your opponent to block and also leak damage when paired with other big attacks.
Levia is arguably the most risky hero to commit to, not only due to the inherent random mechanics of the class, but also due to the high density of non-blocking cards in her card pool. If you choose to go down this route, you have to make sure that you don’t go too deep on the non-blockers or you risk taking too much damage early on.

Ravenous Meataxe
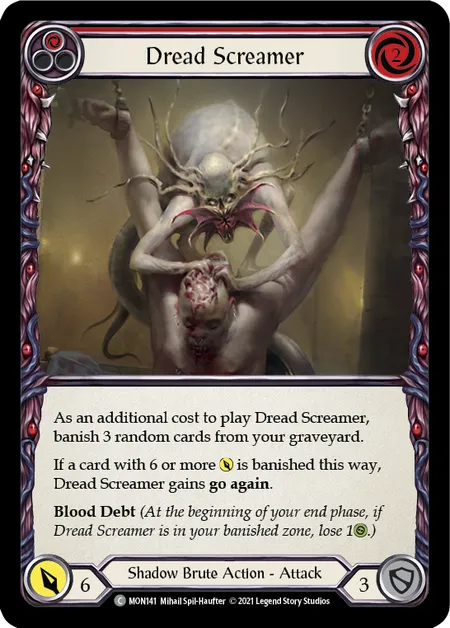
Dread Screamer
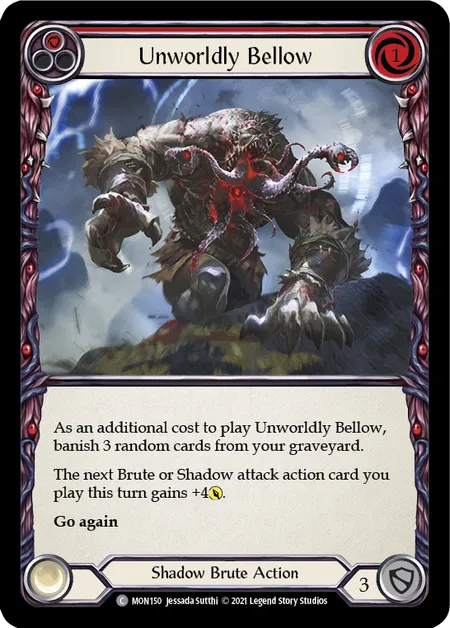
Unworldly Bellow
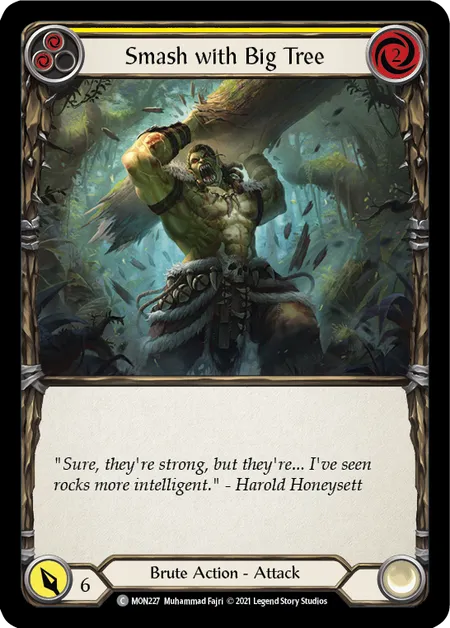
Smash With Big Tree
Not Just For the Classy
While the class and talent cards will ultimately dictate which direction you go in the draft, the generic cards in this set shouldn’t be overlooked, and can help power up every deck. The first ones you should be looking at are the 6-power attacks. Stony Woottonhog, Pound for Pound, and Rally the Rearguard are all wonderful at preventing Prism from gaining too much advantage with their phantasm attacks as well as fuelling Levia. Outside of those two classes, these cards just have generally good value in forcing blocks, closing out games, or transforming non-blocking cards into functional 3-defense cards.
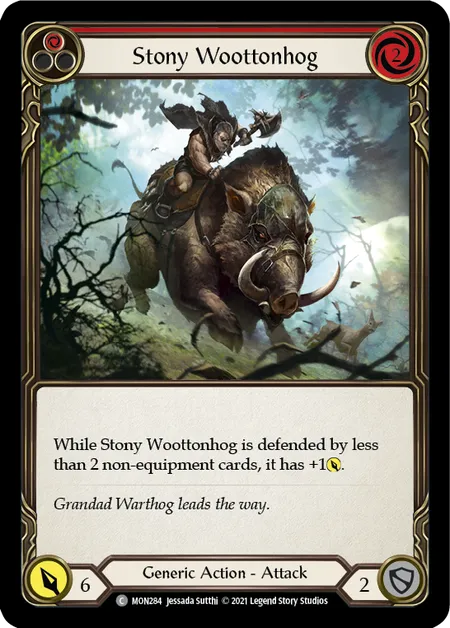
Stony Woottonhog
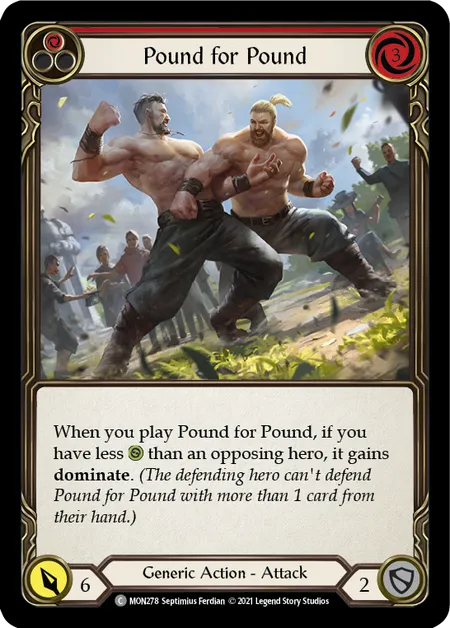
Pound for Pound
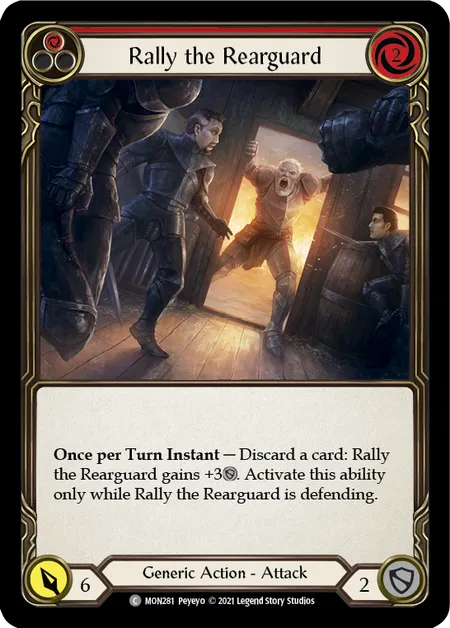
Rally the Rearguard
Surging Militia is a huge game closer, becoming more powerful with every card they defend with from hand. When paired with a pump like Warmonger’s Recital, it is a force to be reckoned with. In the later stages when both players are forced to block with multiple cards and have only a few points of life left, a single blue pitched for a pumped Surging Militia will often push over a full hand block for lethal. If it doesn’t outright kill them, then the effect of Warmonger’s Recital will likely allow you to recycle the Surging Militia and attempt to push again a few turns later. This is an extremely potent endgame strategy to rely on should your other plans fail.
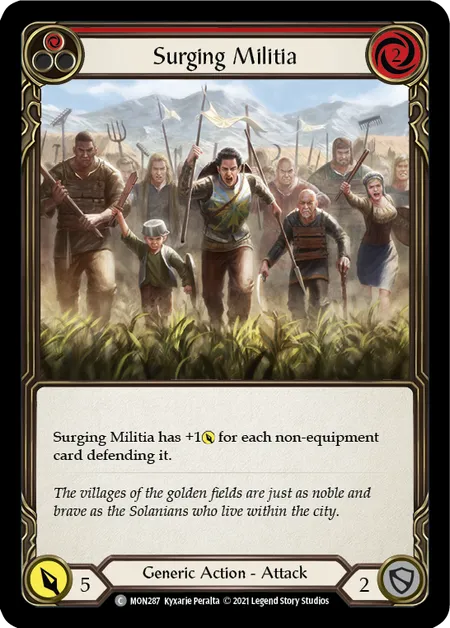
Surging Militia
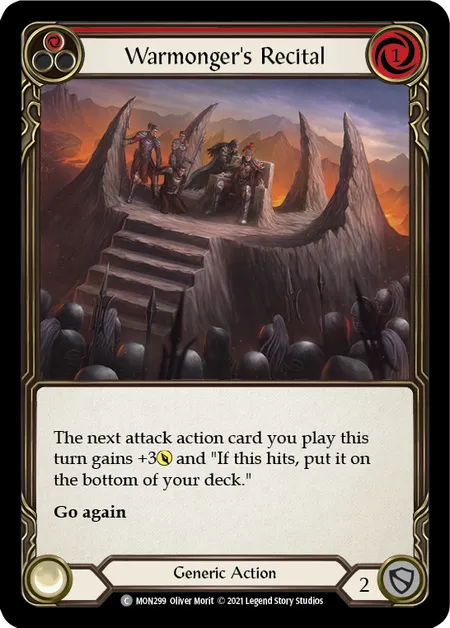
Warmonger's Recital
Finally, every hero appreciates go again in this format, and cards like Belittle, Seek Horizon, and Zealous Belting give you access to wider and more threatening turns before you even commit to a class. Despite most of them only defending for 2, there is enough power for pretty much every class, so they are always worth considering.
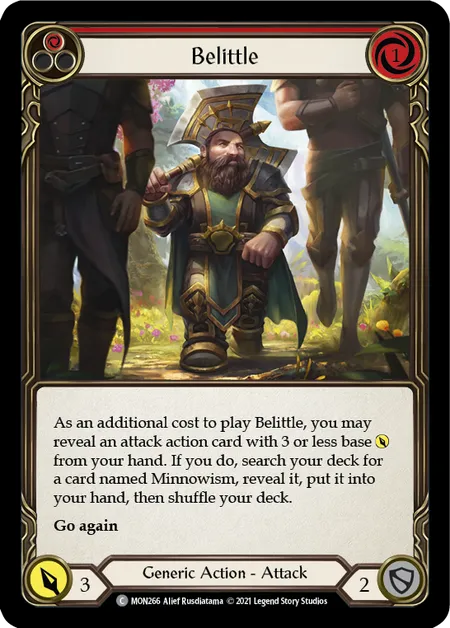
Belittle
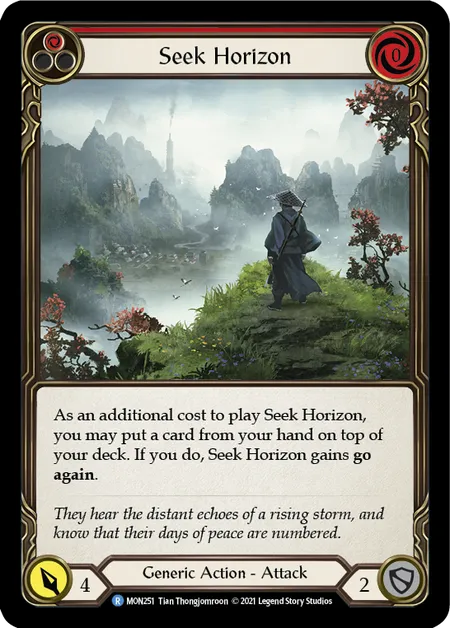
Seek Horizon
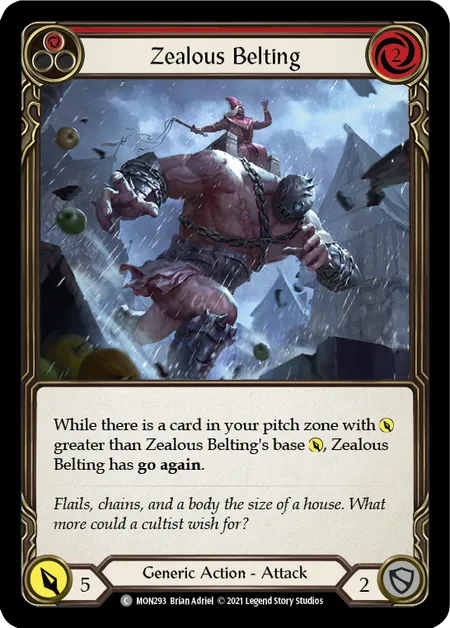
Zealous Belting
Dressed to Impress
The common equipment pieces in Monarch draft are very powerful and sometimes even crucial, and should be treated with relatively high importance. Three of them also have battleworn, which is highly useful for blocking breakpoint attacks without going down on cards in hand.
Hooves of the Shadowbeast allows Levia to gain an additional action point, allowing her to pull off a huge swing turn with two or sometimes three massive attacks.
Gallantry Gold increases the damage output of Boltyn’s weapons, which is key to giving the axes go again, pushing more damage on big turns, or even coming back with 7 damage off a single blue and a soul.
Aether Ironweave grants Chane 2 additional resources as long as he’s played both an attack action and a non-attack action in the same turn, which helps extend your turns and play out extra cards from the Banish zone.
Dream Weavers grants Prism the ability to remove phantasm from one of her attacks, which can be game-winning if you know your opponent has a 6-power. Dream Weavers has spellvoid instead of battleworn as a defensive mechanism, which is useful against Chane and occasionally Prism.
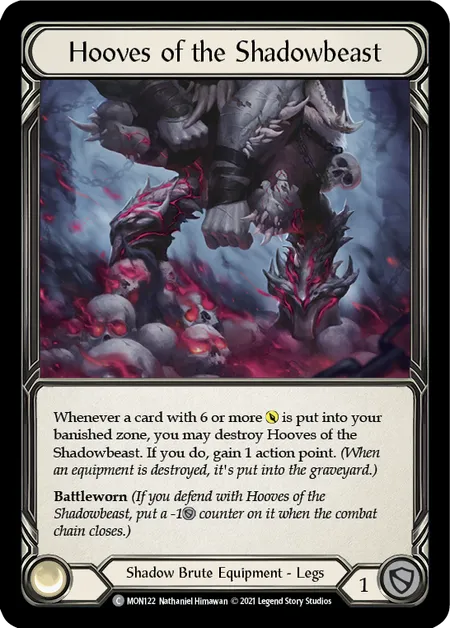
Hooves of the Shadowbeast
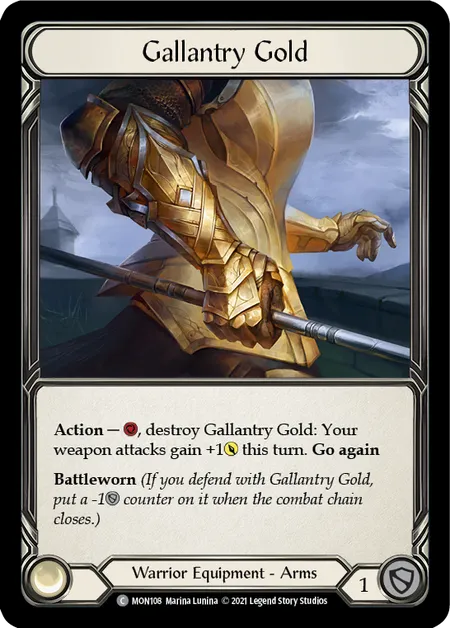
Gallantry Gold
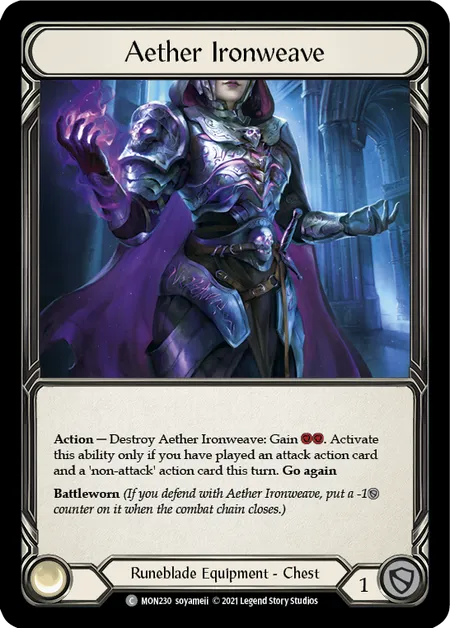
Aether Ironweave
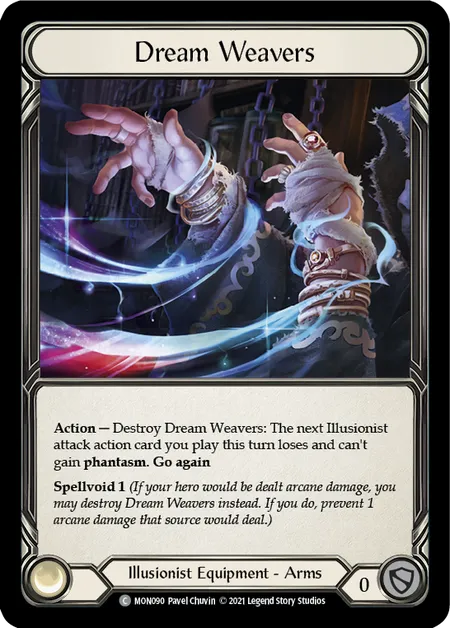
Dream Weavers
Each talent has a key head equipment that mirrors the other - Halo of Illumination and Ebon Fold. Both have spellvoid and help you build up your alternate resource system. Considering how crucial the soul or the Banish zone can be in certain moments, these equipment provide a buffer in case anything goes wrong, while also keeping Arcane damage at bay.
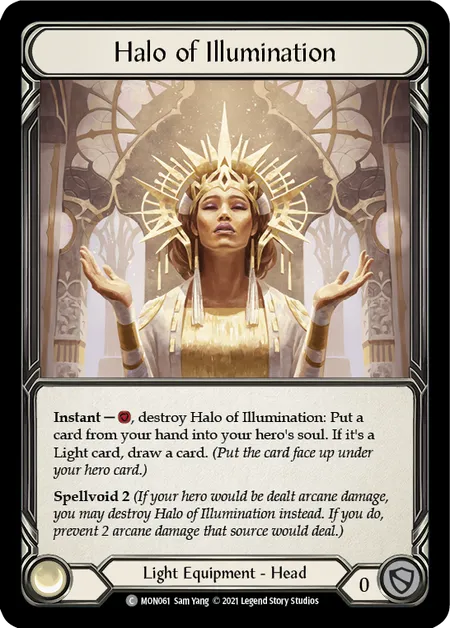
Halo of Illumination
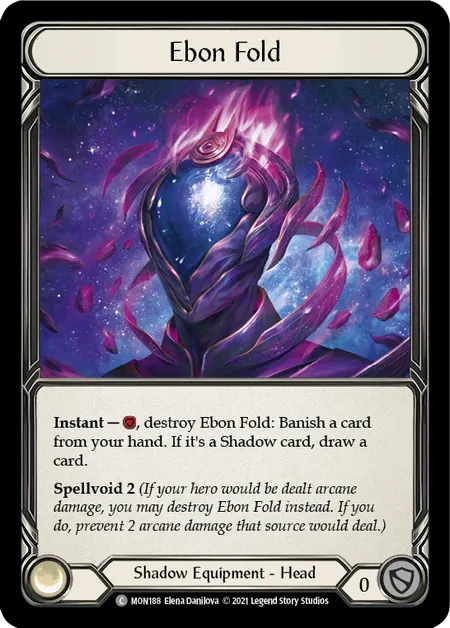
Ebon Fold
If you’re unable to obtain the class equipment for your deck, there are also powerful generic options. Stubby Hammerers works extremely well in both Chane and Boltyn, helping push damage through on crucial turns.
Time Skippers can be an expensive alternative to Hooves of the Shadowbeast, allowing you to throw down more than one attack if you have the tempo and resources. Alternatively, it can also be used in a high blue count Prism deck as a way of getting around your opponent popping your first phantasm attack.
Blood Drop Brocade acts as a situational +1 resource that that any class can make use of, as long as at least 1 power damage has been dealt to either player in that turn, a feat that is easily possible. The other key strength of this card is that you can also use it in your opponent’s turn, which pairs very nicely with Ironhide equipment.
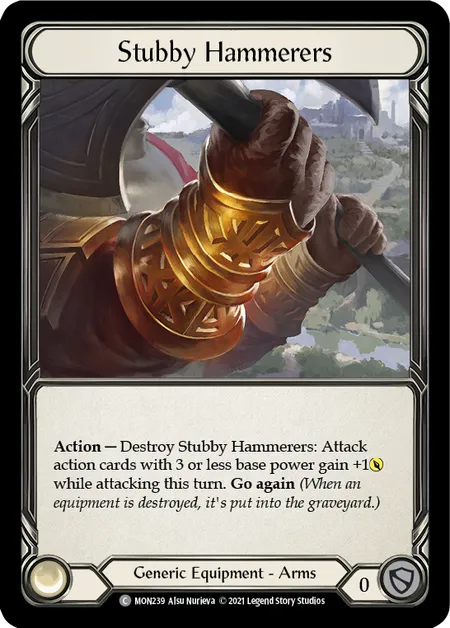
Stubby Hammerers
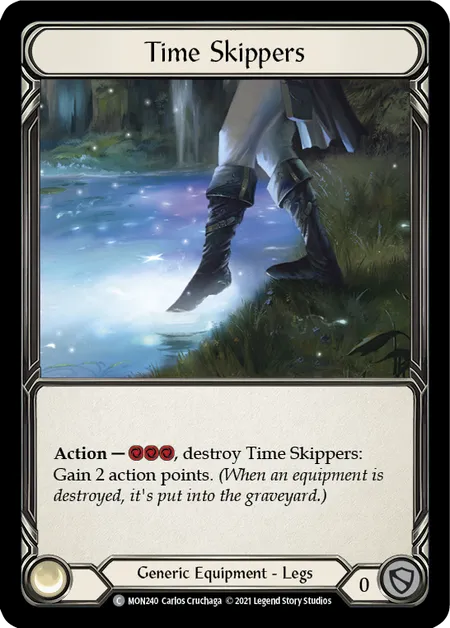
Time Skippers
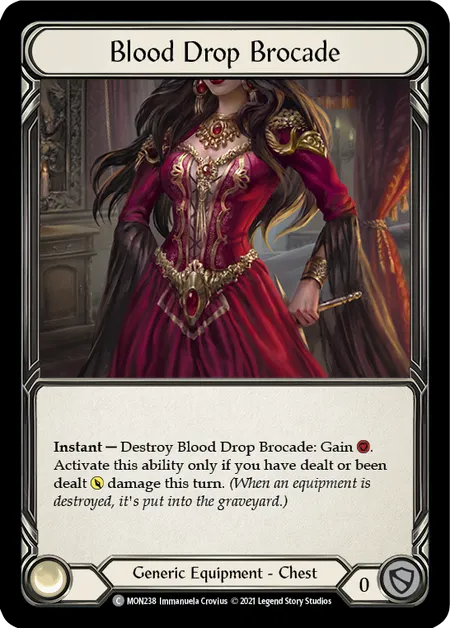
Blood Drop Brocade
Lastly we have the Ironhides. While pitching a whole card to block for 2 seems lame on the surface, these unassuming plates of metal actually serve a significant purpose. They act as a way to avoid the several dominate finishers in the format, or pair nicely with plays during your opponent’s turn that cost resources, such as Rise Above, Prism’s ability, or some of the aforementioned equipment. These aren’t necessarily high priority in draft, but it’s good to pick up one or two if you get the chance.
Ironhide Helm
Ironhide Plate
Ironhide Gauntlet
Ironhide Legs
The Road Less Travelled
An important part of the draft format is selecting a hero that isn’t cluttered with other players trying to do the same thing. This is especially important in Monarch, where because of the even 4-class split, any deviations can cause one player to become significantly more advantaged in terms of access to powerful cards. With this in mind, there’s two general draft strategies you can follow.
Committing Early
This is a bold strategy but definitely has its merits if you can find the right power cards in your first few picks. You’re looking for bombs in specific archetypes that are under-represented in that hero. Seeing something like red Dread Screamer or red Take Flight as well as an absence of good cards for that same hero in a pack would be a good sign.
The purpose of looking for these signs is that it leaves no doubt to the drafters next to you about what they need to avoid, as you’ll be picking before them in packs 1 and 3. After your first few picks you’ll want to pay attention to whether those to your right are doing the same. It’s important not to get married to your first few picks, as there are usually enough options to build a synergistic deck even if you have to pivot in the middle of pack 1.
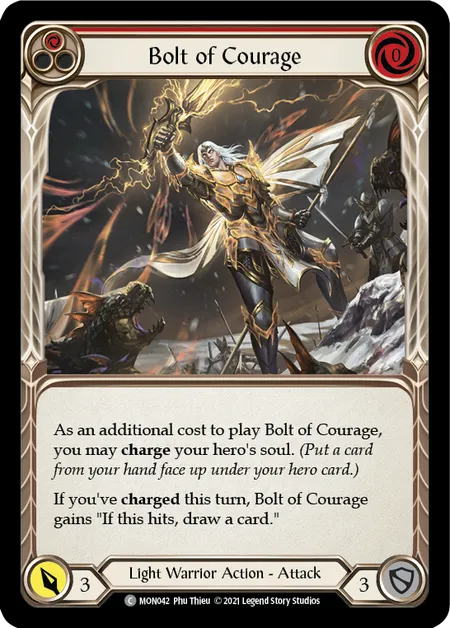
Bolt of Courage

Boneyard Marauder
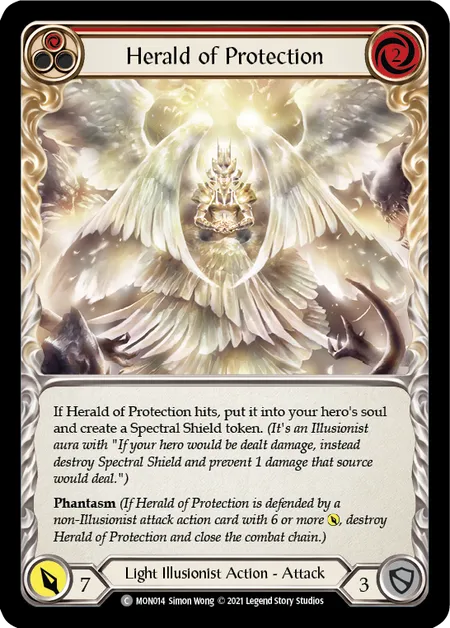
Herald of Protection
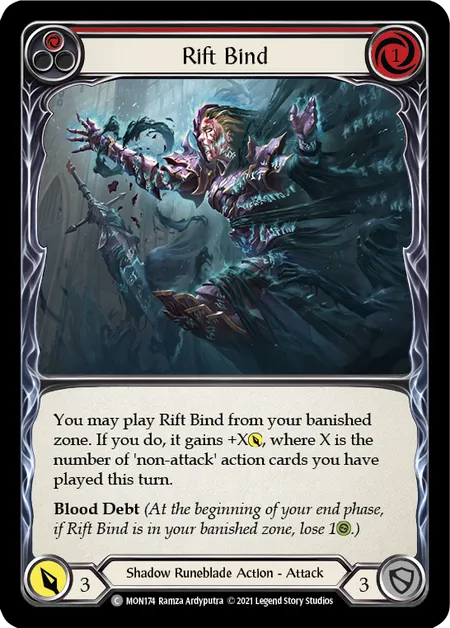
Rift Bind
Staying Open
This is the safer strategy but arguably has a lower ceiling. If your pack has powerful generic cards or powerful talent cards, staying open is a good way to start. The upside is that you can hedge your bet a little, and take advantage of what those who have committed early are passing to you, while still taking important cards for most classes.
You will hopefully start to read signals around pick 6 or 7, then you can ideally start working in a specific direction. The downside is that by staying open you may be passing some powerful class cards, and if it turns out that the people next to you are also passing the same class cards, you might end up in a position where you’re powering up the people next to you or you’re now fighting them for the same pool.
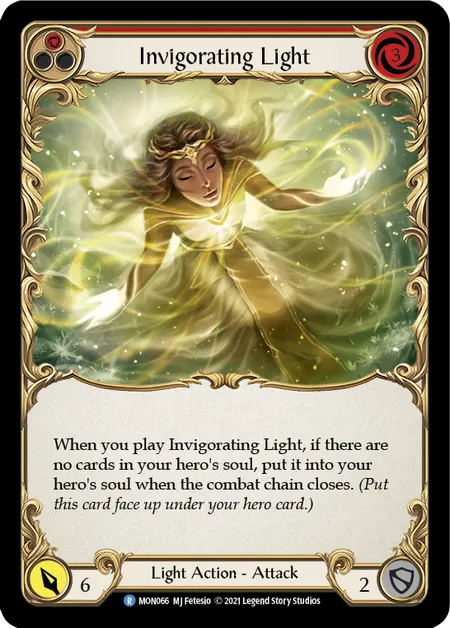
Invigorating Light
Lunartide Plunderer
Out Muscle
Make or Break
Drafting is a very nuanced but also very enjoyable process. Each pod is different, with different values and mindsets, some of which may go against what I’ve suggested, and that’s what makes drafting fun. Go and see what works for you. If you can’t get 7 other people to draft with you, draft the entire table by yourself. The more work you put into figuring out what works, the better prepared you’ll be at Nationals.
If you’re new to drafting Monarch, don’t worry about putting together the cleanest deck possible. Just relax and enjoy the process, pick some cards that look powerful or fun to play, and build around that. Get amongst your local War of the Monarch event and enjoy the lively banter, the pressure-free games, and the exciting surprises that await…
Are you loyal to the Light? Or will you give in to the Shadow?