Yuki Lee Bender is a professional competitive player, winning Canadian Nationals in 2021, and placing top 8 in Canadian Nationals the following year. She has a track record of placing high at premiere level events, and is renowned for her technical gameplay skill.
In any game of Flesh and Blood, I view it as my job to try and maximize the amount of value my equipment is producing for me. Many games come down to 1-3 life and so finding ways to squeeze out the extra few points of value from your equipment can often be the difference between winning and losing. What makes this challenging is that the proper timing for equipment is contextual on your deck, the matchup, and the current game state. Due to having to constantly weigh all these factors, correctly identifying the best spots to use equipment is very skill intensive. Even players of the highest caliber frequently misevaluate when to optimally use their equipment. In this article we are going to look at some different frameworks and questions I use for evaluating if it is the correct time to be using my equipment or not.

Conserving your equipment
Having access to a wider range of options for a longer period of the game is very powerful, because it means your opponent has to account for more possibilities. The threat of activation can be very real and can provide additional value that is hard to quantify. For this reason, it is often correct to pass on “decent” opportunities to use your equipment in search of more powerful ones later in the game. In general, most players who are newer to Flesh and Blood lean towards using their equipment too liberally rather than too conservatively. That being said, having your equipment still unused when the game is over is also a problem, and there are times early in a game where it is correct to cash in your equipment.
How much value do I get from using my equipment here?
A core tenet of Flesh and Blood is to evaluate how much value you get by using your cards in different combinations of blocking and attacking, and then choosing the option that has the highest total value.
Value of Hand = Damage Presented by Attacking + Damage Prevented
For example, if you are choosing between blocking for 12, or blocking for 9 and attacking back with Anothos for 4, you should choose the latter, because 9 + 4 = 13, which is bigger than 12. However, the math can change here if the additional blocking card prevents an on-hit effect that would be worth 1 or more points of value. This idea of value is helpful when deciding on equipment usage because you can use the lens of “how much extra value am I getting for using my equipment here?” to help evaluate the decision. It may seem daunting, but it is worth thinking about, and like most things, the more you do it the easier it gets.
Maximizing activated abilities
Most equipment with activated abilities that have a limited number of uses are offensive in nature, so we will focus primarily on aggressive and damage dealing scenarios. However, the same principles apply to defensive equipment with a limited use effect, such as Stalagmite. Usually when deciding if I should use an activated ability on an equipment, I like to compare the value I get for activating equipment on the current turn to the ceiling and the floor that I expect from that piece of equipment. Then, I consider how likely it is that I will get a better opportunity to use it. Let’s walk through each of these ideas one by one.
Snapdragon Scalers

Mask of the Pouncing Lynx
Stalagmite, Bastion of Isenloft
What's the ceiling?
It’s important to know what the most optimal scenario for your equipment usage looks like before the game has even started. You can do this by thinking about your highest ceiling turns, or just by taking note of your best turns using that piece of equipment across all the games you play. Think both about how much value the equipment provides, as well as how consistently you can achieve this ceiling.
For example, in Lexi the ceiling for Snapdragon Scalers and Bull’s Eye Bracers is to have a Rain Razors turn that involves using Voltaire for two arrows, then attacking with a third arrow from arsenal. From here you can use Snapdragon Scalers to give the arrow go again, and then use Bull’s Eye Bracers to load a Bolt’n Shot, then when the Bolt’n Shot hits - reload another arrow such as Searing Shot. In this scenario the two equipment together are worth 7 damage from the Bolt’n Shot and 7 damage from the Searing Shot for a total of 14. It’s theoretically possible to go bigger than this, but in practice this is about as high as you can reasonably and consistently expect. If you ever have the chance to pull something like this off, you should absolutely crack the equipment because it’s your ceiling, you likely aren’t going to do better.
However, it’s also important to recognize that it is very hard for everything to line up perfectly and have your opponent be unable to block the Bolt’n Shot. In most games, you will never be able to achieve this ceiling! So, if the value you get from your equipment is approaching the ceiling, that’s good enough. After I use my equipment, I like to look out for any better opportunities later in the game as a way to get feedback on my decision making.
Bull's Eye Bracers
Voltaire, Strike Twice
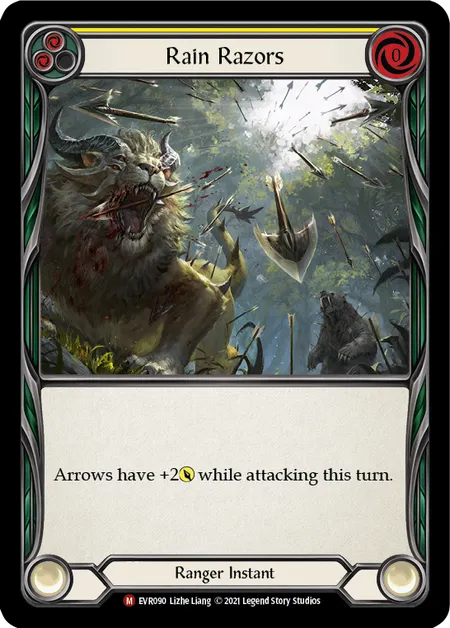
Rain Razors
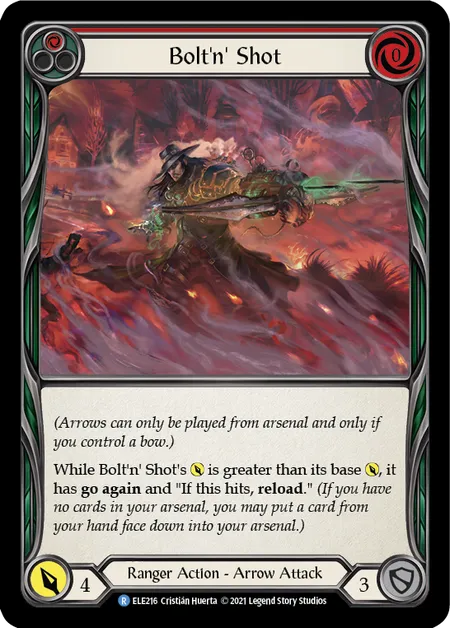
Bolt'n' Shot
What's the floor?
Similar to how understanding the ceiling for your equipment is valuable, it’s also good to know what the floor is. Once again, we will consider Snapdragon Scalers and Bull’s Eye Bracers in Lexi. Practically speaking, the floor on Snapdragon Scalers is an extra +1 power from Voltaire to push a breakpoint. However, more realistically you may be able to use Snapdragon Scalers on a third arrow in arsenal, then use Bull’s Eye Bracers on a fourth arrow for 5-6 damage and an on-hit.
If Lexi can use Snapdragon Scalers and Bull’s Eye Bracers to load a red Infecting Shot on a Rain Razors turn, it is worth 8 + 2 from Bloodrot Pox for 10 damage total. 10 is significantly above your floor of 4-5, and your ceiling is generally difficult to achieve, so I would usually be very happy to settle for 10.

Infecting Shot
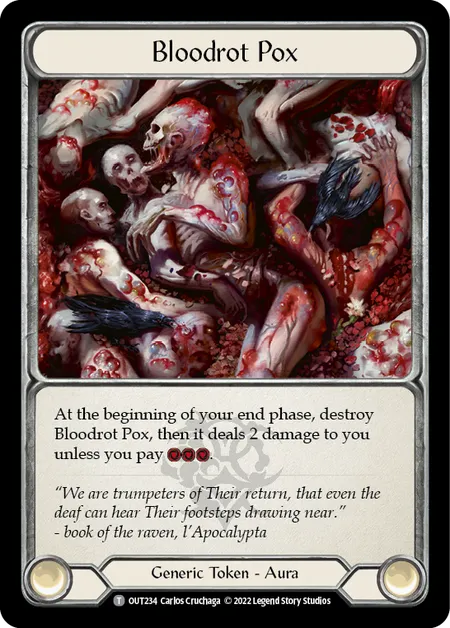
Bloodrot Pox
How long is this game going to last?
At the start of your game the goal should be to get as close to the ceiling as possible. However, the longer the game drags on, the fewer future opportunities you will have to utilize your equipment, and so over time you become increasingly less likely to get maximum value. This effect is compounded by potentially running out of key threats that let you maximize your equipment, such as Rain Razors. Additionally, late in the game you may run out of life which you can use as a resource in order to take damage if an optimal scenario presents itself. As a result, the threshold of how much value you are demanding out of your equipment gets closer to the floor the closer the game is to concluding.
This means that in the late game you often want to utilize your equipment quite liberally, just to make sure you get some amount of value out of it. Especially if it is equipment like Spellbound Creepers, which needs at least a three-card hand to effectively use. If I reach the end of the game and lose, without having used all my equipment, I assume I have made a mistake and should have been able to find a spot to leverage it.
The more that you start thinking about the value your equipment provides as a sliding scale between the floor and the ceiling, the better you will get at identifying if you will have a better opportunity later in the game, or not. Being aware of the value you are getting, and continually thinking about it each game should help you gradually improve your ability to maximize the activated abilities of your equipment.
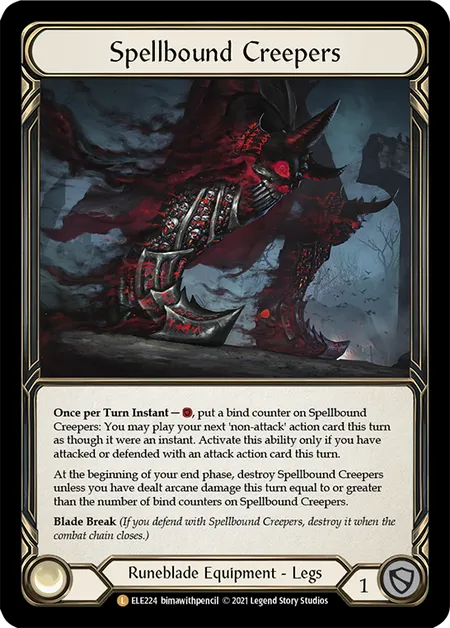
Spellbound Creepers
Courage of Bladehold

Ghostly Touch
Blocking with equipment
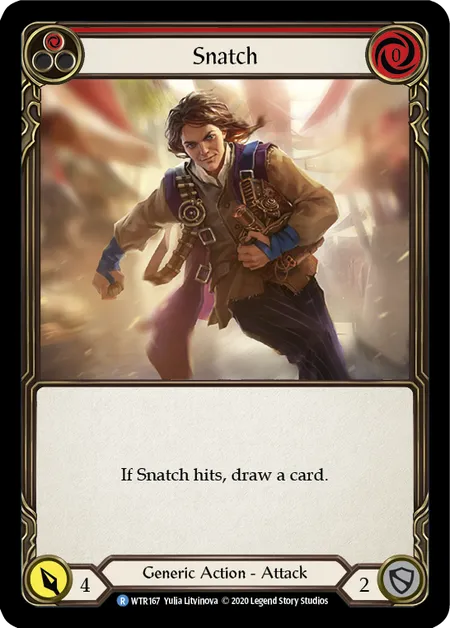
On the surface, equipment that blocks is an extension of your total life, since you should easily be able to use it to save life at some point during the game. But blocking with equipment is very nuanced and is a big part of what separates experienced players from great ones. Due to the prevalence of on hit effects, an equipment that blocks a Snatch and prevents a card draw is worth significantly more than an equipment block on a Titan’s Fist. In general, you are wanting to save your equipment to stop on-hits rather than vanilla damage. Properly evaluating the best time to use equipment requires some knowledge of the on-hits you are likely to be presented with over the course of the game. We will consider disruptive on-hits and advantage on-hits separately.
Blocking disruption effects
Some classes like Guardian, Assassin, and some builds of Ranger will present you with on-hits that disrupt your ability to play large hands, such as Leave no Witnesses and Spinal Crush. In these spots you can calculate the value of your equipment by comparing the total value of your hand without using equipment, with the total value of the hand if you use your equipment to block instead.
Spinal Crush

Leave No Witnesses
Chilling Icevein
For example, consider Viserai with a hand of blue Shrill of Skullform, blue Shrill of Skullform, Mordred Tide, Swarming Gloomveil, and a Revel in Runeblood in arsenal while being attacked by Spinal Crush. If Viserai blocks with two cards, the best option is to block with Mordred Tide and Shrill of Skullform (preventing 6 damage), then pitch the second blue to make a Runechant with Grasp of the Arknight, then attack with Swarming Gloomveil and Rosetta Thorn (dealing 6 damage), for 12 value total, and saving Revel in Runeblood for another turn.
Swarming Gloomveil
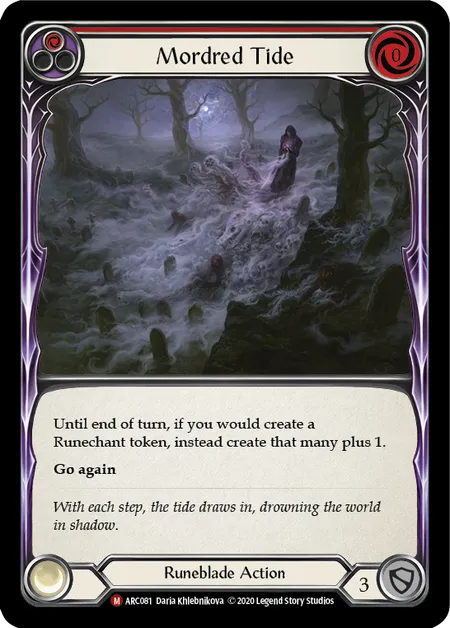
Mordred Tide
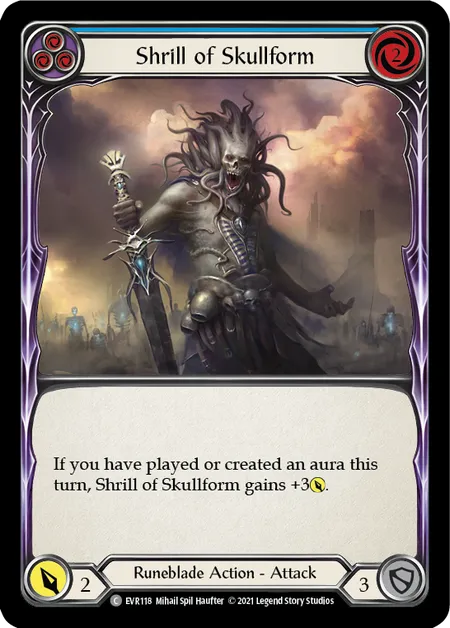
Shrill of Skullform
By comparison, if Viserai blocks with Blue Shrill and at least 3 from his equipment, he can play Mordred Tide, activate Grasp, play Swarming Gloomveil, play Revel, then activate Rosetta Thorn for 19 damage + 3 block = 22 value total. In this situation, you would be trading the Revel and your equipment block for 10 damage, which is +5 extra value since Revel does 5 damage on its own. This is a very strong trade you should almost always take. Knowing exactly how much value is considered “enough” will mostly rely on you having experience in the matchup. But if you think of your equipment in this way you can start to identify which hands have high added value and which ones have low added value.
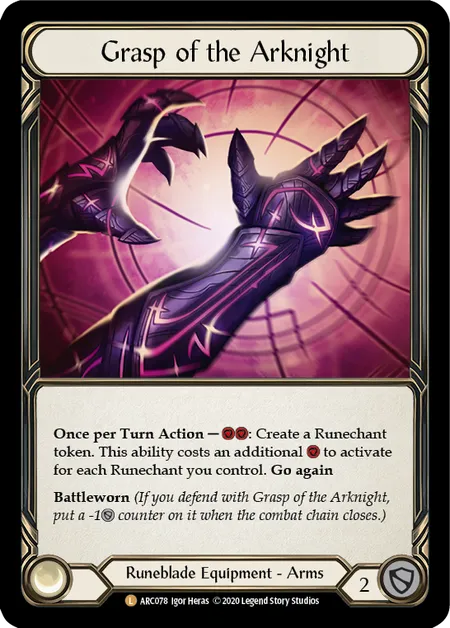
Grasp of the Arknight
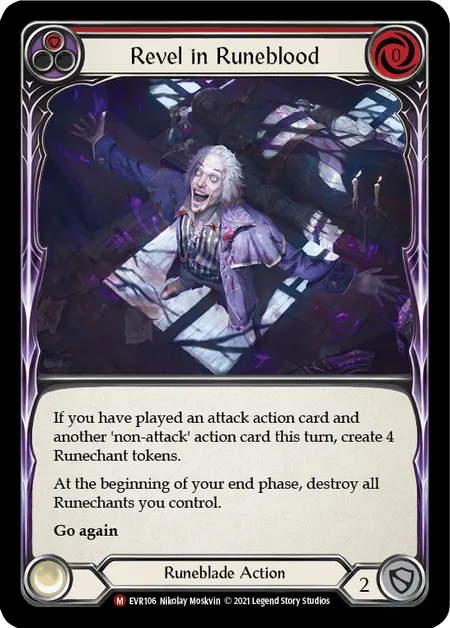
Revel in Runeblood
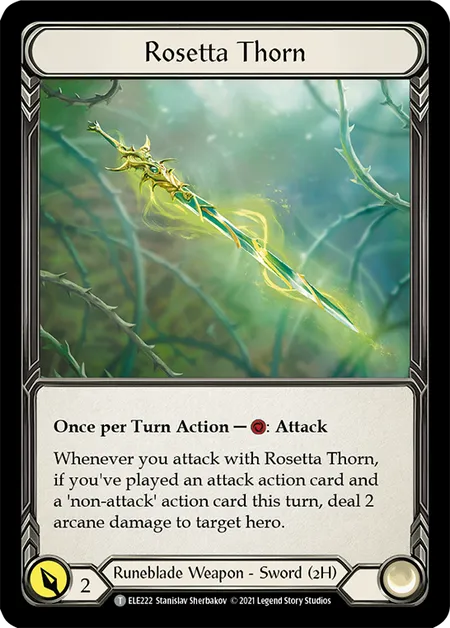
Rosetta Thorn
Blocking advantage effects
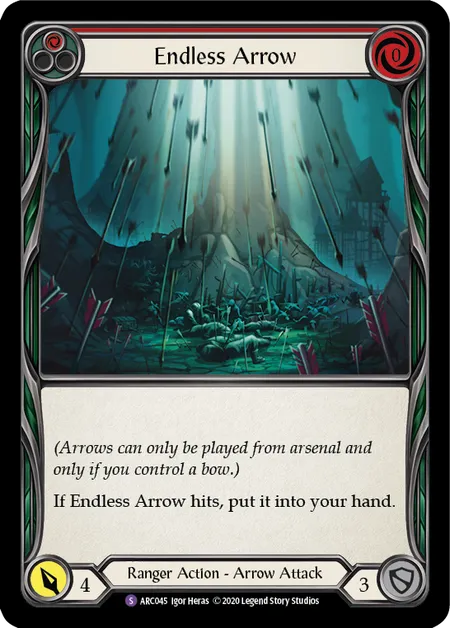
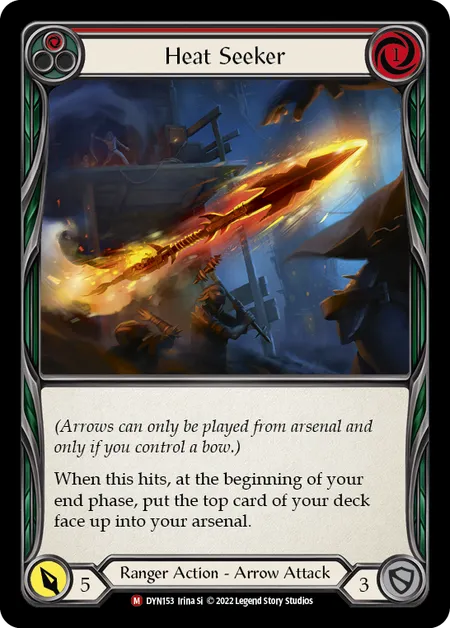
Aggressive classes like Runeblade, Ninja, and some versions of Ranger will primarily present on-hits that generate more damage or card advantage. Examples include Snatch, Endless Arrow, and Heat Seeker. When blocking these attacks, you can value the equipment by comparing three scenarios:
- The value of the hand if you do not block their attack.
- The value of your hand if you block with enough cards to cover the attack.
- The value of your hand if you use equipment to help defend the attack.
Snatch
Endless Arrow
Heat Seeker
Consider the same Viserai hand as before, but this time we are being attacked by Infecting Shot for 5 with no follow-up possible. Infecting Shot does not stop you from playing your turn, so you can choose no blocks or a partial block. If you choose to only block with one blue Shrill you get your 22 value turn – 2 from the Bloodrot Pox for 20 value total. If you block with two cards you will have 12 value total and keep the Revel in arsenal which is worth approximately 5. If you block with Shrill and 2 from your equipment, you get your 22 point turn and do not receive the Bloodrot Pox.
In this scenario, blocking with two cards is significantly worse than playing your four-card hand. Using your equipment to gain 2 value by preventing the Bloodrot Pox is decently strong, but may be worth less than the potential on-hit from Endless Arrow or Heat Seeker. However, when you also consider that Drill Shot will likely threaten your armor later in the game, and that in this matchup, games are generally short, I would be inclined to use my equipment here.
Value-generating equipment
If you are blocking with equipment that provides a persistent benefit while it is still active, you also need to factor in all the future value you are giving up. For example, when deciding if you should block with Fyendal’s Spring Tunic you need to factor in the potential lost value of all the missed resources you will have over the course of the rest of the game. Of course, this depends heavily on how long the game will be going, and can be challenging to calculate accurately, but it's still worth considering.
Fyendal's Spring Tunic
Mask of Momentum
New Horizon
Equip yourself
Maximizing equipment is a very hard skill to master, but making a concerted effort to evaluate your own usage of equipment on an ongoing basis is one of the most important steps to improving. Hopefully this insight gives you a starting place to level up your game as we approach upcoming Road to Nationals, Battle Hardeneds, and The Calling: Antwerp.