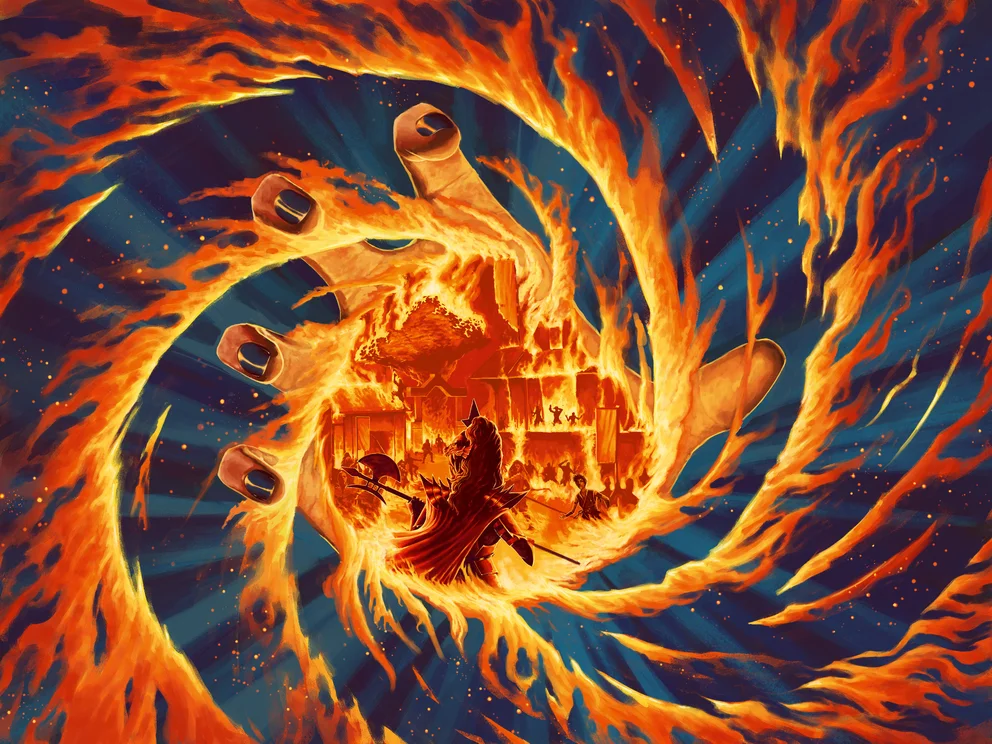
There’s nothing quite like invoking the power of a fiery dragon, soaring down from the skies to deliver death and devastation. Dromai is one of the hottest heroes in the meta right now, as she wages a relentless war against the forces of Ice.
But simply picking up the Ash Artist and rolling up to your next Road to Nationals expecting a free ride isn’t quite as straightforward as it sounds. Dromai is a very difficult hero to master, and you will need dedication, patience, and diligence to learn the ways of the dragon.
Let’s take a look at how the deck functions so you can begin your journey towards bringing glory to Volcor. Learn the lines, stick to the gameplan, and keep practicing - soon enough you’ll be claiming victories, leaving a trail of smoke and ash in your wake.
The Big Three
Dragons may be her brand, but Dromai has a lot more depth than you’d expect. There’s no one correct Dromai deck to rule them all, but we’ve seen top level players lean into three distinct styles of deck building and gameplay that can be identified by which leg equipment they run.
Control
Control Dromai typically runs Mage Master Boots. These special shoes are used to gain an action point in order to exploit cards like Tome of Fyendal and Passing Mirage. The deck runs a very high dragon count, along with a slightly higher blue count to pay for the more expensive allies. You’ll also want to pack more defense reactions and damage prevention in order to conserve your life total and focus on building a board state.
This strategy works extremely well into control decks, as they usually can’t keep up with the rate at which you pump out dragons, but it can suffer into more aggressive heroes that are able to effectively clear dragons while also pressuring your hand.
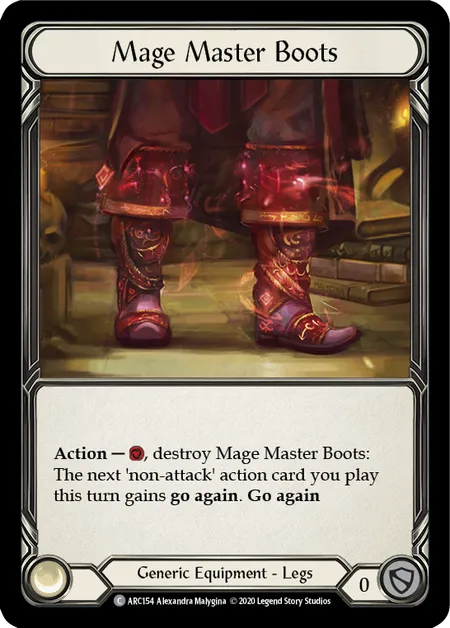
Mage Master Boots
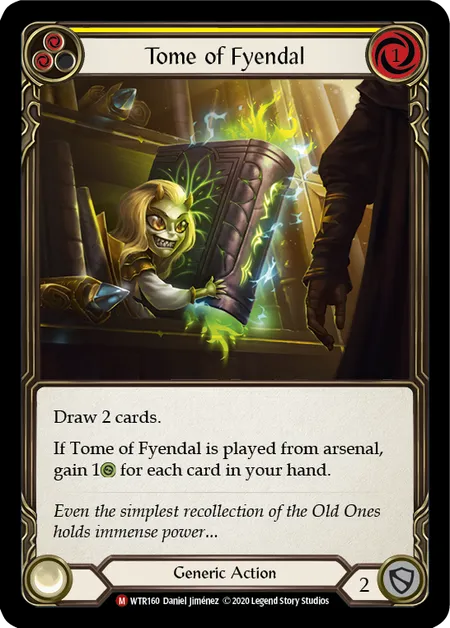
Tome of Fyendal
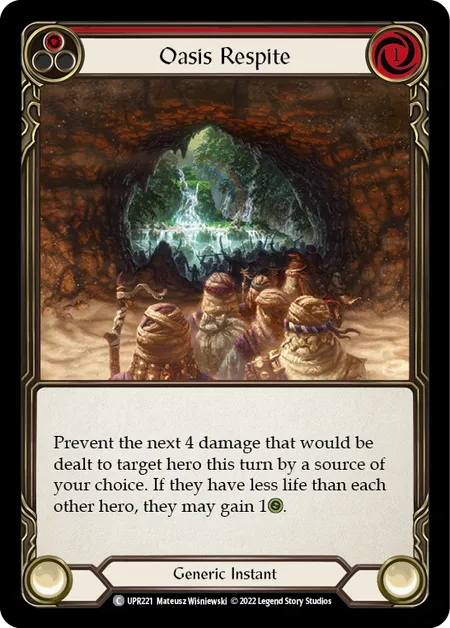
Oasis Respite
Aggro
Aggro Dromai typically runs Snapdragon Scalers. This classic staple gives go again in a pinch to a cheap attack so that you can force breakpoints and build wide combat chains. The deck runs lots of reds and a lower dragon count, focusing on cheap cost 1 or 0 allies that you can throw out with no regard for its safety. Think of these dragons as if they were attack actions with go again, except they also save you life when the opponent attacks them instead of you. The goal is to out-damage your enemies, throwing attacks such as Ravenous Rabble, Blaze Headlong, and Billowing Mirage straight at the face, often ending with powerful payoffs like Dustup, Snatch, or Breaking Point.
This strategy is bonkers into other aggressive decks, and can even go claw to claw with fringe heroes like Brute, but it is a bit fragile on the defensive side and can be susceptible to heroes that focus on disruption.
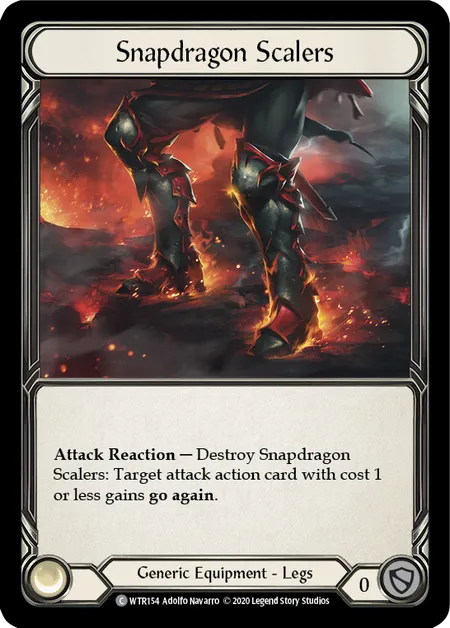
Snapdragon Scalers
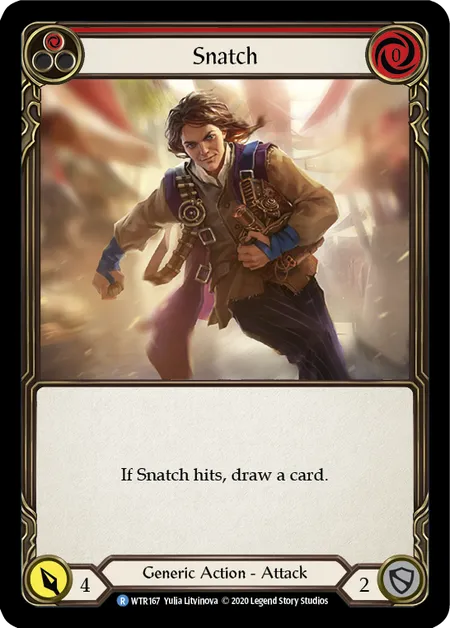
Snatch
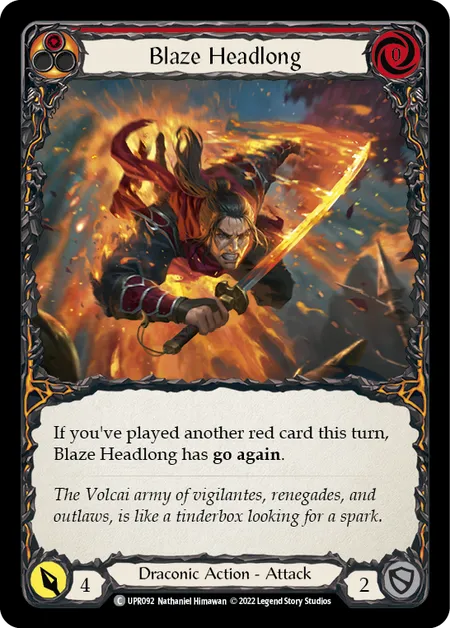
Blaze Headlong
Midrange
Midrange Dromai typically runs Phantasmal Footsteps. This gives the deck lots of flexibility for defending, preserving threats, and generating ash. The deck focuses on gleaning as much value possible from trading hands with the opponent, running cards that block efficiently and have decent stats like Dunebreaker Cenipai and Spears of Surreality, so that it can adapt to the game state and pivot when needed. Unlike the other two versions that play an extremely high or low dragon count, Midrange Dromai is comfortable sitting in the middle, bringing in whatever dragons are relevant for each matchup.
This strategy has a generally favourable spread across a wide field. You won’t have as many clean wins into specific heroes like the other two versions, but you also won’t have many dumpster-fire matchups to avoid either.
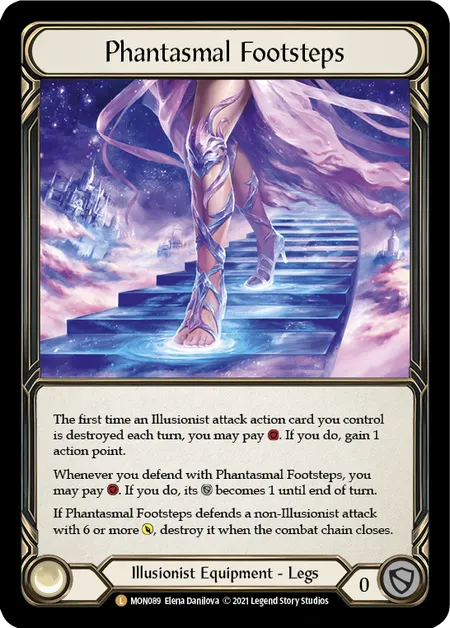
Phantasmal Footsteps
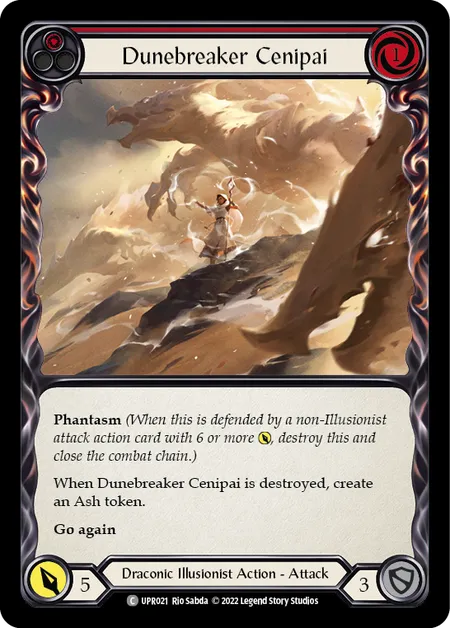
Dunebreaker Cenipai
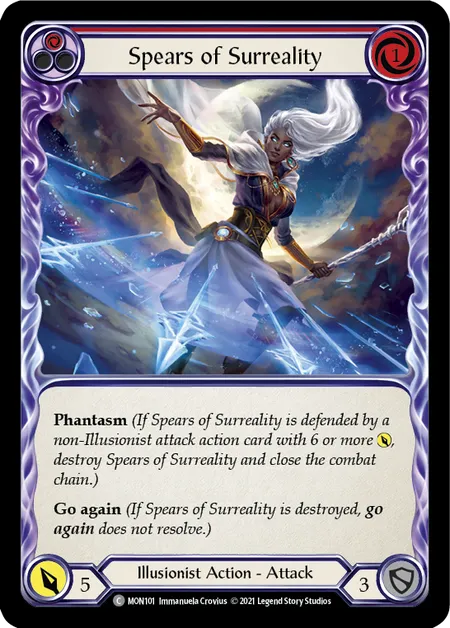
Spears of Surreality
Stash Your Ash
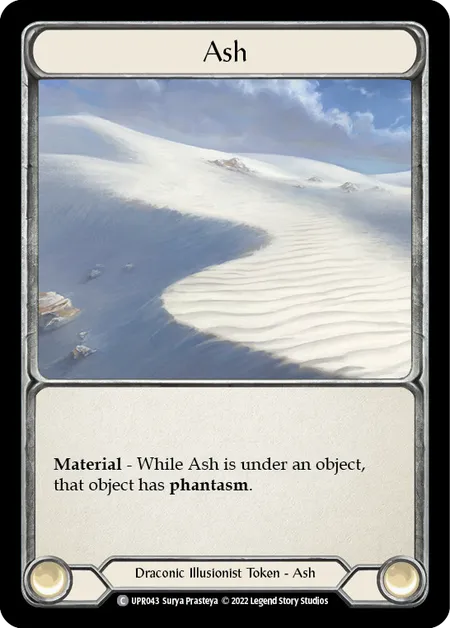
Ash is a unique resource mechanic in Flesh and Blood, and it can be hard to justify trying to generate it when it just sits there looking dusty. But what it enables is extremely powerful, and so on top of attacking, defending, pitching, and arsenal, you’ll also need to learn how to manage your ash carefully. While other heroes will mostly gain value from using a single blue pitch to pay for multiple cards and abilities, you’ll need to be comfortable pitching reds. This means you need to evaluate your hands more carefully.
0-cost dragons such as Azvolai and Cromai are very efficient, as you can play these out and benefit from their powerful effects without sacrificing a whole extra card. However, they will eat up an ash without giving anything back in return, and can quickly result in one of your critical resources drying up. 1-cost dragons such as Miragai and Kyloria do require you to pitch a card, but they replace the ash that they use. These “ash-neutral” dragons are key to preserving your resources while maintaining a board state, which makes them arguably the most powerful dragons to include in any good Dromai deck.
It’s always good to try and stay 2-3 ash ahead, in case you happen to draw a hand full of dragons. Being unable to play these hands out can cost you the game, so always be mindful of opportunities to create a spare ash, even if it means taking an extra couple points of damage. Flamescale Furnace is incredibly useful in this regard, as it allows you to generate extra resources from your reds to pay for the higher cost dragons, while also functioning as an ash generator on most turns.
Ash
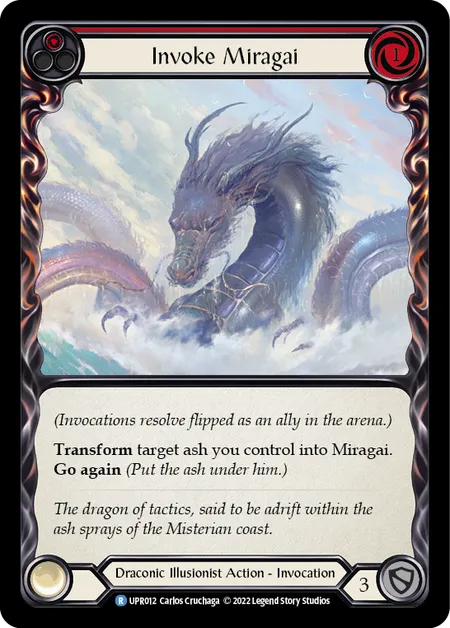
Invoke Miragai
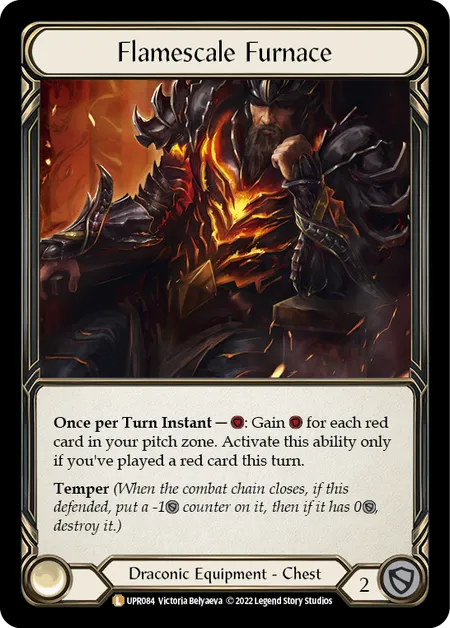
Flamescale Furnace
Another One Bites the Dust
So you’ve heard that Dromai takes some of the other top decks for a walk around the block, but you’re still unsure exactly how to make that happen? Practice is key, because even the easier matchups will still require your full attention and understanding.
Your favourable matchups, such as Ranger, largely rely on their incapabilities to remove dragons. Aether Ashwings are the go-to, as every dragon takes an arrow to kill, so the little guys simply have to be ignored, which allows you to rapidly amass an army of babies to whittle down the opponent’s life total. Swarm the field and keep up the pressure, eventually they will succumb to Volcor’s wrath.
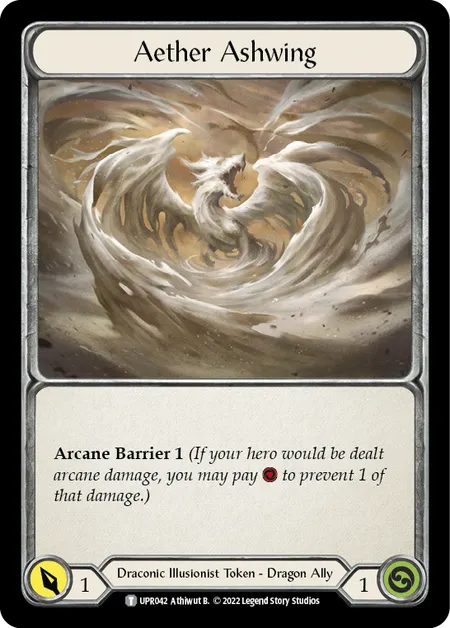
Aether Ashwing
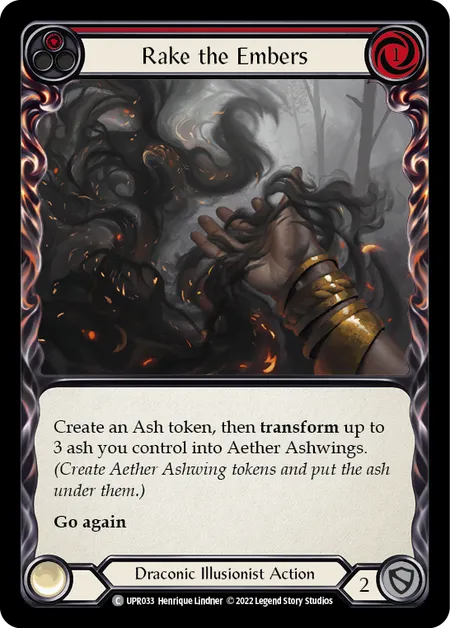
Rake the Embers
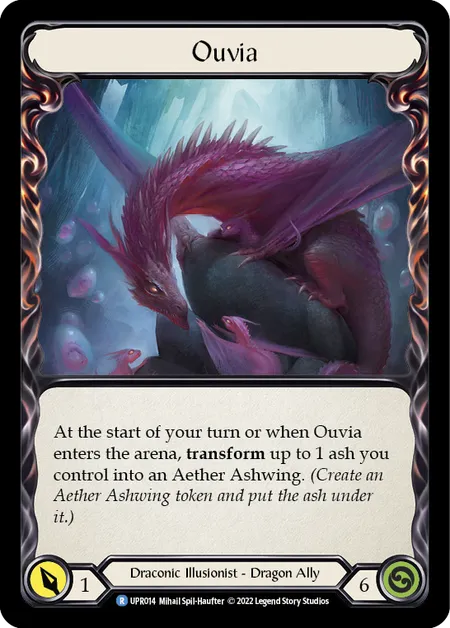
Ouvia
One of the most skill intensive matchups you’ll encounter is Guardian. This will largely rely on the experience of the players, as everything teeters on the edge of every decision. One wrong call from either player and the fragile balance is broken, allowing the other player to take control of the game.
Stripping the Guardian’s deck of their poppers and setting up a late game plan such as Burn Them All or Ghostly Touch is largely how Dromai finds the win. Cromai is an excellent tool, as it pretty much guarantees you’ll buy two poppers from the hand during that turn. Even if it seems like you’re getting nowhere with all your dragons being popped, stay on the path and eventually you’ll find they’re running out of ways to remove your threats, especially when you recycle them back into your deck.

Cromai
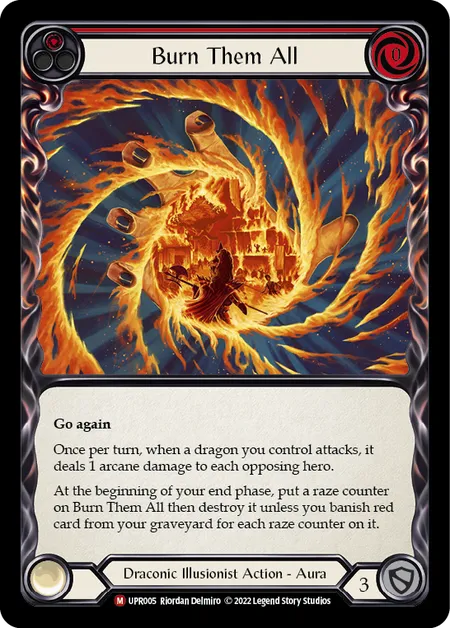
Burn Them All
Remembrance
Don’t skip on learning the mirror! There will definitely be other sand slingers out there, so it always pays to have some reps under your belt when you pair into another Dromai. The mirror is incredibly complex, and will require tight decision making.
The main goal is to be the last dragon standing. Try to conserve your dragons by pitching them back into your deck, and clearing your opponent’s dragons with attack actions instead. When you arrive at the late game, you want to have the biggest army, you don’t want to be desperately cleaning up your opponent’s forces while not being able to send out your own.
Azvolai is your number one lieutenant, as the ability to ping two Aether Ashwings at once is huge. It’s also a good idea to bring in ash generators such as Nekria and Sweeping Blow, so that you can build a big pile to rely on later when your options become limited.
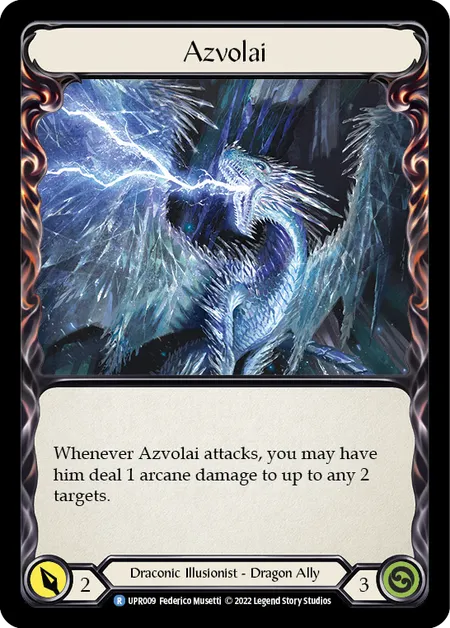
Azvolai
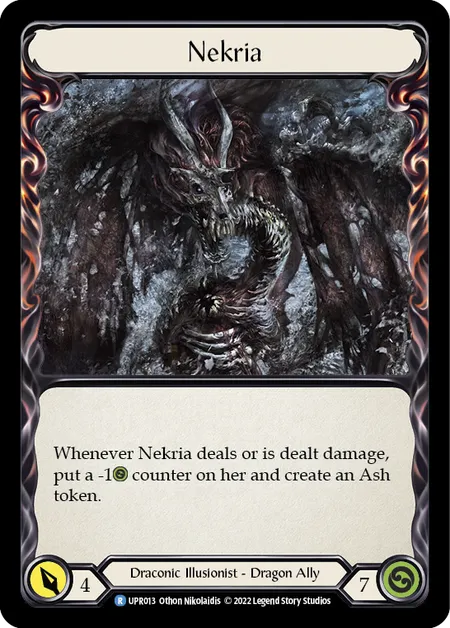
Nekria
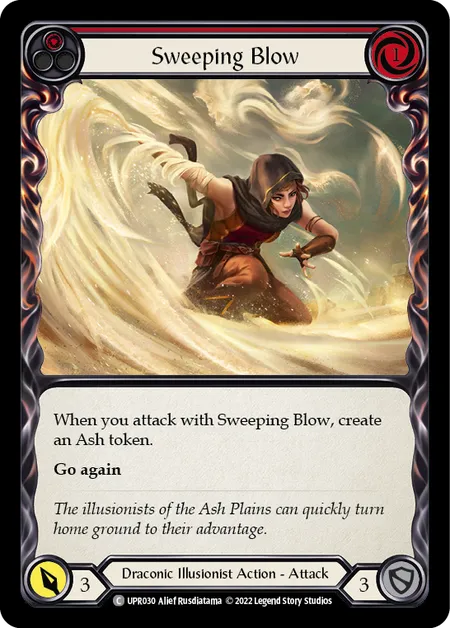
Sweeping Blow
Be prepared for some really uphill battles too. Brutes can be abysmal, as well as full aggro decks like Ninja. Chances are you’ll pair into one of these heroes but don’t despair. Focus on what your deck can do to keep them on the back foot, which dragons are going to be most annoying, and what tools you need to navigate those particular play patterns.
Other heroes like Dash or the Runeblades can make for some very interesting games. Teklo Plasma Pistol and Rosetta Thorn are very good at clearing dragons while also threatening your life total. The best thing you can do is figure out what they are trying to do. Is the Dash boosting away their deck like there’s no tomorrow? Aggressively block out until they run out of gas. Is the Briar playing slow, blocking efficiently with Embodiment of Earth tokens, and looking to set up a big Channel Mount Heroic turn? Hold a dragon they simply can’t ignore in your arsenal then play it out along with any other threats you have when you see the big rock hit the field.
Trust the Dro-cess
There will be several moments where you feel as if you are losing - you’ll be behind on life, no dragons on board, and the opponent has tempo. You may want to deviate from the path, try to find some alternative way forward, but this is where many Dromai will stumble.
Always stick to the gameplan, even when things look dire. Remember what you’ve learned and practiced, and you’ll find more often than not that things will work out eventually. Even in your darkest hours, the next hand could have that game-winning Tomeltai. Resist the urge to abandon ship, and TRUST THE PROCESS.
Good luck Illusionist enthusiasts - may the sands run red with the blood of thine enemies.