Welcome to the Flesh and Blood Quickstart rules. We recommend that both players use a Hero Deck and young Hero cards with the Quickstart rules.
Set-up
- Put your young Hero card and their weapon into the arena (the playing area).
- Set aside any Equipment cards you have; they will not be used in the Quickstart game.
- Shuffle all other cards into your deck.
- You'll need a way to keep track of your hero's Life, which is the number next to the green symbol in the bottom-right corner of your Hero card.
- Randomly decide who will play first.
- Each player draws cards equal to their hero's Intellect, which is the number next to the blue symbol in the bottom-left corner of your Hero card.
You are now ready to begin.
The Action Phase - Getting into the Action
Most of the excitement of Flesh and Blood occurs during the Action Phase. This is where you’ll prepare your weapons and/or other attacks to strike through your opponent’s defenses!
At the beginning of the Action Phase, you gain 1 Action Point (you don’t usually need markers to track this). Any time you play an Action card or use an ability with the word “Action” in it, you must pay 1 Action Point. This represents the time and effort it takes to perform the action, and acts as a limit to how much you can do in a turn. If you don’t have any Action Points left, you can’t play or use any Actions! Use your Action Points wisely.
Many Actions in the game have the text Go again. When an Action with Go again resolves, you gain 1 Action Point. These usually appear on cards that help you set-up for a big attack, or on attacks that are so quick that you’re able to get in another one straight away!
Note: Action Points go away at the end of your turn if they’re not used. Try and use them if you can.
Playing / Using an Action
First, select the Action that you’d like to use (usually, this will be your Weapon, your Hero ability, or an Action card in your hand).
An Action’s resource cost is the number inside the red circle in the top right-hand corner of Action cards in your hand, or the number of red resource symbols printed in the text box of cards in the arena, such as Heroes and Weapons. You must spend resource points equal to the resource cost. If you can’t pay the resource cost, you can’t use the Action!
Note: Managing your resource points wisely is a crucial part of winning in Flesh and Blood.
Resource points are usually produced by pitching cards from your hand to your Pitch Zone. To pitch a card, simply place it face-up into your Pitch Zone. It produces resource points equal to its Pitch Value (the number of red resource symbols socketed in the top left corner of the card, which can be 1, 2, or 3). Resource points last until you spend them or the turn ends, when all unused resource points are lost.
Note: Cards in your deck have a Pitch Value color strip along the top. All cards with Pitch Value 1 have a red strip, cards with Pitch Value 2 have a yellow strip, and cards with Pitch Value 3 have a blue strip.
Note: You cannot pitch a card for no reason; you must have something to pay for in order to pitch a card.
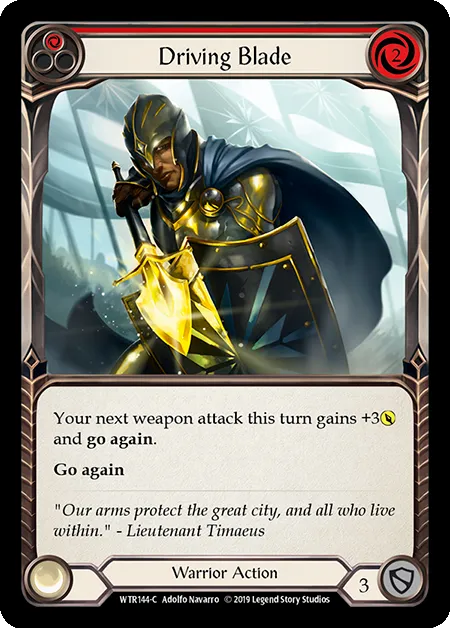
Driving Blade
Some cards (especially cards in the Brute class) have additional costs, which will be clearly stated in the card’s text box. If you can’t pay the additional cost, you can’t play the Action.
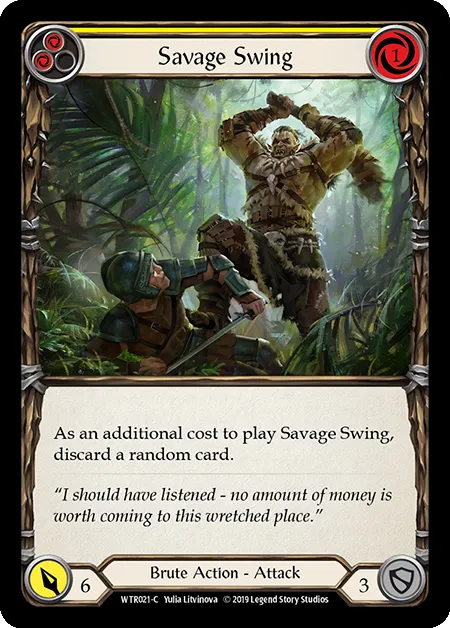
Savage Swing
If the card you played or ability you used was just an Action (not an attack), resolve the text on the card immediately. Many of these 'non-attack' Actions will have Go again, so make sure you look out for it.
If the card you played or ability you used was an Attack Action, you’ve just initiated combat. Get ready to fight!
Attacking - Taking Down Your Opponent
Ultimately, Flesh and Blood is a game about combat; you’re going to have to attack at some point (if you want to win, that is). When one of your Actions is an attack, you have entered combat. Place the card into the Combat Zone; it’s fight time!
Each attack has an Attack Value that can be found next to the yellow spear symbol in the bottom-left corner of the card. This represents how powerful your attack is, and how much damage you can potentially inflict on your opponent.
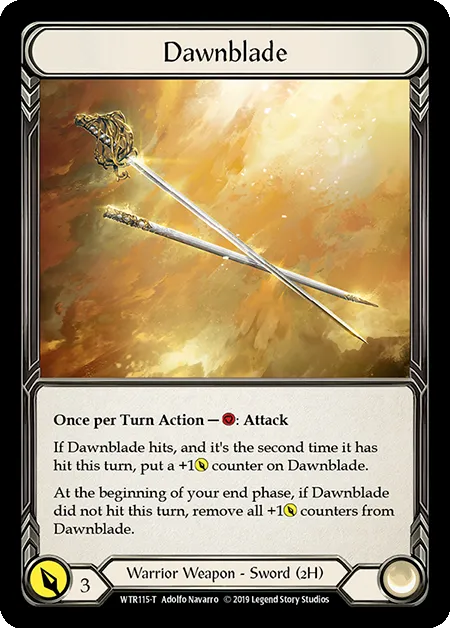
Dawnblade
Some cards might have abilities which add to the Attack Value of your attacks or weapons. When you add a card to the Combat Zone, it’s polite to let your opponent know the total Attack Value of the attack.
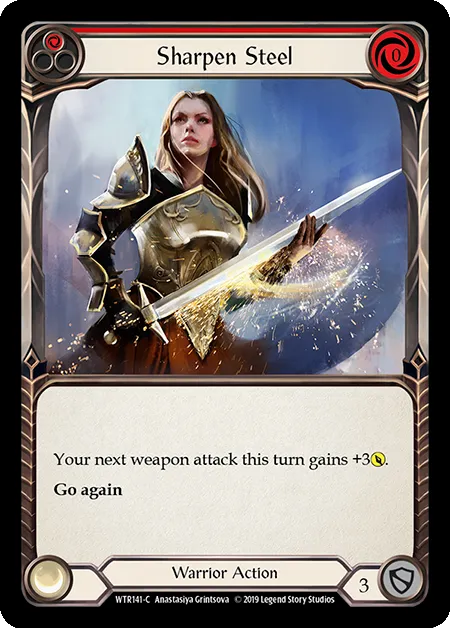
Sharpen Steel
If your attack has any effects in their game text, you can use them now, unless the effect depends on whether the attack hits (more on this later).
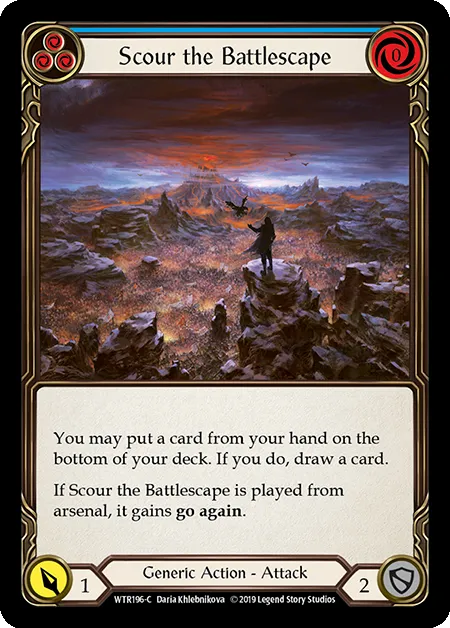
Scour the Battlescape
Now it’s your opponent's chance to defend themselves! Once you’ve declared your attack and let them know how much power is coming at them, they can choose to defend with cards from their hand. To do so, they can place any number of cards from their hand into the Combat Zone, as long as those cards:
- Have a Defense Value (the number next to the grey shield symbol in the bottom right corner of the card)
- Are NOT Defense Reactions (these come later)
Note: Defending with a card this way does NOT cost resource points.
The amount of incoming attack power is reduced by the total Defense Value of the defending cards. Like the attacker, it’s polite for the defending player to let the attacker know the total Defense Value of cards they are defending with.
Note: Be careful how many cards you defend with. While defending is important, it also reduces how many cards you have available to attack your opponent with on your next turn. Finding the right balance between defending and making sure you have enough cards to attack back with, is a key part to winning!
Reacting - Think Fast
Once the defending player has chosen their cards (if any) to defend with, it’s time for Reactions. Reactions are special cards which are only played during attacks. You play Attack Reactions when you’re the attacker, and Defense Reactions when you’re the defender. Playing Reactions is very similar to playing Actions; you must pay the resource cost (pitching cards if necessary), and you place the Reaction card into the Combat Zone, immediately resolving their effects.
The attacker has the first opportunity to use as many Attack Reactions as they wish. Once they’re done using Attack Reactions, the defending player can use any number of Defense Reactions, adding their Defense Value and resolving any abilities on them.
If the defender plays any Defense Reactions, the attacker can respond with more Attack Reactions, and so on, until both players decide to play no more Reactions. At that point, the attack resolves: it’s time to draw blood.
Damage - Winning the Game
After all Reactions are completed, it’s time to deal damage. To calculate the amount of damage dealt, add up the total Attack Value of the attack (the base Attack Value + any modifiers), and subtract the total Defense Value of all defending cards including Defense Reactions. The difference is how much damage the defending hero takes. Reduce their life total by this amount. As long as at least 1 damage was dealt, the attack has Hit; at this point, any abilities that required the attack to Hit resolve.
Get your opponent to zero life to win the game!
Ending the Attack
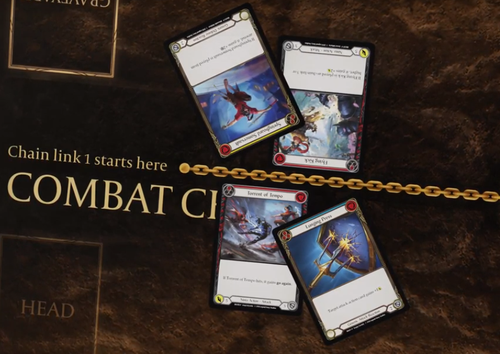
After damage is calculated and Hit effects resolve, the player whose turn it is can continue attacking by playing another Attack Action, as long as they have at least one Action Point available. This would usually be because the previous attack had Go again. If this happens, leave all the previous attacking and defending cards in the Combat Zone. Each attack and all the cards that defended it are treated like a "batch", which is called a Chain Link. The first attack (and defending cards) in the Combat Zone is Chain Link 1, the second attack (and defending cards) is Chain Link 2, and so on. Some cards and effects care about how many chain links there are or look back at which attacks came before them on the combat chain, like Ninja combo cards.
If the player whose turn it is doesn't have any Action Points remaining, or has no further attacks to play, move all cards from the Combat Zone to their owners’ graveyards, with the exception of weapons and equipment which return to their respective zones (to use again in a future turn).
Ending Your Turn - Filling Your Arsenal
When you’re out of Action Points and have nothing else to do, you move to the end phase. Put any cards in your Pitch Zone on the bottom of your deck in any order.
You may then choose a card from your hand and place it into your Arsenal face-down. While a card is in your Arsenal, you can play it (effectively letting you have an extra card). It's not part of your hand, and therefore you can NOT do the following with a card in Arsenal:
- You can’t pitch it (for resource points).
- You can’t defend with it. (If the card is a Defense Reaction, you can play it from your Arsenal).
Note: Your Arsenal can only ever have one card in it, and you can’t swap your Arsenal card with a card from your hand. The only way to get a card out of your Arsenal is to play it, so choose what you put into your Arsenal wisely.
Then, draw cards until you have cards in hand equal to your Hero's Intellect. Importantly, ONLY the player whose turn it is draws cards up to Intellect at end of turn. It's now your opponent’s turn.
Note: At the end of the first turn of the game, both players draw up to their Hero's Intellect.
ADVANCED GAME CONCEPTS
Auras
Auras are a special type of Action card. Unlike most other cards, they stay in the arena after they’re played, and generally remain there until noted otherwise. Auras tend to have an ongoing effect on the game, OR have an effect at the start of a turn, at which point they are destroyed.
Instants
Instants are a rarer card type. Instant can be played at any time, as long as their Resource costs can be paid. Their effects resolve immediately, and they are placed into the graveyard. Instants don’t cost an Action point to use, and can be played on either player’s turn.
Equipment
Equipment are cards that begin the game in play, like weapons do. Before the game starts, each player can choose up to one Head, Chest, Arms, and Legs Equipment card to begin the game in play. Equipment provide various options for players, in the form of Instant, Action, and Reaction abilities. Many equipment can also be used when defending, by adding them to the combat zone at the same time as choosing cards to defend with from hand. Usually, when equipment is used to defend, it either breaks or wears down losing some defense value, as specified on the card.
Items
Items are a special type of Action card. Unlike most other cards, they stay in the arena after they’re played, and generally remain there until noted otherwise. You can use the abilities on Item cards just as you would any other card in the game.
Banished
The Banish Zone is a separate zone sometimes referenced by cards. Usually, cards are placed temporarily in the Banish Zone due to various effects, though sometimes they are placed there permanently. There is no functional difference between the Banish Zone and the Graveyard, apart from their interaction with some card effects.
KEYWORDS
Combo
Combo is a keyword that appears on Ninja cards. Cards with Combo usually gain a bonus if they are played after a specific card named on the card with Combo.
Crush
Crush is a keyword that appears on Guardian cards, and represents the impact the Guardian’s powerful attacks can have. If a card with Crush deals 4 or more damage, the Crush effect is activated, generally applying a detrimental effect to the defender.
Dominate
When an attack has Dominate, it represents the attack being particularly hard to defend against. When defending against an attack with Dominate, the defender can only defend the attack with a single card from their hand. This includes playing defense reactions from their hand (but not from Arsenal). A great way to get around Dominate is to defend with a card from hand, then play a defense reaction from arsenal.
Intimidate
Intimidate is a keyword that appears on Brute cards, and represents an attack so terrifying that the defender can’t think straight in order to defend themselves. Whenever Intimidate occurs, a random card from the defender’s hand is banished face down until the end of the turn. This can happen multiple times in a turn, and serves to limit what cards the defender can use to defend with.
Reprise
Reprise appears on Warrior cards, and represents the Warrior’s skill in the thick of combat. When a card with Reprise is played, if the defender has defended with at least one card from their hand (including defense reactions), the Reprise bonus activates. Note that if the Defender only defends with Equipment cards or a Defense Reaction from their arsenal, Reprise does not activate.
With thanks to Kenny Nguyen for his work on the Quickstart Rules.