Avast Ye!
High Seas Booster Draft is a fresh gust of saltwater air for us limited players. This is a deep format, offering hidden treasures for those willing to take a dive and dig for them. Steering is challenging enough that you might find yourself running ashore, marooning on a deserted archetype.
Access to weapons is no guarantee in this format. Cards that would usually be premium for landlubbers are less potent out at sea, but some trash may just turn out to be treasure. You might fight long battles balancing on a knife’s edge, or set up 5-card combos in the early game that blow your opponent out of the water.
This article will be your guide, helping you navigate these treacherous waves. Every pack offers a multitude of different directions, and you can often steer towards those styles of decks that you’re most comfortable with. For this reason, you can either read this comprehensive guide in one big gulp or you can just read the next section on set overview, skip to the hero that catches your interest the most, and just focus on learning how to draft that hero. Then you can return to this article once you feel ready to discover something new!
Set Overview
Quick Hits
- Heroes are divided into archetypes based on how they want to use Gold and interact with Treasure Island.
- Synergy decks want both players to get Gold. They have more go again and breakpoints.
- Individual card quality decks want to deny Gold. They have more defensive cards and big attacks.
- Often a draft starts by picking the best Generic and Pirate cards before your figure out which class cards are flowing.
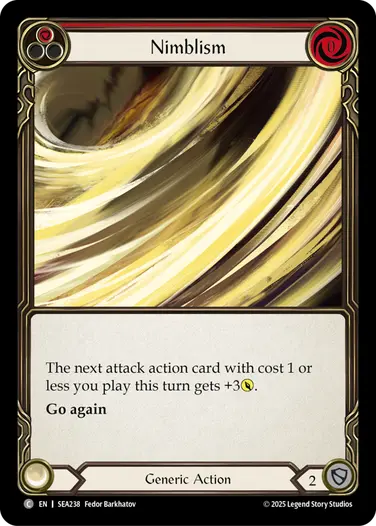
- Keep an eye out for Nimbilism (red), as it enables a whole package that’s quite powerful.
Some things in this format will be relevant regardless of which hero you play. This is in part due to the high amount of Pirate cards and Generics that can go in any hero, and in part because of the presence of Treasure Island. This first section will cover some of the format baselines that will help you decide how to draft and build your deck.
An important concept for this article is archetypes. There isn’t just one way to draft each hero. Your card priorities will change based on your overall strategy and how it fits with the other cards you have drafted. Each sub-strategy for a class is called an archetype, and I’ll attempt to highlight three archetypes for each of the main heroes in this set. This concept is present in every set, but High Seas makes it apparent with the different weapon choices for two of the heroes.
The archetypes will differentiate between how they interact with Treasure Island and how they use their gold tokens, so I will start with some theory on those two game pieces before I move into explaining how this affects drafting and deck building.
Playing with Treasure Island
Both players share this macro that starts the game in play and impacts any blocking decision throughout the game. All heroes can make good use of the Gold and some archetypes are even quite reliant on it, so the fight for Treasure Island is an important game aspect.
It’s important to understand how Treasure Island works: Essentially this gives an on-hit to every attack. This means that breakpoints become more valuable, and so do abilities that stop breakpoints (like equipment with Blade Break). Though unlike normal on-hits, it’s based on the amount of damage dealt. If Treasure Island has 2 or more counters on it, blocking a 4-power attack for 3 still has merit, as you’re denying at least one Gold and can potentially take it for yourself.
Blocking is important in this format, but that doesn’t mean every deck has to be defensive. Another part of this theory is looking at how much value your archetype gets out of each Gold token and how you plan to use them.

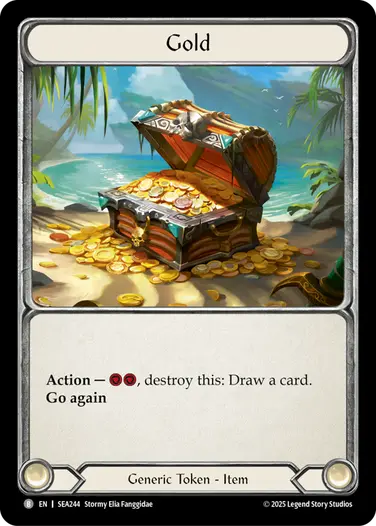
Treasure Island
Playing with Gold
Each hero has a built-in way to use Gold tokens. These can be important game effects, but it’s good to know that you don’t have to use these abilities or rely on them, as Gold tokens also contain value in themselves.
One way to understand Gold is if you spend a blue to sacrifice a Gold and draw another blue card, the Gold token essentially turns into +1 resource. They can also be viewed as one third of a card each, as you can spend two blues and three Gold to turn a two card hand into a three card hand. Essentially, you can value each Gold token at about 1 point of value.
I will advise that you be extremely careful with using Gold in this fashion in the mid game. If you block in a way where you rely on drawing a blue card with your Gold, and instead draw a red card, it can be disastrous. And similarly with a heavy blue hand, you might just draw another blue and have a suboptimal damage output. It’s often better to just block in a way that is most optimal for the hand you have now and save your Gold for later to avoid potential disaster.
However, in the endgame where you reach second cycle and might even know the contents of your deck, a pile of Gold can be extremely powerful. This is an advanced technique, and I wouldn’t expect people to remember the exact order of the cards you have pitched throughout the game (I know I certainly struggle with doing it consistently), but High Seas limited can be a good way to start training that ability.
One strategy is to make sure you only pitch blue cards throughout the game, so that you know for sure that each Gold will draw you into another blue card. Another trick is if you do pitch a powerful red or yellow card, you can keep a mental count of how many cards you pitch after it, and count from the bottom of your deck to know exactly where it is and when you can draw into it with your Gold.
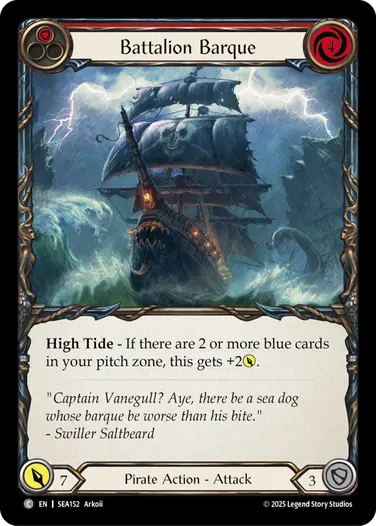
Imagine this endgame: You’re down to just one card in hand, and it’s a blue. Your deck has three more blue cards and a Battalion Barque (yellow) at the bottom. But you have piled up four Gold tokens throughout the game, and now you can pitch a series of blue cards to eventually end up with 4 resources and the Battalion Barque, essentially converting one card into an attack for 8. In endgames where both players are at 1 life, it can be extremely powerful to demand a block of three to four cards, even though you only had one card in hand to begin your turn.
For some archetypes, part of your goal will be playing towards that endgame. This means you aren’t looking to spend your Gold much throughout the game. Whereas for some other archetypes, you might want to spend your Gold on your hero ability as much as possible. You won’t have access to these endgame plays, but you will get to leverage your hero power to make more powerful plays throughout the game.
Gold
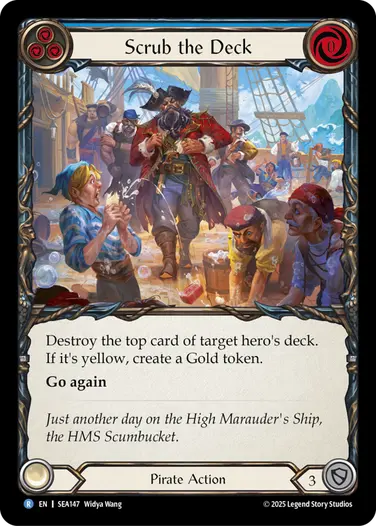
Scrub the Deck
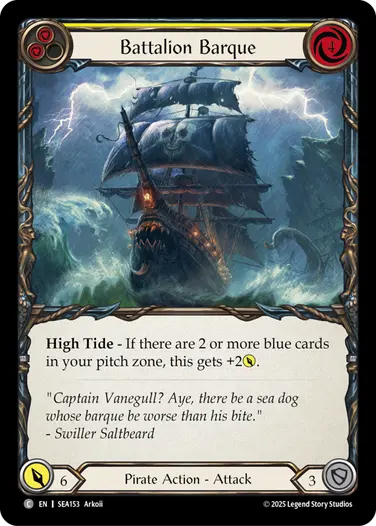
Battalion Barque
Synergy vs Quality
This part of the theory revolves around how your deck plans to access power—does it happen through combining cards and hero abilities to elevate them into powerful turns, or does it happen through individually high quality cards that are just good on rate without help?
You can imagine a spectrum between high synergy decks on one end and high quality decks on another end. A high synergy deck is looking to leverage their hero ability or parts of it to achieve numbers that are higher than you’d expect of a turn. A high quality deck would involve strong attacks, high block values, and not care too much about their hero ability.
Note that even though I call one of these deck types “quality”, that does not mean it’s inherently better than synergy. It’s often going to be more consistent, but will also struggle to achieve above 12-13 value on average per turn cycle.
These two deck types relate in interesting ways to Treasure Island and Gold usage in this limited format. They are connected to the different ways of using Gold and to the two ways an early game typically plays out.
Synergy decks tend to relate to hero abilities, which in the format means you want to tap your hero to sacrifice a Gold as often as possible. It might also be that your deck is just particularly good at using Gold to draw cards. Regardless, synergy decks want steady access to Gold, and will often have a low amount of Gold tokens in play, so they won’t be able to access those powerful endgames.
Quality decks might not be able to leverage their hero ability especially well on a turn-to-turn basis because they have less of those synergy-reliant cards, but can play just fine in typical games of Flesh and Blood. They will still get Gold through Treasure Island which will then tend to stockpile, and they will access that Gold for extra value in the endgame. This is typically how the Sealed Deck format plays out, where quality decks tend to work better than synergy decks.
This difference in Gold requirement will also affect how these deck types want to interact with Treasure Island. There are typically two ways the early game can play out. Some games turn into quick races, where nobody blocks much and each player gets one Gold every turn. And in some games you will see players trying to deny each other that first Gold token, typically blocking with two cards and spending two cards to attack every turn cycle.
The more synergistic your deck is, the more you want to engage in the first type of game where each player gets a Gold every turn. Presumably, your synergies can make better use of that Gold than your opponent can. The more individual high quality your deck is, the more you want to engage in the second type of game where you deny your opponent Gold at the cost of also not getting Gold yourself, because you don’t care as much about having Gold early.
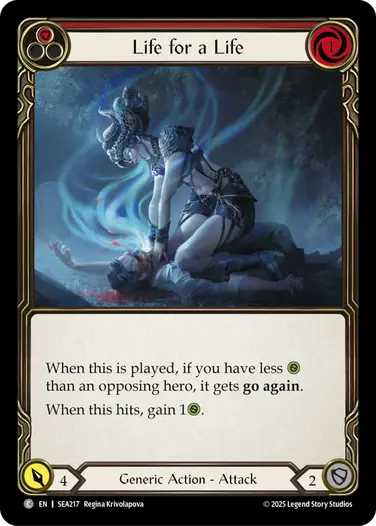
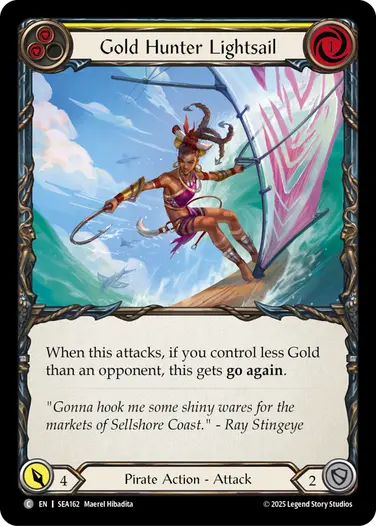
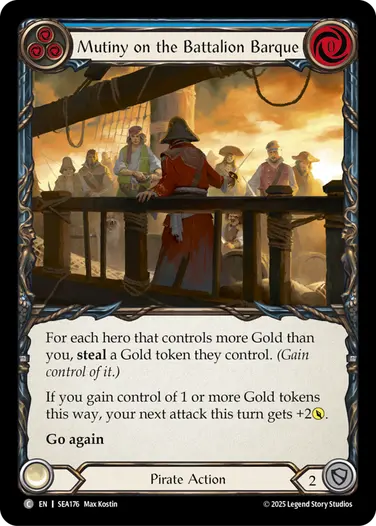
This means that synergy decks are interested in go again and breakpoints, so that they can make use of bigger hands when they don’t block as much. Cards like Life for a Life, Gold Hunter Lightsail, and Mutiny on the Battalion Barque all reward you for taking damage and giving the opponent Gold to enable you to play a big hand.
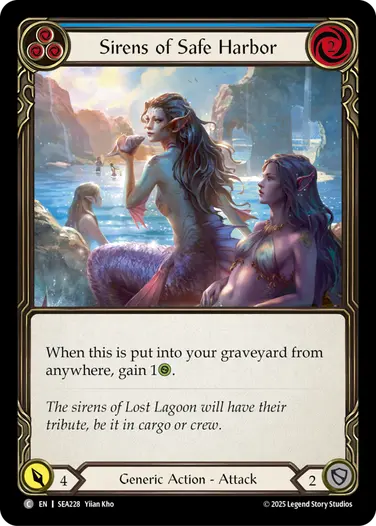
Note that blocking less doesn’t mean that you never block. As always with aggressive decks, finding good spots to convert 3-blocks lets you have more life total so that you don’t risk being forced to block when you draw your high-output hands later. A hand that blocks with one card for 3 then sends a Life for a Life into Sirens of Safe Harbor is a great way to play early games in synergy decks that look to amass Gold, letting you set up for future turns.
Life for a Life
Gold Hunter Lightsail
Mutiny on the Battalion Barque
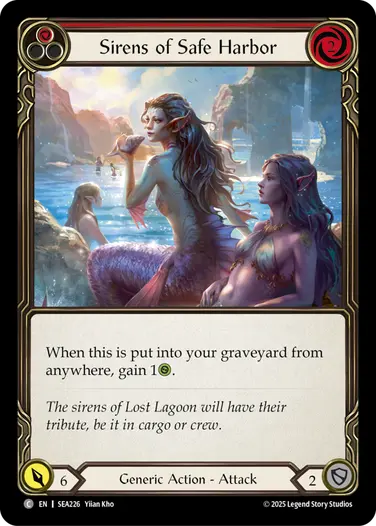
Sirens of Safe Harbor
On the contrary, in the quality decks you’re looking to prioritize 3-blocks, 3-for-7’s, and blocking equipment. Having a full equipment suite that can absorb breakpoints is incredibly important for denying your opponent Gold so you aren’t forced to block awkwardly on a 4-power attack. Block cards like Lost in Transit are also perfect for decks like this, helping to stop overpower and removing counters from Treasure Island to deny Gold.
Playing games where both players block a lot is also great for the high quality decks, as this will lead to long games where they typically have a fatigue advantage, as well as making it more likely they reach their second cycle where they can spend the pile of Gold they have amassed throughout the game.
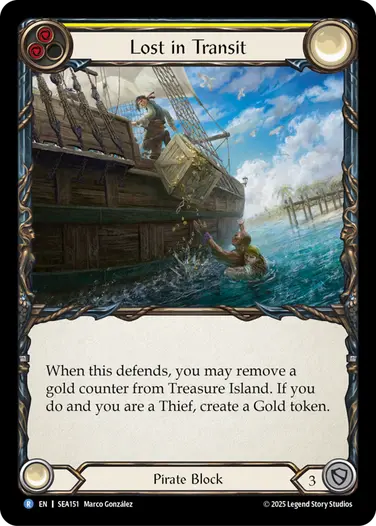
Lost in Transit
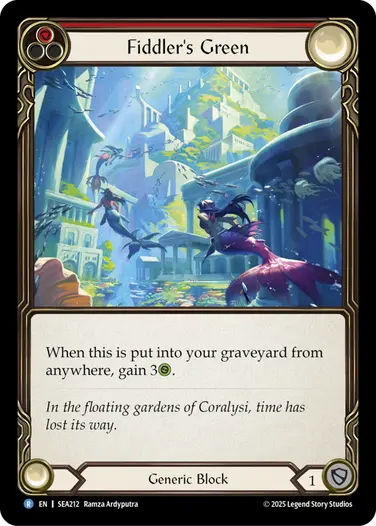
Fiddler's Green
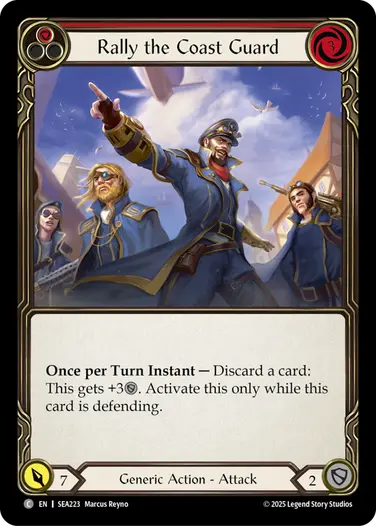
Rally the Coast Guard
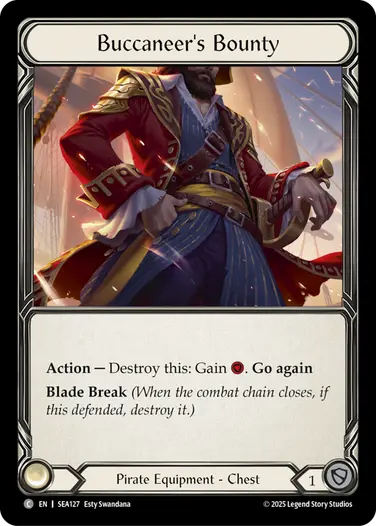
Buccaneer's Bounty
Synergy decks want to be Gold-enabling, while quality decks want to be Gold-denying.
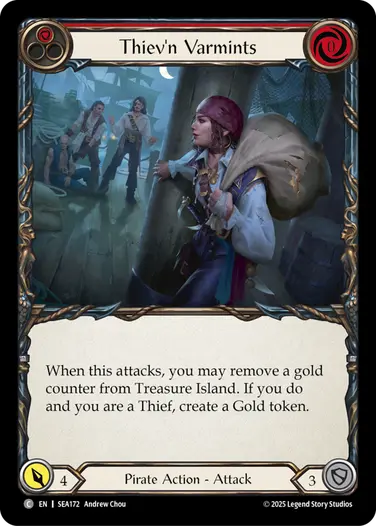
To illustrate the difference between these strategies, we can look at two cards that are next to each other on the collector number sheet: Chart a Course and Thiev’n Varmints. Chart a Course has go again, helps enable a big attack turn that will be harder for the opponent to block out, and it can put a counter on Treasure Island to have more Gold between the players. This fits better in a Gold-enabling strategy. Thiev’n Varmints on the other hand, is a 3-block, a one card play you can play after you spent three cards blocking, and it removes a counter from Treasure Island so that there is less Gold between the players. This card fits much better in a gold-denying strategy.
Knowledge of how cards fit into strategies can be quite defining for your deck’s performance, and it’s important to have awareness and not pick the wrong card for your deck. If you draw Chart a Course in your defensive deck, you could get punished by it being a 2-block, and if you draw Thiev’n Varmints in your synergistic deck, you could get stuck without enough go again to use your hand efficiently. Neither card is disastrous in the wrong deck, they’re both going to be playable. But during the draft, if I’m faced with a decision between the two, I’m going to think about the cards I have already picked to help evaluate which direction I should push for.
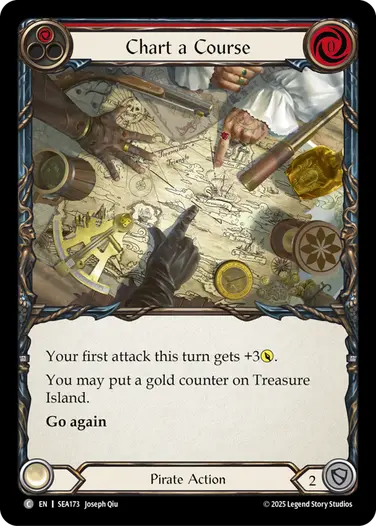
Chart a Course
Thiev'n Varmints
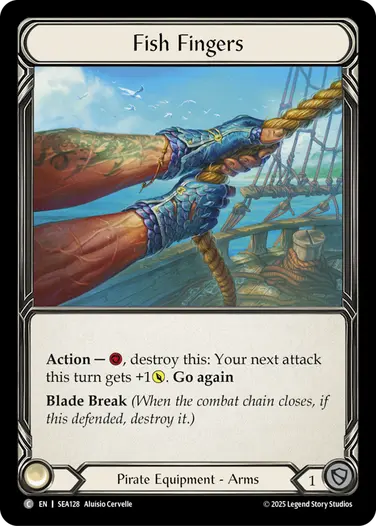
As another example, consider a pick between Life for a Life and a Blade Break equipment like Fish Fingers. It’s not that either card is bad in any archetype. The synergy decks also want a full suite of equipment, but it is less important. If the cards you have so far are Rally the Coast Guard and On the Horizon you might be more likely to be a Gold-denying deck and would rather have the equipment, whereas if your picks are Ravenous Rabble and Swiftwater Sloop, you might rather want the Life for a Life.
Fish Fingers
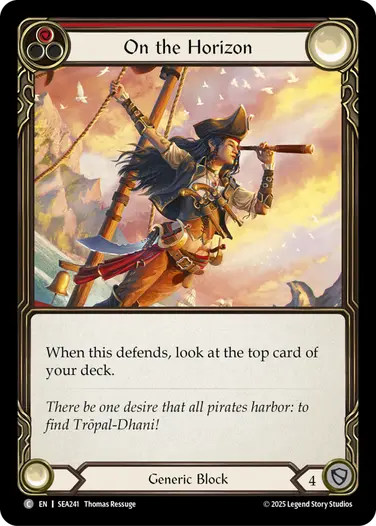
On the Horizon
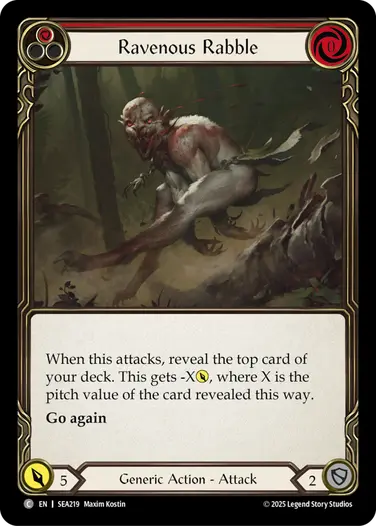
Ravenous Rabble
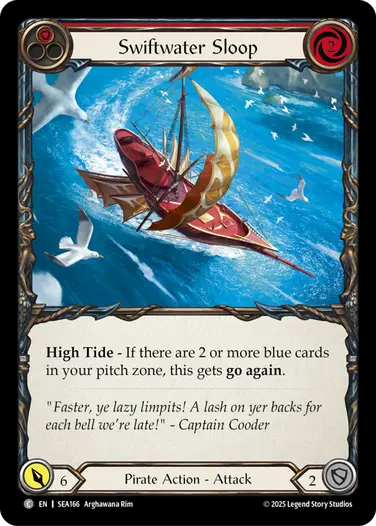
Swiftwater Sloop
Drafting High Seas
When you first open your pack, you will not yet know which hero and archetype you will end up with (unless you’re forcing, which is a totally legit strategy, but it’s still important to understand the concept of archetypes).
Early on, I suggest you take the most powerful Pirate and Generic cards and see which direction they pull you in. If you see powerful class cards you can speculatively pick some of those and get a feel for whether that class is open to you. I will cover the powerful class cards later.
For now, this is my list of the best Pirate and Generic Commons and Rares that I’d be hoping to pick early to keep my options open. These are not listed in order of power level, but I did sort them by the deck type they lead you towards.
| Gold-denying | Gold-enabling | Flexible |
|---|---|---|
| Battalion Barque (red) | Swiftwater Sloop (red) | Buccaneer's Bounty |
| Crash Down the Gates (red) | Scar for a Scar | Battalion Barque (blue) |
| Fiddler's Green (red) | Ravenous Rabble | |
| On the Horizon (red) | Nimblism (red) |
If your pack doesn’t contain any of these ten or a powerful Majestic, other powerful Pirate and Generic options include blue 3-blocks, 3-for-7’s like Rally the Coast Guard (red) and Walk the Plank (red), Sirens of Safe Harbor (red), Blade Break equipment, Life for a Life, and Golden Tipple (red).
Since Gold plays so well with blue cards, a lot of decks in this format will have a high blue count. And when you have a high blue count, you want a lot of them to block for 3. This is why a blue Pirate 3-block is first-pickable. I have already sung the praises of Battalion Barque (blue), but another great one is Murderous Rabble. Some of the best 2-block blues can also be reasonable early picks: Sirens of Safe Harbor, Swiftwater Sloop, and Mutiny on the Battalion Barque.
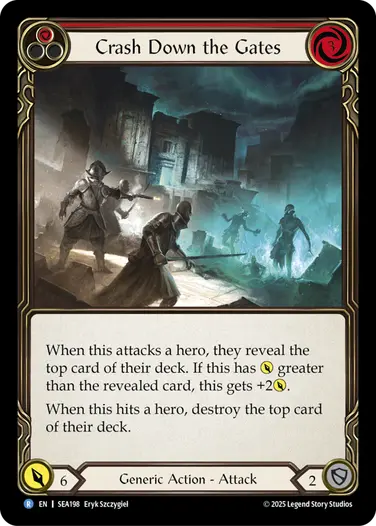
Crash Down the Gates
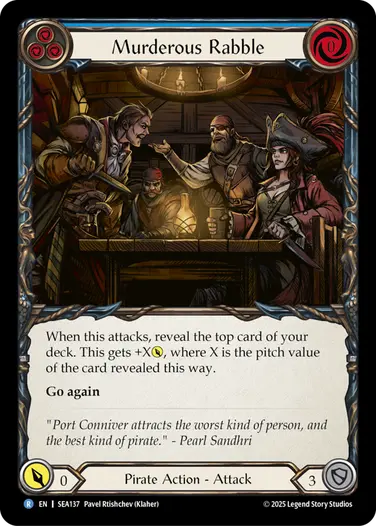
Murderous Rabble
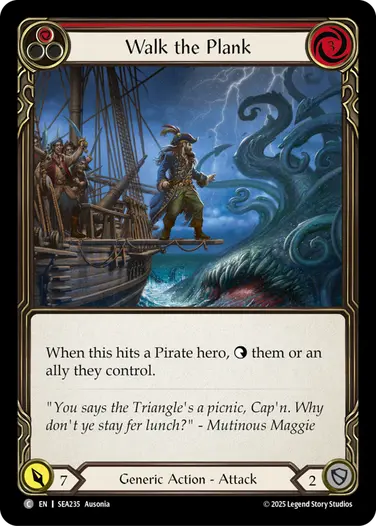
Walk the Plank
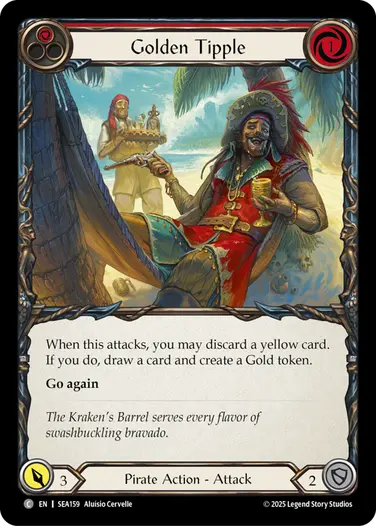
Golden Tipple
This set has 1-2 equipment per pack so there is a lot of it floating around, but you still need to stake your claims if you want a full set, and not all of them are powerful. One that I want to shout out is Helmsman’s Peak.
Sometimes you have a hand that can be quite powerful if you crack a Gold and find the right type of card on top (typically a blue). If your opponent starts their turn with a small go again attack, like a Scar for a Scar, you can just block with Helmsman’s Peak, check to see if the right card is on top, and then have full information for how to block their next attack and still have a good turn guaranteed.
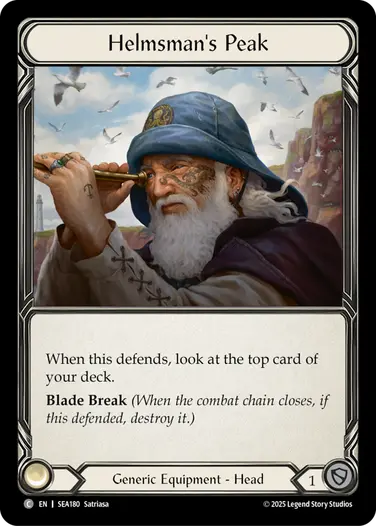
Helmsman's Peak
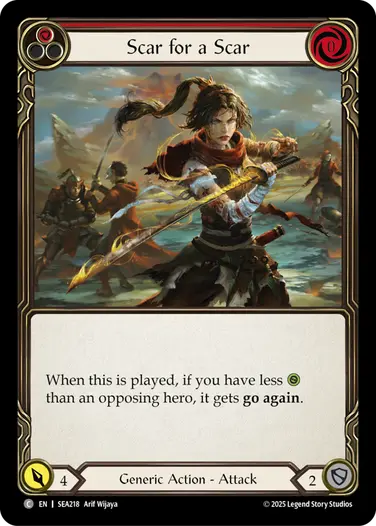
Scar for a Scar
Nimblism Package
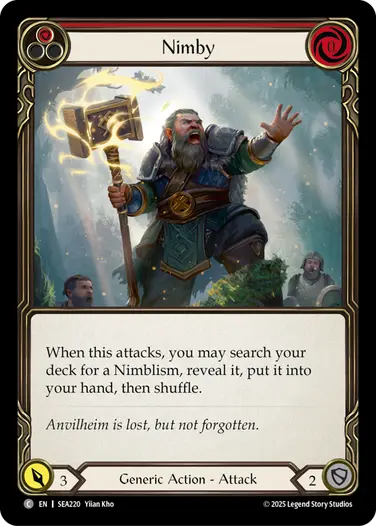
You’ll notice that I put Nimbilism (red) on the list, a card that typically doesn’t crack the top 10 best cards in a set. But in High Seas there’s a whole subset of cards that synergize specifically with Nimbilism in quite a powerful way, and once you have your first Nimbilism you can start accessing this power.
Nimby (red) is the main one, but it’s a tricky card. You’d not only need to still have a Nimbilism in your deck, but also be okay spending your action point on a 3-power attack, have an empty arsenal slot for that Nimbilism, and hope to draw something that works with it later. But once you combine it with the right equipment in a focused set-up, Nimby becomes a bomb-level card!
The full package you’d want is:
- 2 Nimbilism (red)
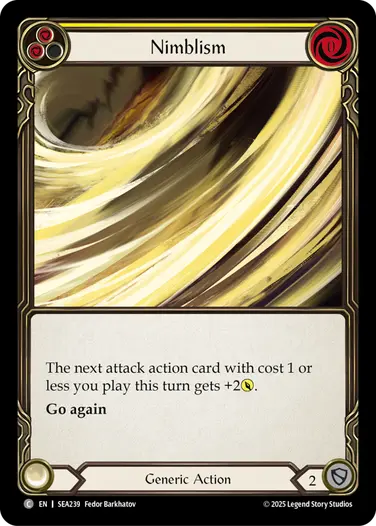
- 1 Nimbilism (yellow), or a third red one (but they’re hard to come by)
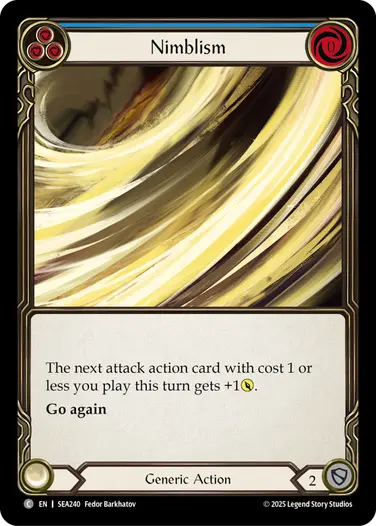
- 1-2 Nimbilism (blue)
- 1-2 Nimby (red)
- 0-2 Jack Be Nimble or Jack Be Quick
- Swiftstrike Bracers
- Quick Clicks
Nimblism
Nimblism
Nimblism
Nimby
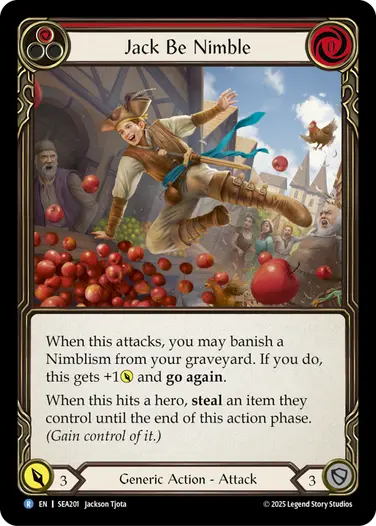
Jack Be Nimble
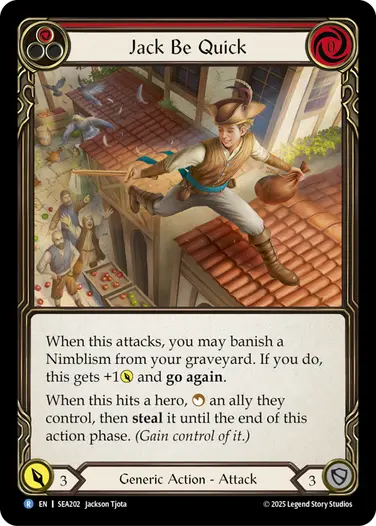
Jack Be Quick
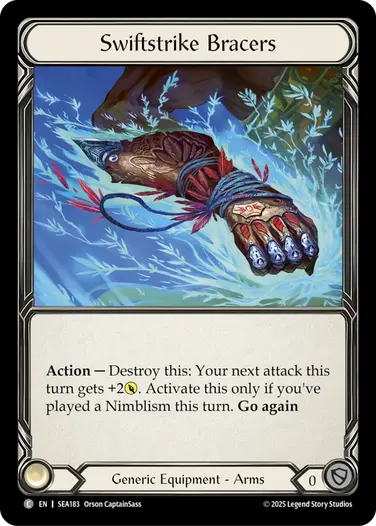
Swiftstrike Bracers
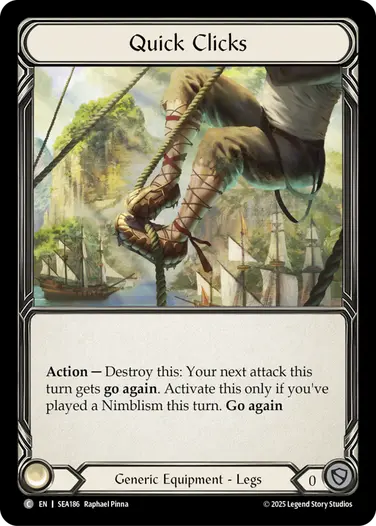
Quick Clicks
Typically there will only be one player at the table getting this entire package together. But when you have it all, you can set up a very powerful turn, based around giving Nimby go again with Quick Clicks.
Your goal is to have Nimby (red) and Nimbilism (red) in the same hand, typically achieved by putting one piece in arsenal when you draw it, then waiting to draw the other one. Then you play Nimbilism, break Quick Clicks, and play your Nimby for 6 with go again. You can then either find a red Nimbilism for a follow-up attack, or get a blue Nimbilism to have a whole extra card to pitch for a big attack, which will also be powered up by Swiftstrike Bracers!
Consider a hand of Nimby (red), Nimbilism (red), Rally the Coast Guard (red) and Jack Be Nimble. If you can afford to take all damage and keep this, you can search out a blue Nimbilism and spend your equipment to convert this hand into a whopping 19 damage!
If you have a second Nimby in your deck, it’s probably not going to be very good when you draw it and will likely just have to block for 2, but I think it’s acceptable to have a 2-value card in your deck in order to enable this combo more consistently. The same logic applies to a single copy of Nimbilism (yellow).
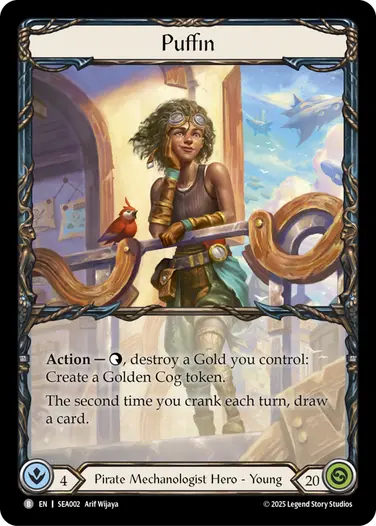
This package can be slotted into any hero, though you do need to make sure you’re an aggressive deck that can take advantage of having all these Nimbilisms. Marlynn does it the easiest, since you can always use Nimbilism on Goldfin Harpoon. But you can also build Puffin decks and even Gravy Bones decks with lots of go again attacks that can contain this set-up.
So my advice is if you see Nimbilism (red) early in the draft, you should probably take it and keep an eye out for these other pieces.
Marlynn
Quick Hits
- Marlynn tends to play best with Hammerhead, Harpoon Cannon and a lot of blue cards.
- She doesn’t need that many arrows, and having too many red arrows can be a detriment when you can’t load them.
- In the late game, Marlynn gets to turn two Gold into 6 damage with overpower, giving her the best endgame in the format. You can build your decks to block well to play towards this.
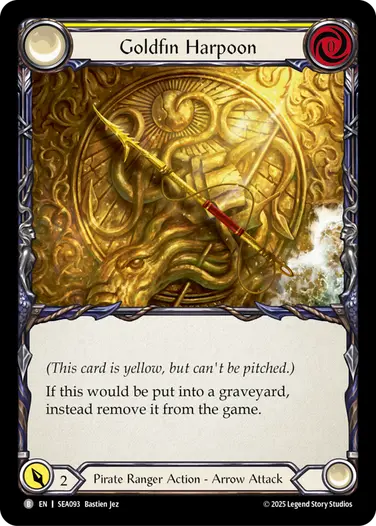
- Golden Tipple (red) plays amazingly with Goldfin Harpoon, and you can build your deck around this interaction in the Casino Cannon archetype.
- Redspine Manta demands that you build your deck like a classic ranger, with pumps and arrows. Ideally you’re a redline deck with lots of 0-cost cards.
I’ve had a lot of experience with this hero, and this section will be particularly detailed on how to draft the different styles of Marlynn.
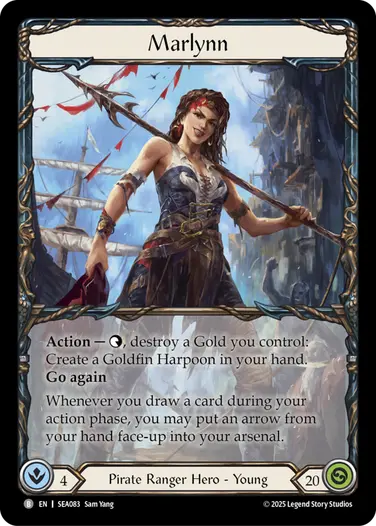
Her ability to make Goldfin Harpoons might look innocuous, but it’s incredibly powerful. You essentially get to turn a Gold token and your action point into 2 points of value. This isn’t very powerful by itself—Gold tokens and action points are worth about 1 point of value each so you don’t really get much additional value out of this, and shouldn’t aim to use her ability every turn.
But the ability has two great upsides—guaranteeing access to an arrow, and creating damage in the late game without costing you cards from your deck. This means that you don’t need to play that many arrows, because you can often get one when you need it, and you can be comfortable blocking heavily and playing a long game.
Her second ability lets you load an arrow whenever you draw a card during your turn. This is also not something you’re aiming to do every turn, as the main way you’re drawing cards would be through using Gold, and as I already mentioned, this can be a dangerous thing to do in the blind.
But her two abilities synergize into something greater when you combine them with Hammerhead, Harpoon Cannon. This weapon is unlike any bow we’ve seen before, as it doesn’t load an arrow into your arsenal. Also, the 4-cost activation means that you want a ton of blues in your deck, because whenever you use the cannon, you’d prefer to pitch two blues and then spend the additional 2 resources on something else.
This is where Marlynn’s hero abilities come into play and synergize so well. If you just start your turn with two blue cards in hand and have two Gold tokens, you can tap Marlynn to make a Goldfin Harpoon, use your Gold to load the Goldfin Harpoon, spend the 4 remaining resources to activate the cannon, shoot for 6 with overpower, and arsenal the card you drew off the Gold, for a stunning a 1-card 6.
Those are absurd numbers for what is essentially a weapon attack, but also not something you can or should aim to do often. Firstly it costs you two Gold, and even though you’ll often win one back from Treasure Island due to overpower, it is still costly. And also, you’re planning to arsenal the random card you draw off the Gold, which may just be a bad blue that you don’t even want to arsenal, so the value more often plays out like a much more manageable 2-card 6.
But in the endgame, when your entire deck consists of blues and you have a huge stack of Gold tokens, you can always just block with three cards and use a single blue to send 6 with overpower, as your Gold is guaranteed to draw that second blue. This is a massive endgame ability that is hard to compete with, and something that usually doesn’t take many turns to finish off an opponent.
Hammerhead, Harpoon Cannon should be the default choice for most Marlynn decks, but she can also go with Redspine Manta. This is just a regular bow like we’re used to, and offers a different advantage of letting you load arrows from your hand without having to rely on Gold. This weapon requires a completely different build than the cannon, as you don’t want to build your Redspine Manta deck full of blue cards which you’ll have a hard time spending efficiently. I’ll go more into detail on the Redspine Manta deck when I outline the three archetypes in Ranger.
Marlynn
Goldfin Harpoon
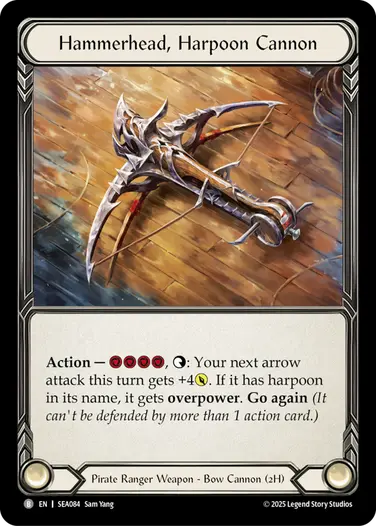
Hammerhead, Harpoon Cannon
Gold
Top Ranger Cards
For me, these are the five top Commons and Rares that could get me to speculate on Ranger early in the draft as a starting point for getting into the archetype. If I see any of these after pick 4, I’d consider it a signal. Again, not in any particular order.
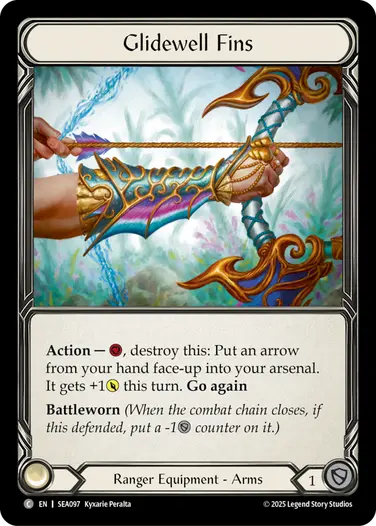
Glidewell Fins
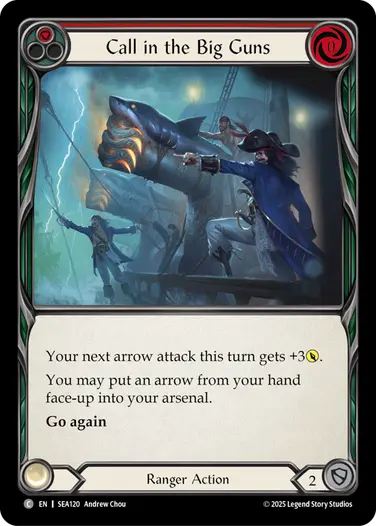
Call in the Big Guns
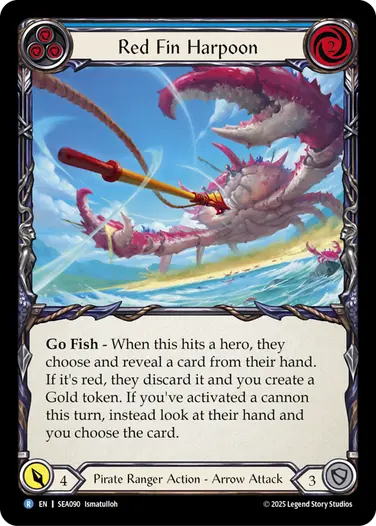
Red Fin Harpoon
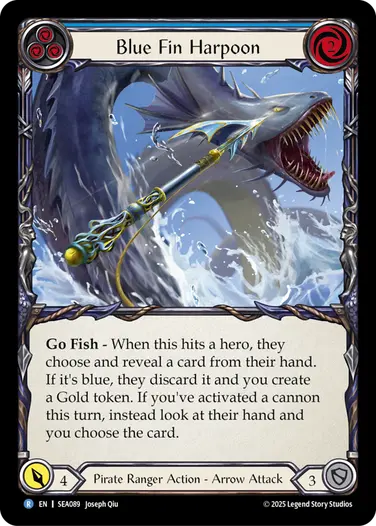
Blue Fin Harpoon
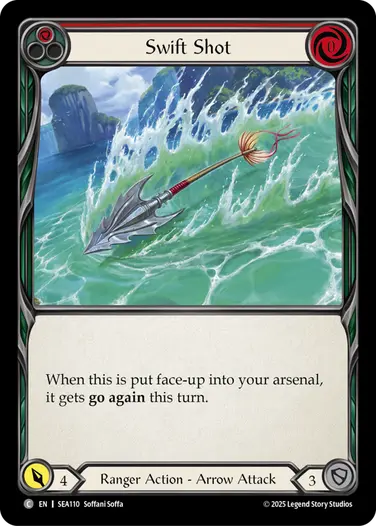
Swift Shot
The class equipment in this set is amazing because they’re almost all Battleworn so they can both block and then use their effect later. Glidewell Fins can be especially important for cannon decks, as you may find yourself with arrows in hand and no ability to load them, which means you just straight-up can’t make an attack!
Swift Shot is the most efficient go again arrow, and is incredibly important for the aggressive version of Marlynn. But it’s also a 3-block that is good on rate, and so it fits just fine into defensive Marlynn decks too.
Call in the Big Guns (red) has a similar situation where it is quite important for the aggressive Marlynn decks but also fits okay into defensive ones. It makes you brick less often, as it can load an arrow when you draw a hand without a non-arrow attack. You can comfortably sit on it in the arsenal and use it as insurance. Worst case it still buffs up a Goldfin Harpoon. If I get a pack with only one Ranger Common, and that Common is either Swift Shot or Call in the Big Guns, I’d be inclined to take it, as I’d then also be sending a strong signal alongside taking one of the most important cards for the class.
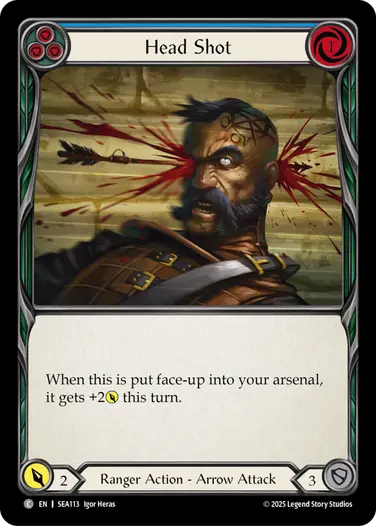
A couple of other cards I want to shout out are Head Shot (red) and Patch the Hole. Patch the Hole doesn’t immediately look like a very strong equipment—unlike the other class equipment it doesn’t even defend! But the subtle power of this card is that having access to it allows you to be much more reckless with your Gold. Not in the sense that you can blindly hope to topdeck the card you need for your turn, but because you can know for sure that you will be able to arsenal the card you draw off your Gold and still get full value—even if it’s a blue or a block! If you draw one of those, just chuck it in the arsenal and use Patch the Hole to get it back at the right time.
Having access to Patch the Hole lets you freely access some of those high-value lines that Marlynn can provide, like the double Gold converting into a 1-card 6, or using 0/1-cost arrows alongside a Gold. Head Shot is great for this, as you can spend a blue to crack a Gold, load the Head Shot and shoot it, putting the card you draw into arsenal.
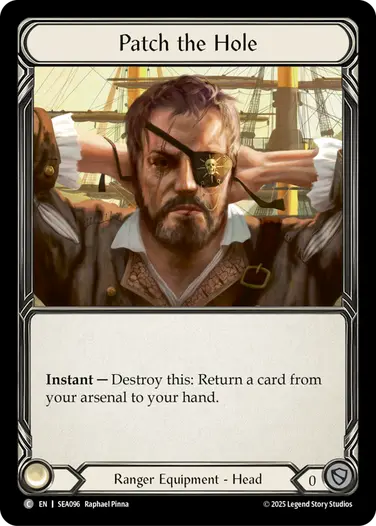
Patch the Hole
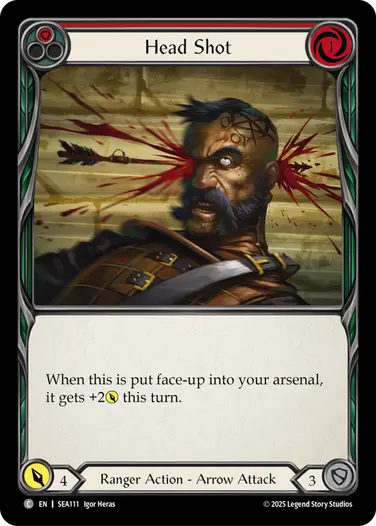
Head Shot
These are some of the concepts and cards that are important to be aware of for any Marlynn deck, but if you want to learn how to draft cohesive decks, you also need to be aware of the different sub-archetypes within the Ranger class.
Fatigue Cannon
Quick Hits
- 14-16 blues, at least half are 3-blocks.
- 10-12 big attacks / defensive cards.
- Full set of blocking equipment / Patch the Hole.
- Maximum 4 red arrows.
This archetype aims to take advantage of Marlynn’s superior endgame by blocking well, sending good attacks, and making the game go long so that you can get to your pitch stack of blue cards to use your pile of Gold.
Note that even though I call this archetype “fatigue” you aren’t often winning by running the opponent out of cards because they’ll more often end up dying to overpower. I would also say this is going to be the most common way to draft a Marlynn deck.
You aren’t trying to use Marlynn’s abilities in the early to mid game, and you often shouldn’t be sacrificing Gold unless you’ve seen the top card or drawn one of your good arrows. This makes Fatigue Cannon a prime Gold-denying deck, prioritizing block values over go again.
Because you’re playing Hammerhead, Harpoon Cannon, you’ll want a high number of blue cards—the goal is 14-16. You’re not trying to use the cannon every turn, and often not aiming to send arrow attacks very often, so you also want some big attacks to go with the high number of blues. 3-for-7’s are great here, but the big boats are especially impactful.
This archetype does not play like Ranger normally does, with a bunch of arrows and pumps. In fact, you have to be quite careful with red arrows in this archetype, as they take up your precious action point and you don’t have a way to get them into your arsenal if you don’t have a Gold yet. I’ve drawn hands on my first turn, going second, that had two red arrows, a red block card, and a yellow boat, and I literally couldn’t make any attack.
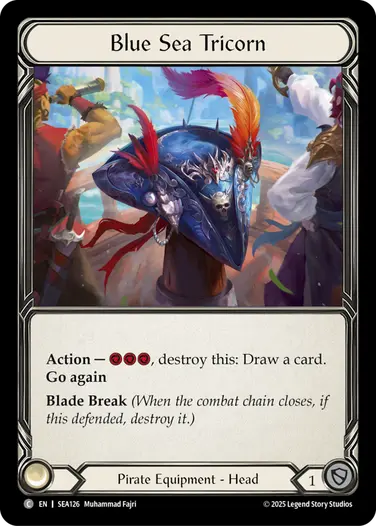
I’d advise in this archetype that you try to not play more than four red arrows. The best two are Swift Shot and Head Shot, but others are acceptable as long you don’t have too many. They block for 3 after all! If you do have a higher red arrow count than four, it’s important to have some equipment that can load your arrows. This is where Glidewell Fins comes into play, but also Blue Sea Tricorn can allow you to draw a card at any time and let you fire an arrow, though you’d rather have one of the better head pieces.
Because you have such a high blue count and are trying to be defensive, blue 3-blocks are quite premium for this archetype. You want at least half of your blues to block for 3, but preferably more. This also leads into the unintuitive truth that for this archetype: blue arrows are better than red arrows and you should basically not spend a pick on a red arrow if there is a 3-block blue available to you. This is why it’s important to be aware of the type of strategy your picks are leading you towards, because it will let you update your pick order appropriately.
Head Shot
HMS Kraken
Blue Sea Tricorn
Casino Cannon
Quick Hits
- 12-14 blues, some with go again.
- 6-8 red arrows, some with go again.
- 3-4 Golden Tipple (yellow / red).
- Go again attacks (maximum 6 big attacks without go again).
When a Pirate isn’t plundering and looting, they pass the time by gambling, and Marlynn is no different. I know I’ve warned against using your Gold to draw cards when you don’t know what’s on top, but this archetype goes against that advice. It’s built around using your Gold to see new cards!
The main card that we’re trying to utilize here is Golden Tipple. The trick with this card is that you use Marlynn to make a Goldfin Harpoon in hand, then play Golden Tipple to discard it, drawing a full card and getting back your Gold token. With this line of play, you get to essentially generate a full card out of the blue!
In order for this to be efficient though, you need to both be able to make use of that extra card and the 2 resources you’ll have left over after playing Golden Tipple. Maybe those two resources can be used to sacrifice the Gold token, but that puts even more pressure on your deck being good at using the random cards it draws off the top. The idea here is that you try to play with a relatively high blue count so that you are more likely to have the resources you need for whichever play you want to make, and you play with the cannon because it lets you make use of any extra resources you might have after you’ve drawn all the cards.
This is an aggressive, almost combo deck. It wants to use its Gold often, so you’re a Gold-enabling deck, requiring lots of go again effects. You want to defend a bit while you set up your Gold count, because when you have the good five card hand with Golden Tipple, you want to be able to take the damage and send upwards of 30 damage back at your opponent!
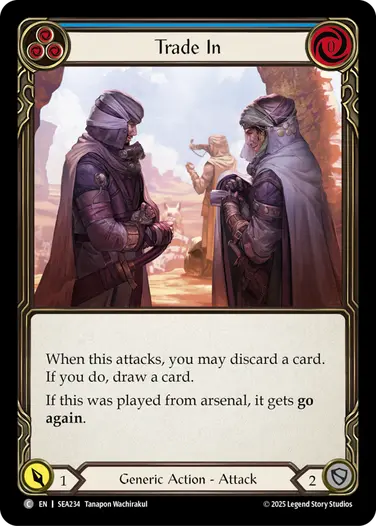
I’m not aiming for quite as many blue cards as Fatigue Cannon, but 12-14 is a good number. Then you want as many Golden Tipples (red and yellow) as you can get your hands on. Trade In (red) can be an acceptable replacement for one of them, but it’s not nearly as good. It’s harder to set up as it needs to start in your arsenal, and it doesn’t give you the Gold back either.
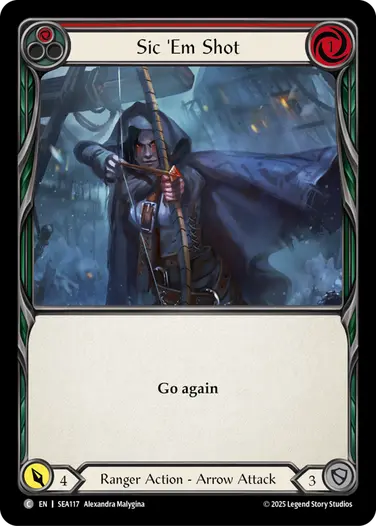
Because you frequently draw cards, and often end up using the cannon, you do want a higher arrow count than Fatigue Cannon. 6-8 is a good number (again, if you have too many you risk getting stuck). Swift Shot and Sic ‘Em Shot (red) are the best ones here, because you sometimes draw a couple cards during a turn, so it’s not uncommon to get to shoot two arrows.
The main point where you can get stuck is if you draw too many red attacks without go again, so this is something you should pay attention to. I’d say the ideal maximum is something like six red attacks without go again, typically four arrows and a couple of other big attacks.
One example of a good attack action is Swindler’s Grift (red), as it can help you set up by making Gold in the early game, and can also do the trick with Goldfin Harpoon if you’d end up with an empty arsenal. Quick Clips and 1-2 Nimbilism (red) can be quite potent in this deck for that same reason. This deck is a great vessel for the full Nimbilism package. Swiftwater Sloop (red) is another amazing fit for this deck, as you have both a high blue count and a need for go again effects.
You don’t have as much need for blue 3-blocks (though they’re still good, but I’d pick red Sic ‘Em Shot over a blue arrow). Being able to use your blue cards offensively can also be important. Mutiny on the Battalion Barque, Swiftwater Sloop (blue), and Chart a Course (blue) are great sources of efficient go again, and Head Shot (blue) is a great arrow as it’s not that embarrassing to attack with.
You should avoid red block cards here, as they’ll be complete bricks when you draw into them during your turn. Yellow ones are acceptable, but the main one I want to shout out is Fiddler’s Green as a nice card to discard to Golden Tipple and Swindler’s Grift. In general, it’s acceptable to have a few yellow cards in this deck.
Captain’s Coat is a good fit for this deck, helping you out when you’re just 1 resource short on your combo turn, since you will naturally have drawn a card that turn. Conversely, Old Knocker is much worse, as you will have already tapped Marlynn on your combo turn to make a Goldfin Harpoon.
Playing this deck requires some sequencing puzzles, but when you get them right it can be so much fun! Oftentimes you’ll draw up a hand with some blues, some go again, and a Golden Tipple, and just go “no blocks!” then draw 2-3 cards on your turn and see what happens.
Sic 'Em Shot

Golden Tipple
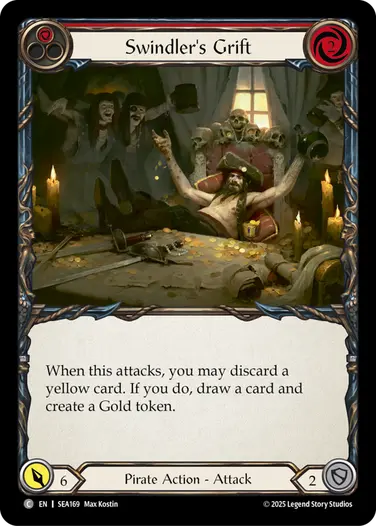
Swindler's Grift
Redspine Manta
Quick Hits
- 8-12 0-cost arrows.
- 1-2 red 1-cost arrows.
- 10-15 pumps (yellow / red).
- 0-4 blues.
- Buccaneer’s Bounty or Old Knocker.
- Maximum 2 2-cost attacks.
This is an aggro deck that is built around Redspine Manta. In order to use Redspine Manta well, you’re trying to send an arrow every turn. Since all arrows cost either 1 or 0, you have a hard time making use of blues, and so unlike the other two Marlynn archetypes, this one wants a low blue count, sometimes even playing zero blues!
Instead you should try to play classic Ranger with pumps and arrows. I want to underline that the pump cards are the most important part of this recipe, because Marlynn’s ability gives you access to an arrow at will, so if you draw a hand full of pumps you can just send a huge Goldfin Harpoon. Whereas if you draw a hand full of arrows, you’re not going to be able to shoot more than one of them, which makes for an unimpressive turn.
This is an archetype that makes good use of Goldfin Harpoon. Not because of the overpower potential like in the cannon archetypes, but simply just because it’s a free 2 damage! If you draw a hand of two arrows and two pump cards, and have an extra Gold, you can defend for 6 with the arrows, then make a Goldfin Harpoon and shoot for 8, for a nice 4-card-14.
This dynamic also makes Redspine Manta a Gold-enabling deck, though it’s a bit more flexible. Starting your turn with a Gold token just gives some nice insurance for drawing four pumps. But you don’t necessarily use your Gold every turn, and you are totally fine blocking with arrow-heavy hands.
Ideally you want your deck to be completely redline, with only 0-cost effects. More realistically, you’re going to want some yellow cards as well, but you don’t have much use for blue cards. You want 0-4 blues, and the ones you do play should be either 3-blocks or Mutiny cards, because you should expect that you’re not going to be able to pitch them.
The main body of your deck should be red 0-cost arrows so you can play your turns without pitching, and 0-cost go again effects. You want 8-12 red arrows and 10-15 pumps. You aren’t looking to pitch very often, so you can’t run many 1-cost arrows. Ideally you have a Buccaneer’s Bounty or Old Knocker to let you send one 1-cost arrow during a game, so I’d recommend at most 2 red 1-cost arrows like Sic ‘Em Shot and/or Head Shot.
Swift Shot is once again premium, being everything you want, but it does have a downside in this deck as your bow can only load one arrow a turn. So ideally you want to combine it with Call in the Big Guns or Fire in the Hole to be able to load that second arrow, or make use of those yellow cards to pay for a Gold and load an arrow that way. If you have two or more Swift Shots, you also start being interested in regular 0-for-4’s like Strike Gold, so that you can send two attacks while only needing to load the Swift Shot.
Getting 10-15 pump cards is the tricky part, and it means that you basically need to take the red ones you see over everything else, and that you are even fine with some of the yellow ones. Chart a Course (yellow) is particularly nice in a deck with lots of go again, but you are also fine with Call in the Big Guns (yellow) because the effect is so potent in your deck. If you have the Nimbilism equipment, you can also play a single Nimbilism (yellow) in addition to a red one.
The biggest issue for this archetype is how easy it is to fatigue, because if you rarely pitch you will run out of cards faster. But as long as you keep up good pressure and don’t stumble too much, you should be fine. You can additionally have a single way to get overpower in your deck, like Mutiny on the Nimbus Sovereign or Sinker. A single Salvage Shot (yellow) can also be fine to have a bit more staying power, and you can include up to two efficient 2-cost attacks to go with your yellows, such as Sirens of Safe Harbor (red) or Gold Hunter Ketch. And even if both players run out of cards you do also have a “weapon” in the form of Goldfin Harpoons to finish the game.
Golden Tipple is a lot worse in this deck than in Casino Cannon, as you often don’t get to pitch a blue. Throwing away a Goldfin Harpoon hurts your fatigue math and you don’t want to draw a random card if you already have an arrow in hand, because you risk drawing a second arrow. You do not want to arsenal arrows in this deck as you lose out on their abilities or clog up your arsenal for a future Swift Shot! Trade In (red) is much better here as just a 0-cost go again, but you shouldn’t attempt to discard a card to it very often.
This deck has the most strict restrictions but also quite a high payoff. It might not be that easy to get the pieces together, but while the other Rangers fight for blue 3-blocks and don’t prioritize red arrows, you can get an advantage drafting Redspine Manta.
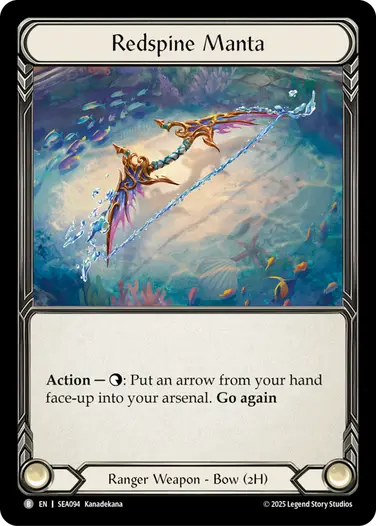
Redspine Manta
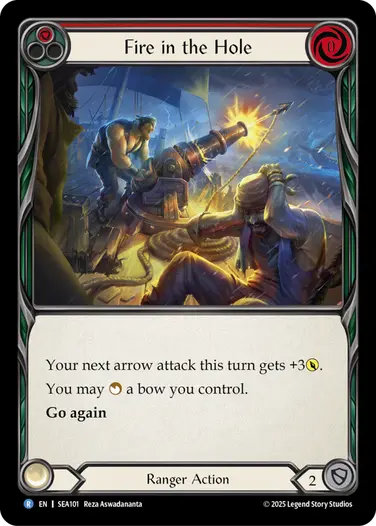
Fire in the Hole
Swift Shot
Gravy Bones
Quick Hits
- Allies require you to get them into the graveyard efficiently, have good blue cards with go again, and make sure your opponent can’t ignore them.
- Compass of Sunken Depths is makes Gold tokens very good. You can even draft Gravy without any allies utilizing this synergy.
- If your deck has a high ally count, you want to play one every turn, which leaves little room for reds. Rally the Coast Guard is an amazing tool for these decks.
- Play quickly in Gravy Bones mirrors, as they often go to time due to complexity.
In order to understand Gravy Bones and the Necromancer cards in the set, we must first understand the value of allies. Allies are all yellow, can’t block (they only have a life value, not a defense value), and are quite bad value to play out from hand. By playing an ally from hand, you consume your action point and don’t get to attack with it right away. So the value it provides you with would be equal to the amount of damage the opponent sends into it to clear it. This might be equal to its life value, but can also often be more as the opponent might not have an attack of the exact right amount.
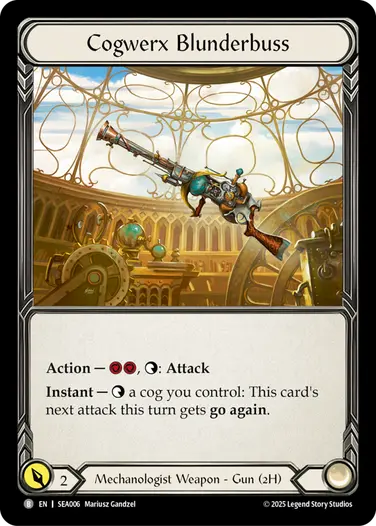
You’ll notice that none of the allies have exactly 2 life, so Puffin is never guaranteed a clean kill with Cogwerx Blunderbuss. For most allies, like Barnacle for example, playing it from hand would essentially be two cards for 3+ value, which is terrible. But for some, like Scooba, playing it out from hand is actually fine, like a 0-for-4.
However, if you can get the allies into the graveyard without costing you a card, and if you can get a blue card into your graveyard efficiently, the allies spike a ton in value. Then you get to account for the attack value as well, plus you’re not spending a card from hand on the ally itself. This means that if you play an ally from the graveyard, attack with it and it gets killed right away, you can account for their attack value plus their life value, making a Barnacle played from the graveyard into two cards for 7+!
This is quite a high amount of value to have access to, but the catch is in the conditions you have to meet: getting the ally into your graveyard efficiently, getting a blue card into your graveyard efficiently, and having the opponent actually care about your ally.
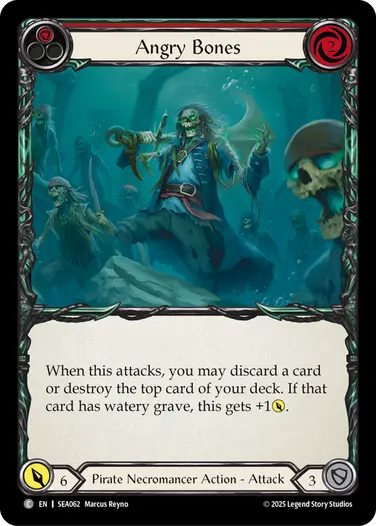
Getting the ally into your graveyard isn’t trivial. It’s most often enabled by Gravy Bones’ ability, though you aren’t always guaranteed to have a Gold, and you do also lose that Gold for later. You can also discard an ally with Rally the Coast Guard which is quite efficient. Discarding an ally to something like Angry Bones is not very efficient, as you’re essentially making a 3-card-7 (even if you get the ally in the graveyard for later, if your 1-card-7 is preceded by a 3-card-7 it’s not especially efficient). However, if you destroy an ally from the top of your deck with these cards, it becomes quite efficient!
To enable the blue requirement you can also use Gravy Bones’ ability to discard a blue card. This is not something you will use very often. It costs you a full card from your deck, which could matter for fatigue, and costs you the value of the Gold for later. Plus, if you use Gravy Bones to discard an ally and then also need to use him for the blue card, you can only do this every other turn. Most of the time, the more reasonable avenue would be to play a blue card with go again of reasonable value and have that one go to the graveyard. Mutiny on the Battallion Barque and Swiftwater Sloop (blue) are good examples of efficient blues that will get you those high value ally turns without giving up too much.
The third requirement is for your opponent to actually care about removing your allies. If they just ignore your ally and send all their damage to your face, you won’t get the value of the ally’s life. Instead you’ll get the value from your ally sticking around, but that’s not always as impressive as you might think. Attacking with the ally still consumes your action point, so you can’t attack with two allies normally. And if you want to use your ally, you’d have to block with your other big attacks. Cutty Shark is an example of an ally where leaving it around essentially gives Gravy Bones access to a weapon. And it’s a 2-cost 4-power weapon, which is pretty good, but it’s not significantly better than whatever else you could be doing on your turn, and you might often not even attack with it anyways.
However the opponent will often have to clear allies which are either free to attack with, have go again, or attack for more than 4. Riggermortis is not something you can ignore for long because the 1-cost 6-power weapon is so powerful. Similarly with Barnacle as a 0-cost 4-attack, letting gravy block out fully and still send damage.
One great way to make your allies more dangerous is to include more attacks with go again so that you can send those and finish on an ally attack. Though this is not necessarily that important for all Gravy Bones archetypes and will depend on how Gold-denying or Gold-enabling you are.
Compass of Sunken Depths is another important game piece for Gravy Bones. On the surface, it enables cards like Jittery Bones to destroy a card from the top of your deck if you see an ally there. But it also informs you how profitable a Gravy Bones activation will be, check if there’s a blue card for your Head Stone to enable Watery Grave, and allows you to crack Gold in peace.
Remember that both the compass and Gravy Bones’ ability are instants, and you should be careful with their timing. Often you will use the compass when the opponent sends an attack at you, and you can use the information to decide your blocks. But maybe you’d rather activate Gravy Bones first if you know you’re doing it anyways, and then check the top card. You should also be aware that you can use Gravy Bones’ ability to lower your Gold count at instant speed. This can do things like disrupting a Mutiny or removing go again from Gold Hunter Lightsail!
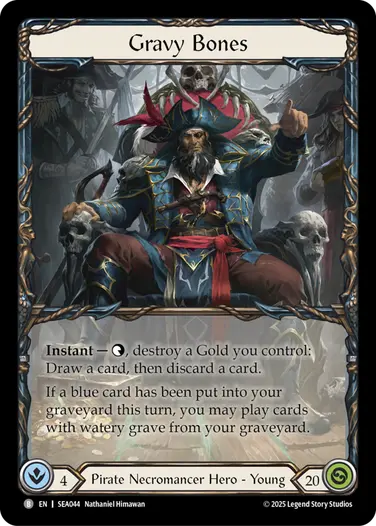
Gravy Bones
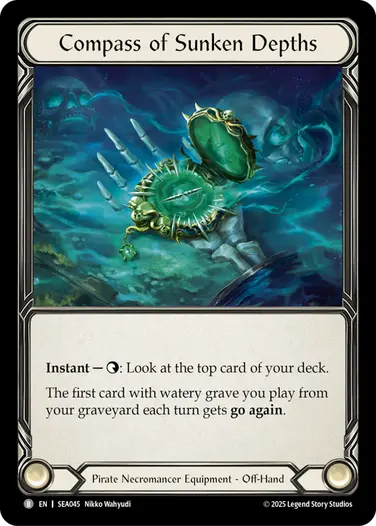
Compass of Sunken Depths
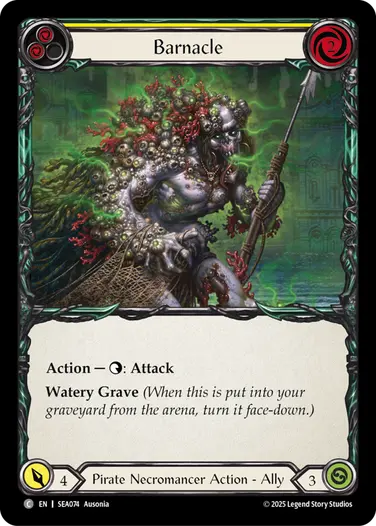
Barnacle
Gold
Top Necromancer Cards
This would be my list of the five top Necromancer cards you should look out for to move into the archetype. These are not in a particular order.
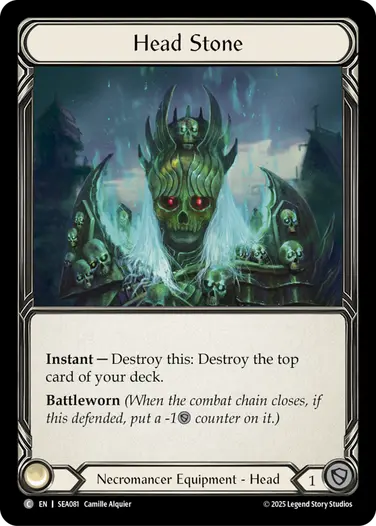
Head Stone
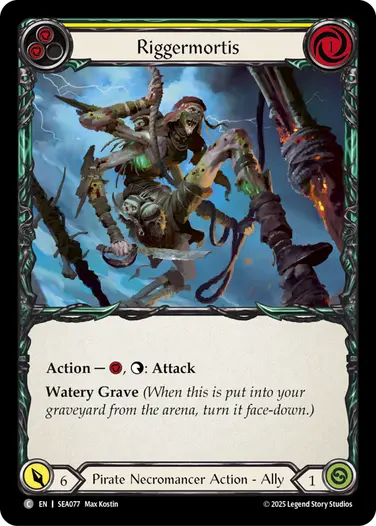
Riggermortis
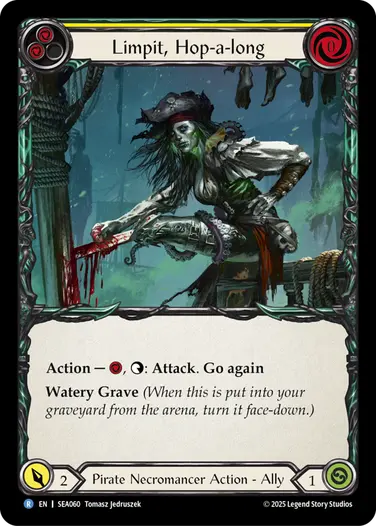
Limpit, Hop-a-long
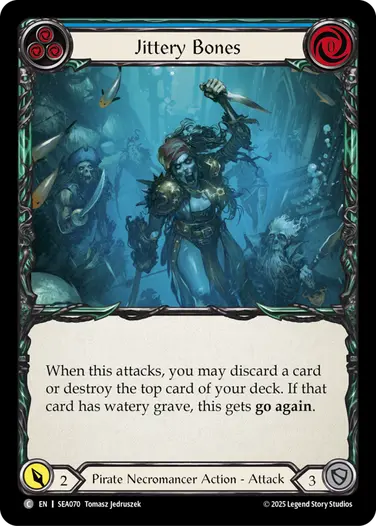
Jittery Bones
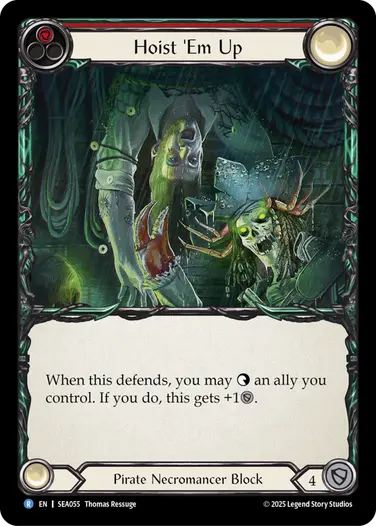
Hoist 'Em Up
I should preface this by saying that I am a little uncertain exactly how to value the top Necromancer cards. It’s very possible that the raw value from Hoist ‘Em Up isn’t as important. Maybe you need to prioritize 3-block blues with go again even higher, such as Yo Ho Ho!, while Jittery Bones (red) and Restless Bones (red) might just be too good not to pick early.
I’ve found that allies aren’t created equal and that you have a very real limit to how many allies you want in your deck. The best ones are the ones that are both cheap to play and attack with, and can’t be ignored. Riggermortis, Limpit, and Barnacle all fall into this category, and as a result are the three best ones. Chowder, Swabbie, and Kelpie are also reasonably good, but not a priority. The last three allies are honestly fine to pick up on the wheel. There’s a big difference between the allies that only cost 2 to play and attack with, and those that cost 3, because it can be a big deal to pitch a yellow to pay for it, since you might need to play out your blue and could end up with an extra ally stuck in hand.
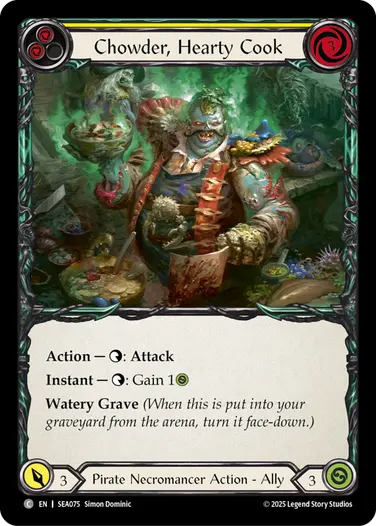
Chowder, Hearty Cook
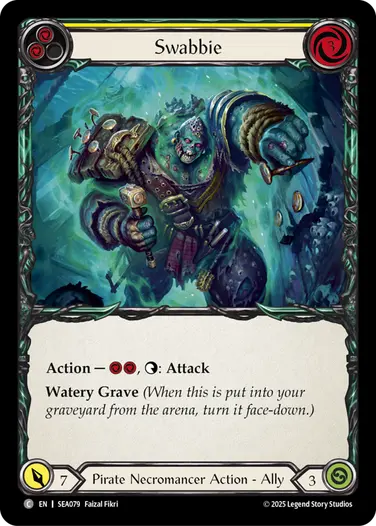
Swabbie
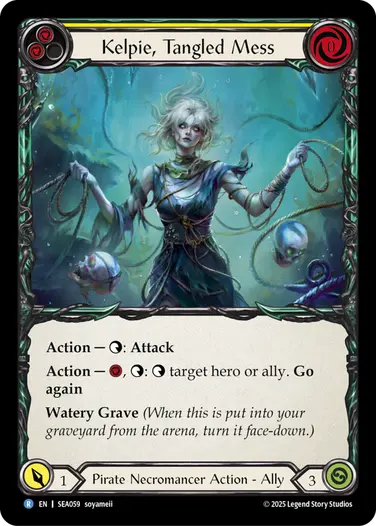
Kelpie, Tangled Mess
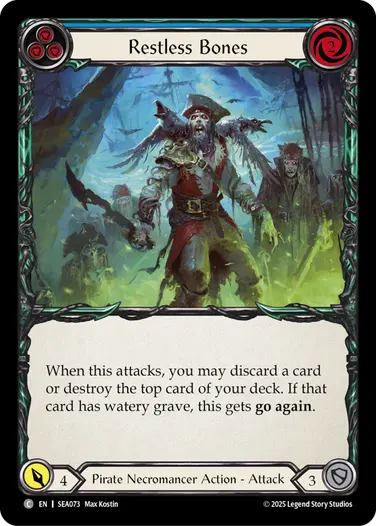
Jittery Bones (red) and Restless Bones (red) look like amazing cards, and they absolutely are whenever you get lucky enough to have an ally on top of your deck. But you’d need a high ally count to do this consistently, and high ally counts also lead to those dreaded double-ally hands. Discarding an ally from hand is not at all efficient, so you shouldn’t expect these to have go again very often. They are just fine on rate anyway with the occasional upside, but I don’t think that makes them a reason to go into Necromancer.
However, the blue versions are quite nice! They are blue 3-blocks, and when they happen to see an ally on top, they also enable Watery Grave by themselves (simply close the chain to have them go to the graveyard). Even discarding an ally from hand is acceptable with these, for example, turn 1 when you’re going second and don’t have a Gold yet.

Jittery Bones

Restless Bones
Restless Bones
The archetypes for Gravy Bones will depend on how many allies you think you’re going to end up with. You can even make him work with 0 allies, or as many as 8, but oftentimes your sweet spot would be somewhere in the middle.
True Necromancer
Quick Hits
- 6-8 allies.
- 14-18 blues.
- Red cards should mostly have go again.
- Blue cards should have go again or block for 3.
- Rally the Coast Guard is a great pick.
It’s not intuitive that this amount of allies isn’t necessarily ideal, but you can absolutely make it work! The issue is that when you have this amount, it means that you’re often going to draw an ally in every hand, meaning that you want to get one in play almost every turn, otherwise you end up spewing value and having unused allies in your graveyard. Putting yellow non-blocks in your deck is a big cost, so you want to ensure that you’re rewarded for doing so.
This means that True Necromancer decks need quite a high blue count and a lot of enablers. 14-18 blues would be my recommendation, making sure to have a good balance between 3-blocks and go again cards to enable Watery Grave. Trade In (blue) and Golden Tipple (blue) are excellent enablers because they also let you discard the ally, removing the need to spend Gold.
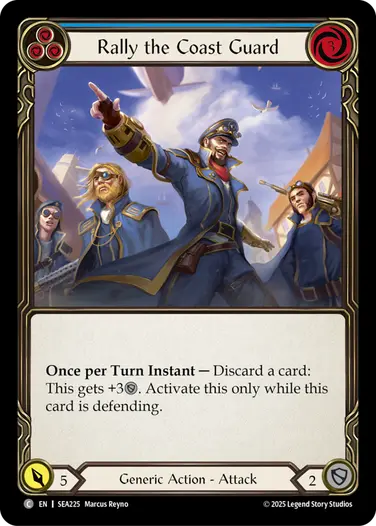
You’ll often need to use Gravy Bones’ ability every turn to get rid of your allies in hand. This means that True Necromancer is a Gold-enabling archetype, which plays well with its need for go again. Since most turns will involve playing and attacking with an ally, you don’t want a lot of red attacks without go again anyways. Rally the Coast Guard is the exception to this, it’s excellent across all colors in this archetype. It lets you efficiently discard an ally without relying on Gold.
With this amount of blue cards plus this amount of allies, you aren’t going to have very much space for red cards, and that’s okay. Sometimes as low as 4 and up to a maximum of 10. This means you need to choose your red cards carefully and not waste picks on okay red cards like Walk the Plank. Go again tends to be better than not, and so this is an archetype where Jittery Bones and Restless Bones really get to shine!
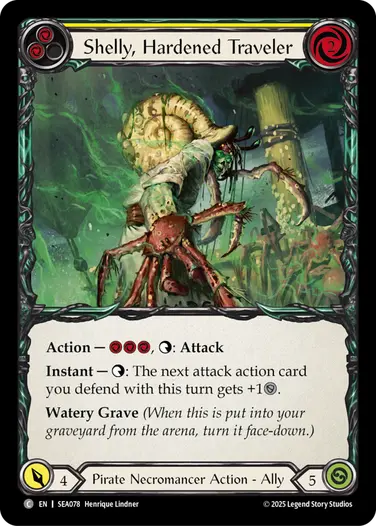
One big concern with this archetype is what happens if your opponent just ignores your allies. If your plan is to play an ally every turn, you lose a lot of equity if the opponent doesn’t bother to clear them. Chowder and Shelly can help solve this problem, as they will keep giving you value if your opponent ignores them. The same goes for Limpit and Kelpie. Make sure at least half of your allies are of this kind so that you have some variety to choose from in different spots.
Trade In
Rally the Coast Guard
Shelly, Hardened Traveler
The Sweet Spot
Quick Hits
- 3-5 allies.
- 12-14 blues.
- Big attacks and good blocks.
If you don’t flood your deck with allies, you get a lot more flexibility in your deck. You’re still interested in the good blue enablers, but you don’t need to amp up your blue count to high numbers. 12-14 blues should be enough here, and you can maybe even get away with less if you only have three-ish allies.
Here, the allies aren’t your main game plan so you are much more free to run big attacks without go again. You also don’t need to use a Gold every turn, so you’re going to be playing a Gold-denying midrange gameplan. Get good blocks and big attacks. Rally the Coast Guard (red) is particularly nice, fulfilling multiple roles here. Make sure to include some go again cards so that you can better take advantage of the turns where your opponent spends their turn to kill your ally and leaves you with a full hand.
You can also do tricks with Fiddler’s Green, just being a good block for break points or some surprise extra life if you discard it with Gravy Bones, or destroy it from the top of your deck with Head Stone or Angry Bones. Sirens of Safe Harbor has a similar effect, though it’s usually not worth going down one card in your deck for just 1 life, unless you need to put a blue in the graveyard.
Angry Bones
Fiddler's Green
Sirens of Safe Harbor
Navigator
Quick Hits
- 0-2 allies.
- 12-14 blues.
- Cards with High Tide.
- 2-for-6’s.
Sometimes the other Necromancer players at your table will grab all the allies and leave you with very little. This is not as big of a deal as it seems. One trick to Flesh and Blood limited is that you don’t need to use your hero abilities to justify being in the class—sometimes you’ll just focus more on your weapon!
In this case, the ability of Compass of Sunken Depths works incredibly well with Gold. I’ve already illustrated how using Gold to draw cards has a big downside because you don’t know what you draw into, and so you can’t make blocking decisions properly. But with access to the compass, you can build your deck in a way that takes advantage of Gold. Without many allies, you won’t need to use Gravy Bones’ ability very often, and so you can instead plan to sacrifice the Gold. If there’s a blue on top, block with your other blue. If there’s a good red attack on top, block in a way that makes sense when you draw into it.
This makes the Navigator archetype a Gold-enabling deck, but it’s relatively close to the middle. It wants to use Gold, just not for the hero ability. Unlike other Gold-enabling decks, you are under some pressure to prioritize 3-blocks, because your main advantage is that you get to block well while sending big attacks.
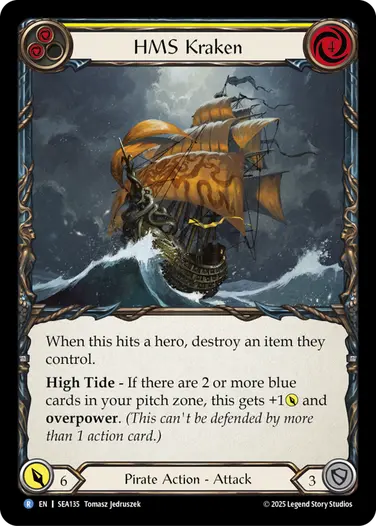
High Tide is the main mechanic that you’re trying to abuse here, as all the boats work great with a Gold. You want as many Battalion Barques of any color as you can get your hands on, as well as a couple of HMS boats. These 4-cost attacks line up perfectly with two blue cards and a Gold. With Battalion Barque (red) and a Gold, you’re doing a two card 9!
Swiftwater Sloop (red) is similarly great. You can always use a Gold to enable High Tide, and follow it up with another 2-for-6 for a nice three card 12. Luckily, Necromancer is flush with 2-for-6’s that also block for 3. I also think Blow for a Blow is more playable in this archetype than any other, as it fits these curves well.
You aren’t as interested in 3-for-7’s, as even-costed cards just fit the Gold curves much better. You also don’t want too many yellows, which is how you turn it into an advantage that you don’t have any allies. I could imagine versions of this deck where it’s not even correct to play the few allies you do draft, so they don’t get in the way of your damage output!
This style of deck also wants quite a high blue count, ideally 12-14 or maybe more. You do want two blues in every hand, but because of the compass and Gold you essentially get to look at five cards for the second blue. You also are not that interested in Watery Grave enablers, so you can focus your efforts on 3-blocks. After all, if your upside is that you get to block with extra blues when you can see that you don’t need them, you don’t get that much advantage if they all block for 2.
Battalion Barque
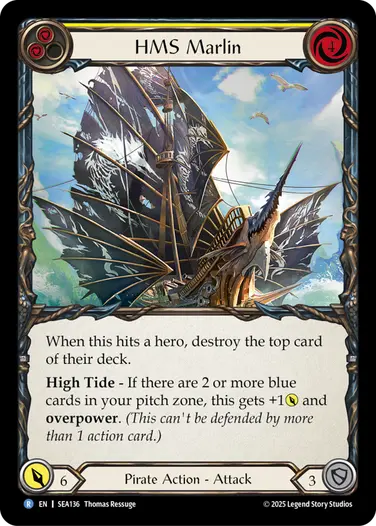
HMS Marlin
Swiftwater Sloop
Puffin
Quick Hits
- Don’t get tricked into using Puffin’s ability just to enable her weapon. They aren’t particularly above rate enough to justify it.
- Do aim to set up turns where you can leverage the card draw from Puffin’s ability, using Perk Up or Goldwing Turbine.
- Cogwerx Blunderbuss plays best in a fatigue style deck, or as a flexible option for an aggro deck to occasionally spend extra resources on.
- Spitfire plays well with Goldwing Turbine, Cogwerx Zeppelin, and a number of Majestics.
- Try to combine go again 1-for-4’s with 2-for-6’s for efficient turns while you try to collect Gold.
Mechanologist is a bit of an outlier in this draft set because Puffin typically wants fewer blues than the other heroes and is also often less interested in Pirate and Generic cards. This dynamic leads to Puffins fighting amongst themselves for Mechanologist cards and makes it harder for a pod to support three Puffin drafters.
Her baseline hero text lets you convert Gold tokens into Golden Cogs. You’ll typically crank those cogs which means they only stay around for one turn to be used once. You will also need to make sure you use that cog for something productive, like Cloud Skiff, where it can turn into either go again or +1 power. Essentially, one cog will then be worth one point of value, which is the same as the value of a Gold token.
Puffin’s ability isn’t actually generating an advantage by itself, and if your deck is full of Sky Skimmers and Cloud Skiffs you might need to use the ability to be able to play out your hand. This is a big downside and often worth considering—if you can take a line that doesn’t require you to make a cog, it might be worth going for that line even at the cost of a point of value.
The main draw to Puffin’s hero text comes from her second ability, which lets you draw an extra card. To do this, you have to crank twice in a turn which can only happen with a few select cards. At Common, we have Goldwing Turbine and Perk Up, which let you either create a second cog, or untap your hero to activate again if you have another Gold. Adding “draw a card” as a secret effect to these cards makes them much more interesting, though you should note that the same rules for drawing extra cards also apply to these cards, like they do to using Gold tokens, where drawing isn’t always as good as it reads unless you’ve built your deck around it.
Regardless, using Puffin’s ability is at its best when you can crank two cogs and also use both of those cogs for value. That’s when you get full value out of your Gold, and why it is important to second guess yourself whenever you’re considering a line that involves sacrificing a Gold when you don’t have much.
Puffin’s weapons are also interesting because they look the most normal compared to the weapons we’ve seen in the past. And this might make them look attractive, but I think they shouldn’t form the entire base of your archetype.
Cogwerx Blunderbuss reads the most normal, as a “pay resources, deal damage” weapon. But it’s important to understand that paying 2 resources and your action to deal 2 damage is 1 point below rate. Even when you give this weapon go again, you’re using a cog which presumably cost you a Gold, so that’s also giving up 1 point of value. Either way, building your deck around this weapon and trying to give it go again is not very fruitful. You might think that it’s compelling to pair it with Cloud Skiff to make a 2-card-7 (just like I did in the beginning), but while every other hero is spending their Gold to create real value, or saving them to accumulate value in the endgame, you’d be spending your Gold just to make your weapon on rate.
That said, Cogwerx Blunderbuss gives you some flexibility that shouldn’t be ignored. For example, when you’re drawing extra cards with Puffin, it can be nice to have a go again outlet for any blue or yellow you might draw that you don’t want to arsenal, instead getting to convert them into 2 damage. It also guarantees that you won’t draw pump cards like Tighten the Screws without having a Mechanologist attack to pair it with. Cogwerx Blunderbuss is reliable, it’s just not super powerful.
Spitfire seems to be the less played weapon, though I’d urge more people to consider it for their Puffin decks. With this weapon, you’re not paying any resources, but instead you pay your action point and a cog for 2 points of damage, which is exactly on rate. It even lets you spend an extra for +1 point. So this weapon doesn’t create any big advance, but it does provide a reliable outlet for turning extra cogs into actual value.
I also want to talk a bit about the galvanize cards, Tough old Wrench and Teeth of the Cog. Since cogs without a counter don’t go away until the start of your turn, you can block with a galvanize card and destroy your cog to make a new one, where you get to keep the counter. If you can use the cog on your turn, that makes blocking for two acceptable as they essentially also give a point of value by renewing your cog.
Another trick you should be aware of is blocking with two galvanize cards at the same time. Since you are allowed to crank on the opponent’s turn (you just won’t gain action points this way because it’s not your turn), you can trigger Puffin’s ability to draw a card. You only need one cog in play to make this play happen, as each galvanize trigger resolves separately. So you can sacrifice your cog with the first trigger, crank it, then resolve the second trigger, sacrifice the new cog you just made, and crank it.
This trick is cute and all, but make sure you’re doing it for a reason. Because you cranked your cog, you won’t have one going into your turn, and this play is just as vulnerable to the issues of drawing random cards as any other similar effect. It can be particularly effective to block with two galvanize cards on a go again attack like Life for a Life so that you can evaluate your new hand and block optimally on their next attack.
Puffin
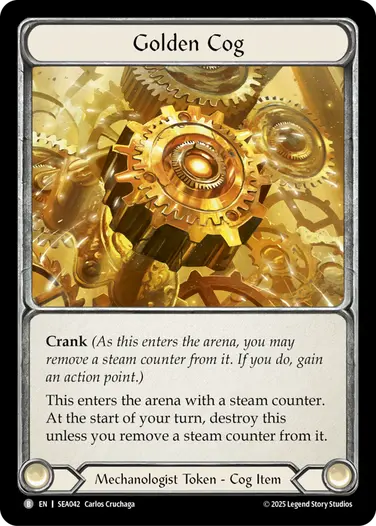
Golden Cog
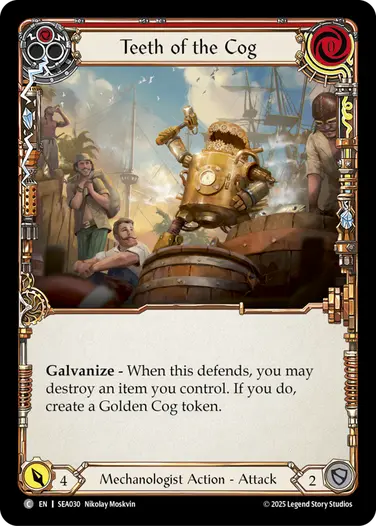
Teeth of the Cog
Gold
Top Mechanologist Cards
This is my list of the most important Mechanologist Commons and Rares. It wasn’t an easy list to boil down to five cards, but this is my attempt, in no particular order.
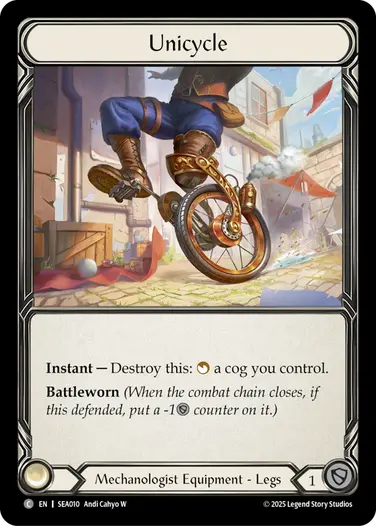
Unicycle
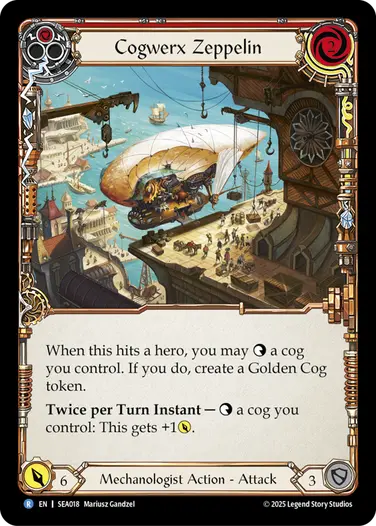
Cogwerx Zeppelin
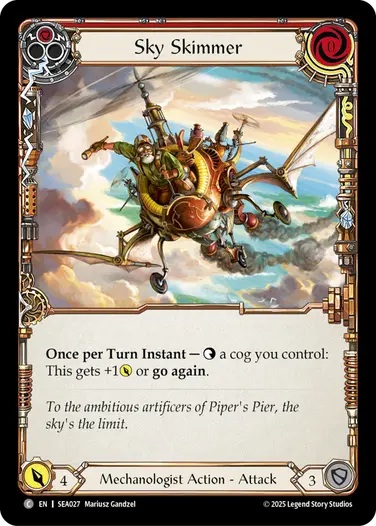
Sky Skimmer
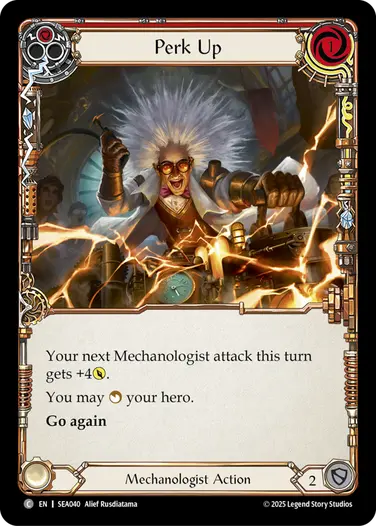
Perk Up
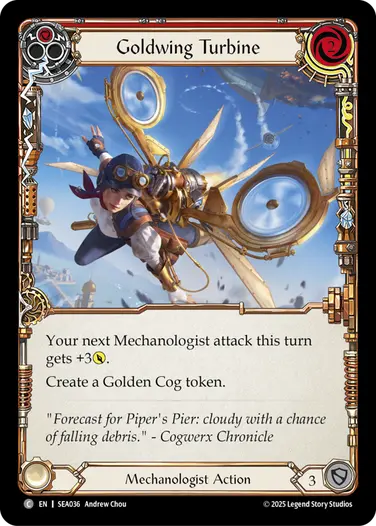
Goldwing Turbine
I do think Cogwerx Zeppelin (red) is the best of these. It’s important to understand what happens when this card hits. You get to tap a cog to make a new one, which sounds very similar to the ability on Cloud City Steamboat, but it’s much better because you get to crank it. This means that you get your action point, and if you have activated Puffin you also get to draw a card. This combines quite well with Spitfire as a way to guaranteed cash in that action point for 2 value. As a baseline 2-for-6 that blocks 3 and can then also convert cogs into damage, Cogwerx Zeppelin is one of the best rares in the set.
It wasn’t easy to choose between Sky Skimmer and Cloud Skiff, and it’s possible that both should be on the list. These are the easiest way to convert your extra cogs into value, have aggressive stats, and are good at blocking. When you see these coming around 4th-6th pick you can take it as an indicator that Puffin is open.
I think Unicycle is better than Rust Belt since there are a few other options for making a resource with your chest slot, so it’s less replaceable. Rust Belt also doesn’t generate value, it just turns one type of value into another type. Another equipment that’s good to look out for is Helmsman’s Peak, as it can help you decide whether to go for a line where you draw a card with Puffin, or if you should arsenal your enabler and wait.
I also want to shout out the other pump cards, Draw Back the Hammer and Tighten the Screws. One issue with Puffin is if you have too many cards that are reliant on Golden Cogs to be efficient, you can get caught by an opponent who blocks out your attacks to deny you Gold. These are a source of go again that aren’t reliant on cogs. They pair especially well with Mechanologist 2-for-6’s.
I already mentioned Cogwerx Zeppelin, but I just wanted to shout out Tough Old Wrench as another card I’ve been quite happy with that you can pick up later in the draft. Giving it +4 power is a nice three card 10 on those off-turns where you’re either not interested in, or not capable of, activating Puffin.

Cloud Skiff
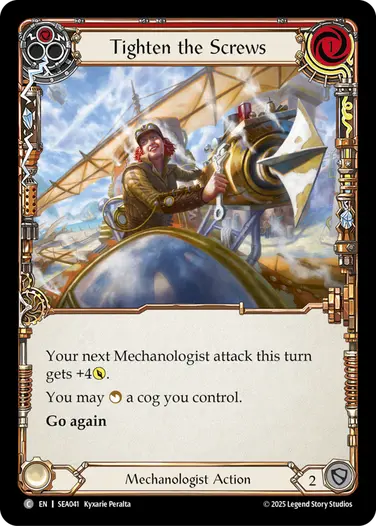
Tighten the Screws
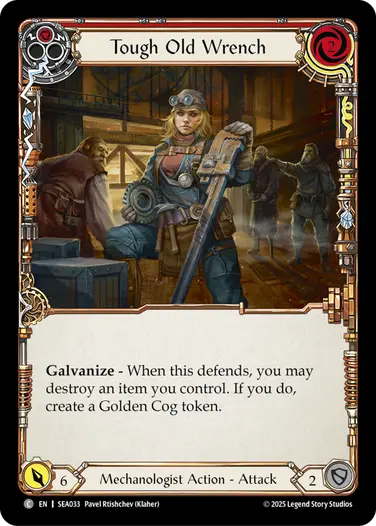
Tough Old Wrench
I’ve divided the three Puffin archetypes based on how much they’re able to facilitate a second crank, and which cards they’re using to do it. Midrange Blunderbuss is for decks that don’t really aim to draw cards with Puffin, Perky Blunderbuss is for decks that have a lot of Perk Ups, and Spitfire Turbine is for decks with a lot of Goldwing Turbines.
Midrange Blunderbuss
Quick Hits
- 10-12 blues.
- Cards with High Tide.
- 2-3 1-cost pumps.
- Big attacks and good blocks.
This archetype can also be considered as Fatigue Puffin, though you aren’t necessarily always trying to run the opponent out of cards. The main point of this deck is to play an effective Gold-denying strategy, since if you don’t have any copies of Perk Up or Goldwing Turbine in your deck, you won’t be drawing cards with Puffin’s ability, and that means you’ll have a lot of turns where it’s not profitable to use Puffin’s ability at all anyway.
Instead you just play classic Flesh and Blood. Good blocks, big attack actions, 10-12 blue cards. Cogwerx Blunderbuss combines especially well with High Tide, so be on the lookout for Battalion Barque (red) for a nice three card 11, or using a Gold to give Swiftwater Sloop go again, then using the last 2 resources for a gun attack.
Cloud Skiff also lines up nicely with Cogwerx Blunderbuss here, but don’t take too many of these at the cost of other great attacks, as they can make you quite reliant on Gold, which is the opposite of what you want.
You can also play a couple of Draw Back the Hammer or Tighten the Screws despite being 2-blocks, because they can combine with your weapon to help you send consistent damage that only costs one card from your deck, helping you play fatigue. Against Gravy Bones, you use your attacks to try to clear all their allies and potentially fatigue them with your weapon. Whereas when you play against Marlynn you also need some powerful plays of your own to try and end the game early before you succumb to their Goldfin Harpoon endgame.
Cogwerx Blunderbuss
Battalion Barque
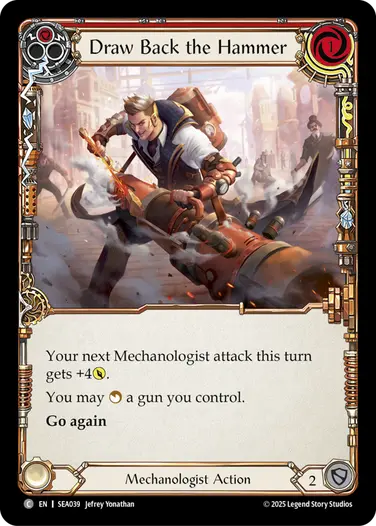
Draw Back the Hammer
Perky Blunderbuss
Quick Hits
- 2+ Perk Up.
- 8-12 blues.
- 1-for-4’s with go again.
- 2-for-6’s.
When you end up with a few Perk Ups, it becomes more interesting to draft your deck slightly differently, include more go again effects, and shift into a Gold-enabling strategy. Perk Up requires two Gold tokens to draw a card, so you shouldn’t expect to use Puffin every turn, but rather stack up Gold so that you always have two around when you draw a hand with Perk Up.
You ideally also want to include some effects that let you use the cogs, so Sky Skimmer and Cloud Skiff become more important here. Ideally you block with them on your off-turns, then hold them when you have a Perk Up at the ready. They even work well in yellow.
It’s quite important to have ways to spend your hand when you don’t have a Gold—otherwise you’ll risk having embarrassing early turns where the best you can muster is 5 damage. Mutiny on the Battalion Barque is nice for enabling these turns, as are cards like Gold Hunter Lightsail, Life for a Life, and 1-cost pumps. You’ll find that Goldwing Turbine isn’t that impressive in this shell, as it fits worse into your costs (for example, the weapon).
Ideally you’d combine these go again 1-for-4’s with 2-for-6’s to have nice turns off a blue card that lets you save Gold. These aren’t as important, as you can always just swing your gun instead. Though you should be aiming to not use your gun very often, and especially not waste a Gold to give it go again. The most important part of Cogwerx Blunderbuss is just to be flexible here and letting you use yellows and blues on your Perk Up turns.
Perk Up
Sky Skimmer

Cloud City Steamboat
Spitfire
Quick Hits
- 2+ Goldwing Turbine (red).
- 6-8 blues.
- 4-6 yellows.
- 1-for-4’s with go again.
Some of the first instincts I heard when people started talking about Spitfire is that it would fit great into a redline Puffin deck. I don’t think there is such a thing as redline Puffin—you simply don’t have enough 0-cost go again effects, and such a deck would also rely on 0-for-4’s without go again, which isn’t exactly a combo with Spitfire. Blocking with your entire hand and attacking for 2 is also hardly a game plan.
So the trick with Spitfire is getting full value out of a blue or yellow pitch while also having enough go again and cog generation that you can end your turn on a Spitfire attack. This is not so trivial to achieve, but it’s exactly where Goldwing Turbine enters the picture.
I haven’t talked a lot about Goldwing Turbine yet, and that’s honestly because the card is a bit unimpressive in Cogwerx Blunderbuss decks. On its baseline, it’s 1 point below rate if you can make use of the cog, as a 2-for-4 with go again. The real advantage is pairing it with Puffin’s ability, but because it costs 2 you might not have a great curve for it, and it fits awkwardly with your weapon. It still blocks for 3, and can be a nice way to turn on a hand that doesn’t have Gold yet, so it’s a totally fine playable.
But when combined with Spitfire, this card gets much better. It’s a 2-for-5 with Spitfire, which is still under rate, but if you also get to activate Puffin to make another Golden Cog, you will have created a 2-for-6 that draws a card, a full card above rate! Combining this with any 1-for-4 go again will lead to a great turn. Cloud Skiff also works instead of a 1-for-4. It uses one of the cogs to get go again but attacks for one more so it’s effectively the same.
The hand you need is Goldwing Turbine, a 1-for-4, and any blue card to create a two card 10. That is, only if you get to arsenal the card you draw. This means that you want your blue count to stay relatively low, playing a few more yellows in this deck. 6-8 blues and 4-6 yellow cards at least. You also should try to avoid block cards, and your blues should be good to play out of arsenal.
It’s a bit of a set-up cost to your deck building, but every Goldwing Turbine turns into so much value. You can round out the deck with other go again cards and 2-for-6’s, just like in the Perky Blunderbuss archetype.
Other cards that work great with Spitfire are Cogwerx Zeppelin and Copper Cog. Galvanize cards get a bit better too, because you’re more frequently able to turn a cog into 1 damage. And some of the Majestics are quite cog-centric, either creating multiple cogs or using them well, and are a great fit into this shell.
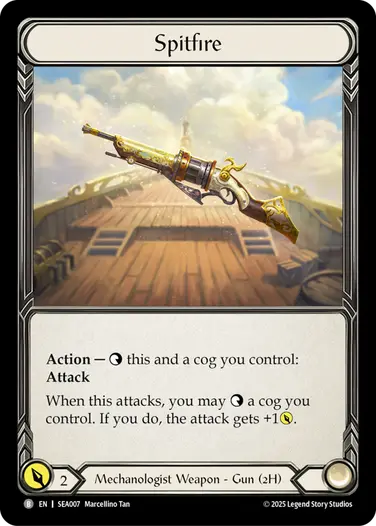
Spitfire
Goldwing Turbine
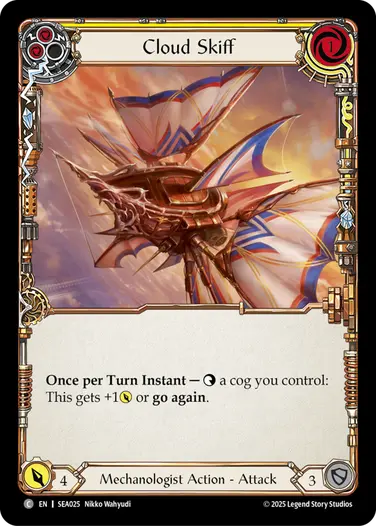
Cloud Skiff
Scurv, Stowaway
Quick Hits
- If you see him early, draft him! Gold-denying decks can also pivot to Scurv in pack 2 or 3.
- Play big attacks, such as 4-cost ships, and 2-for-6’s.
- 12-14 blues.
- Cards with a Thief bonus, such as Light Fingers and Lost in Transit, are high priority picks.
- Not So Fast will often wheel back to you. Side it out against Puffin.
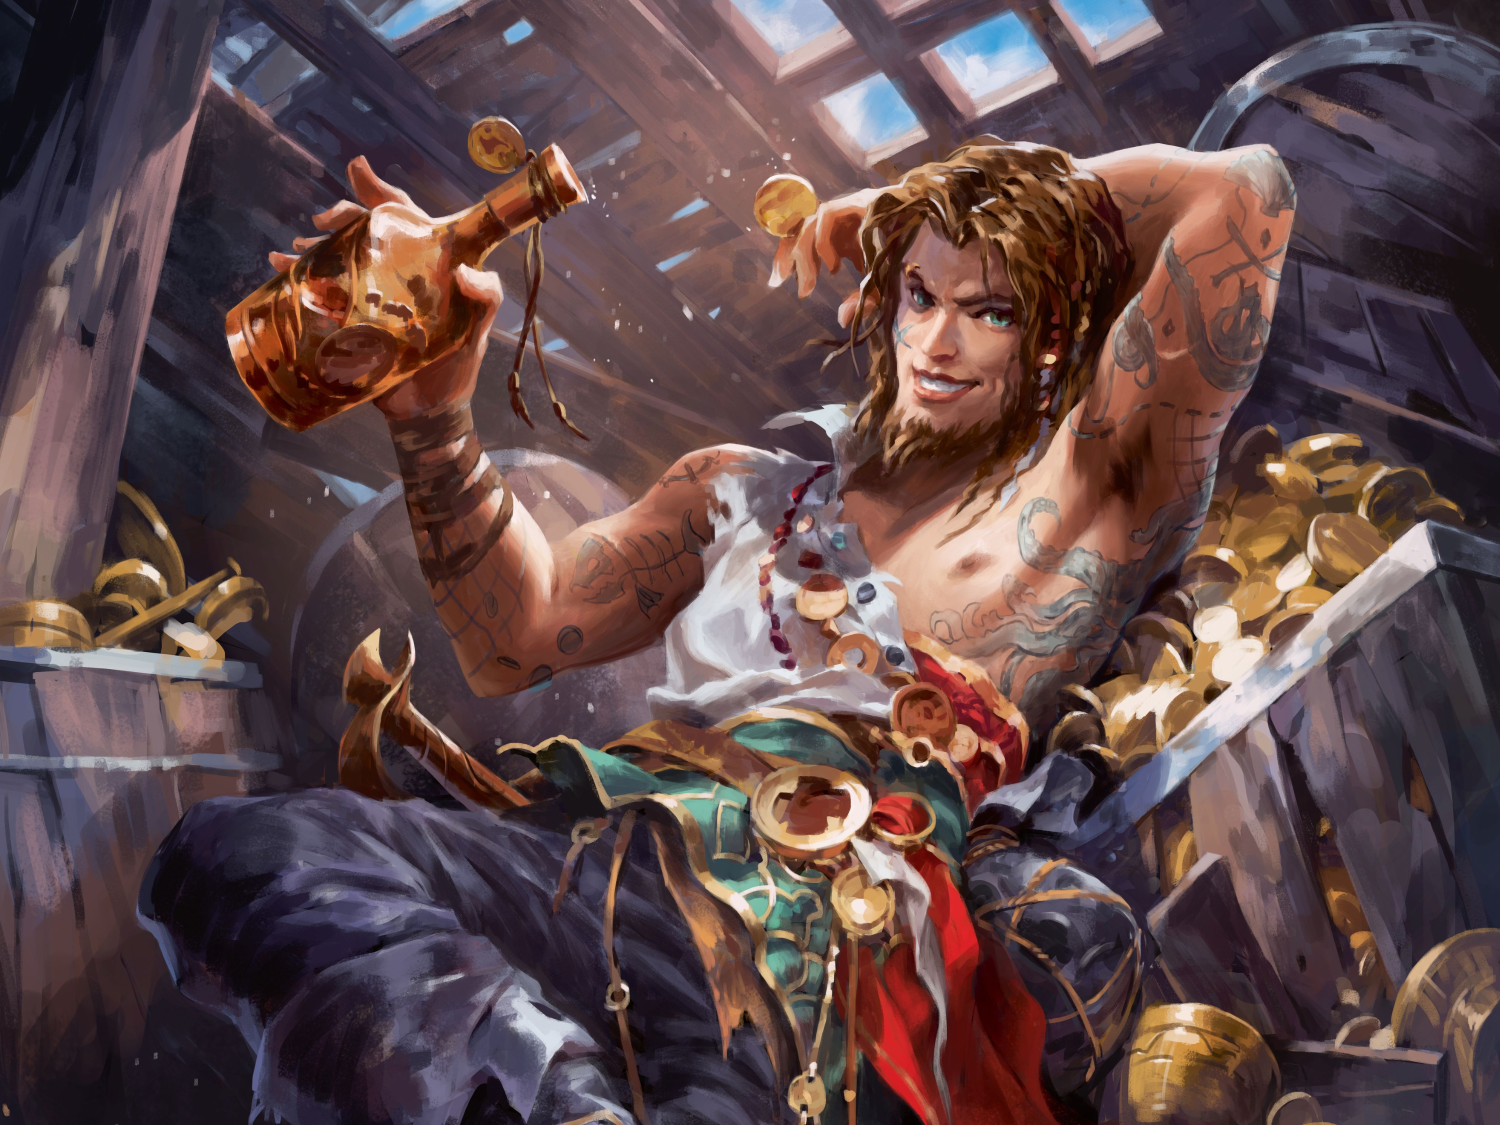
I can hardly write an article about this format without a section on the big surprise of High Seas limited: Scurv, Stowaway!
This hero is a Rare card that you will need to draft to get access to, though it does come with an off-hand ally, Sticky Fingers. You are also restricted to only using Pirate and Generic cards, limiting your card-pool significantly. However, the upside of Scurv more than makes up for these downsides. His ability lets you turn Gold into 2 value, 1 from the go again from Goldkiss Rum, and 1 from the resource he creates. This is quite efficient, though it can only happen every other turn, as he does need to tap to use either effect. Getting at least 4 points of value for free from Sticky Fingers is also not to be ignored.
If you open Scurv in your first pack, you should just go for him most of the time. Some of the Gold-denying archetypes I mentioned end up with a large pool of Pirate cards anyway, and you might even be able to switch from one of those into Scurv in pack 2 or even pack 3 if you see him.
Scurv plays best when he gives go again to big attacks and ideally uses that to enable High Tide. One example of a good turn would be giving go again to a 3-for-7, then playing Battalion Barque (red) for a four card 16. Another nice play pattern is running out two 2-for-6’s off a single blue.
Without a weapon, Scurv is at risk of fatiguing. This is why it’s important to fill your deck up with big attacks. You also need a good amount of blue cards to support this, ideally 12-14. You don’t have much access to 3-block cards, and so I’d recommend prioritizing the ones you see quite highly.
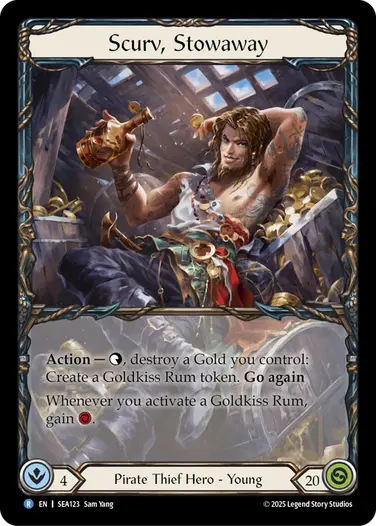
Scurv, Stowaway
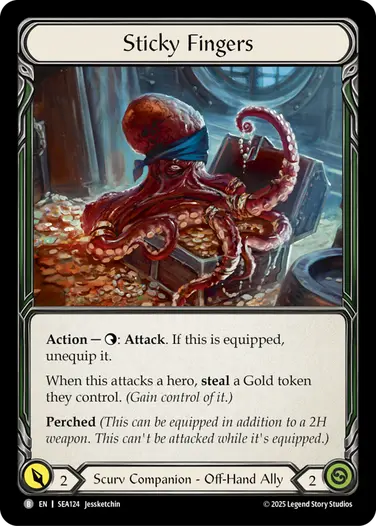
Sticky Fingers
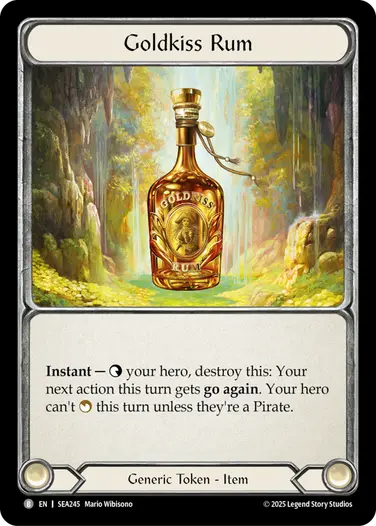
Goldkiss Rum
Gold
Being a Thief
There’s a handful of cards that reference being a Thief, and Scurv gets to take advantage of all of these. I’ll explain how important some of them are to Scurv’s game plan.
Thiev’n Varmints is a good card mostly on the back of its block value. The effect is nice, but you’re stealing a Gold that you might get anyway if it were to hit. Still, it can be an efficient way to create Gold while playing against a Gold-denying strategy.
Lost in Transit is amazing. With this card, you’re essentially stealing a Gold from your opponent. On a great defensive card that can even be pitched flexibly, I think this is a high priority pick for Scurv.
The same goes for Light Fingers, which is an incredible equipment. The opponent can’t really play around it, and will just have to accept that one turn during the game, you’ll get to steal a Gold from them, potentially keeping them off hero abilities.
Not So Fast is a tricky card. When it works, it’s a complete blowout, but you’re never guaranteed that your opponent will use a Gold while you have it. And if they don’t, it’s just a yellow non-block. You can maybe sit on it in your arsenal for a little while, but I’d recommend just siding it out against Puffin at least, and maybe sometimes against Gravy too. Don’t pick it highly either, it will always wheel.
Thiev'n Varmints
Lost in Transit
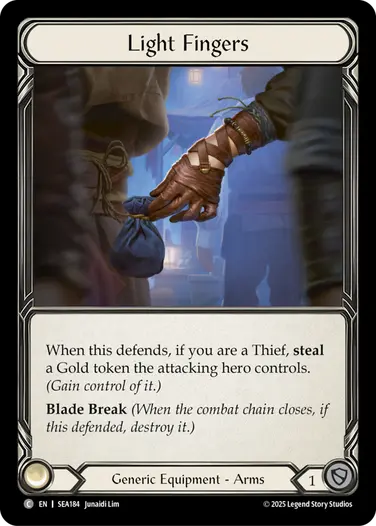
Light Fingers
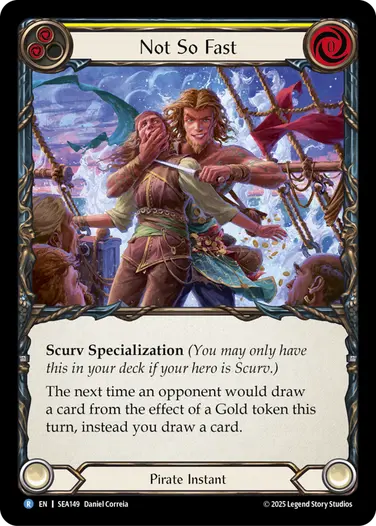
Not So Fast
Set Sail!
This guide should have helped you gain an understanding of archetypes in limited, and how they play out specifically in this High Seas format. There are even more nuances than those I’ve highlighted here for you to discover, but it usually helps to have a safety vest while drafting and the theory point of Gold-denying and Gold-enabling decks could act as a guiding lighthouse for you.
Go and enjoy this draft experience, it’s honestly quite fun! And may all your opponents find themselves in Gravy Bones’ locker!