Prepare for Skirmish Season 13 with Primed to Fight – a series where we break down competitive decklists, their matchups, and sideboard options. Sleeve up, get reps, and secure your victory! Today we have Dice Commando bringing you three ready-to-play Blitz decklists, featuring on top-performing heroes in the metagame.
Skirmish Season 13 is nearly upon us, which is both exciting and bittersweet. Skirmish events offer the best of Flesh and Blood, bringing together players of all levels at a casual-competitive atmosphere at the local game store. Skirmish Season 13 will be Blitz format’s swan song: one final, wonderful way to celebrate the format as it sunsets from organized play.
As such it is reasonable to suspect that many players will show up this season with their favorite heroes for one, final ride. This should, in turn, promote a diverse field and exciting, dynamic results. Of course, we can also expect strong representation of the format’s top performers.
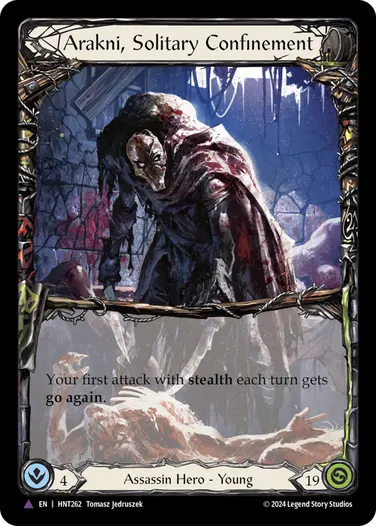
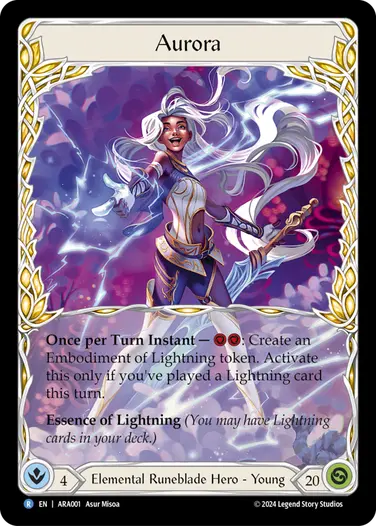
Skirmish Season 12 saw dual leadership: Florian led in raw wins, while Arakni, Solitary Confinement logged the most Living Legend points. Both of these heroes continue to perform very well and are robust into a diverse field. And not only is Aurora a fan-favorite hero, she has been a consistent top performer in the last two Skirmish seasons. Aurora promises to once again be a consistent contender this upcoming season.
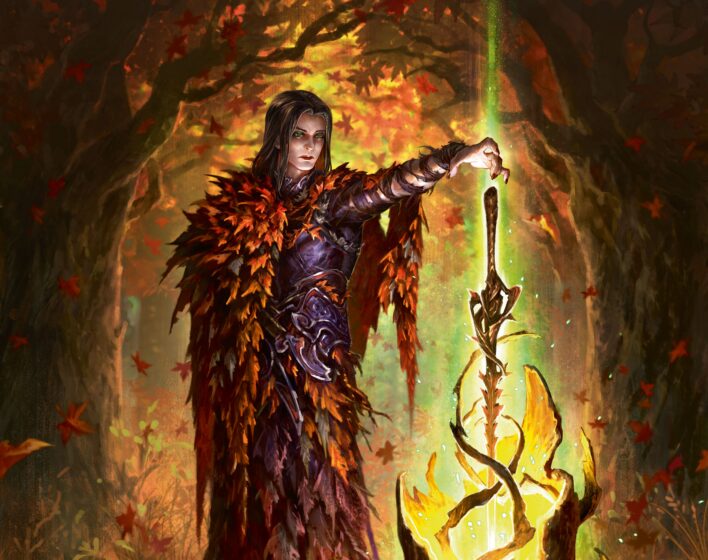
Florian
Florian’s advantage in the Blitz format is twofold.
The first is flexibility. Being able to play differently into various matchups makes Florian quite robust into a diverse field. The second is that Florian is fairly straightforward, being a value-focused defensive hero. His key to success is survival. But… once he has successfully decomposed? It’s time to flip tempo and become aggressive.
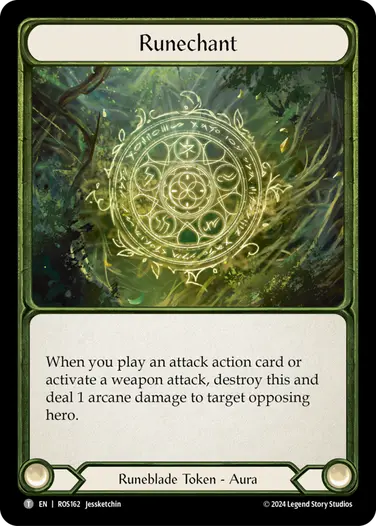
Florian’s only truly unfavored matchup is Blaze, where his decomposing defense reactions are useless and a Runechant stack becomes fuel for a Scour. As such, we skew away from a Runechant stack build and lean into midrange.
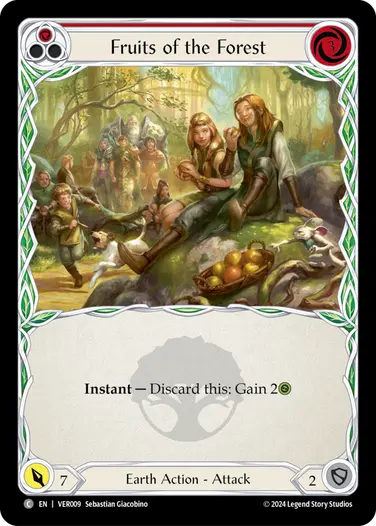
Because his young form only requires 4 Earth cards in the banished zone, Florian only has to decompose twice before he goes online to create additional tokens. To facilitate getting his ability online as fast as possible, don’t hesitate to block early with Earth cards, or to discard Fruits of the Forest (yum, yum!) to both gain life and setup the decompose.
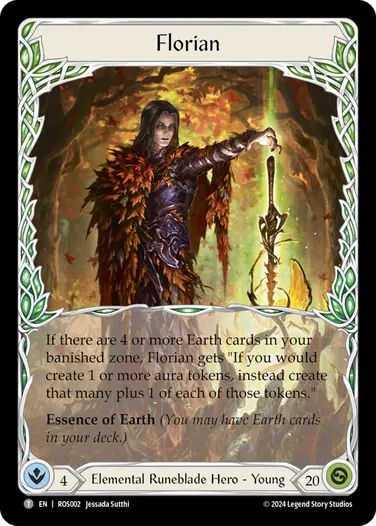
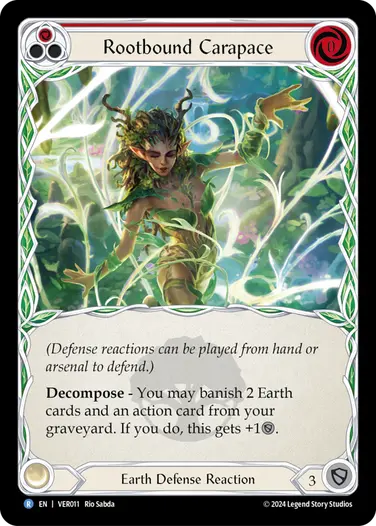
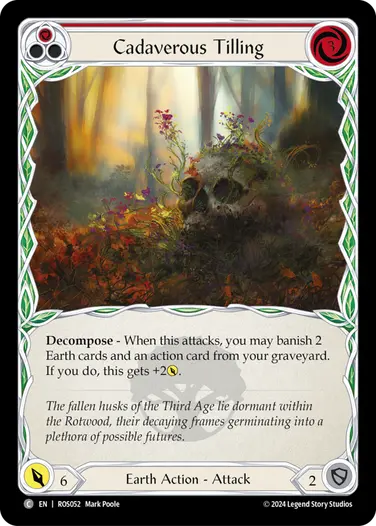
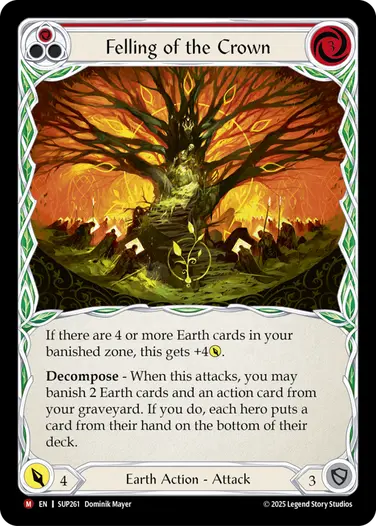
Once you hit critical mass, your primary defensive tool Rootbound Carapace becomes extremely effective, as does your offensive tool Cadaverous Tilling. Plow Under and Felling of the Crown are your tempo-turning weapons, simultaneously decomposing and disrupting.
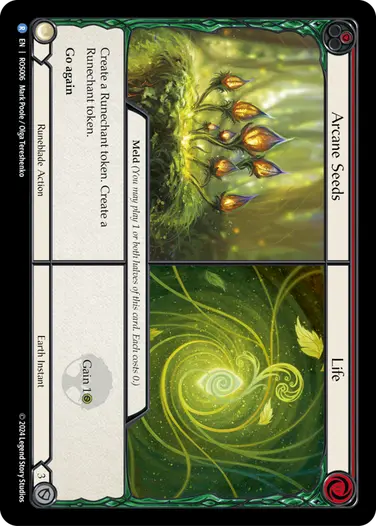
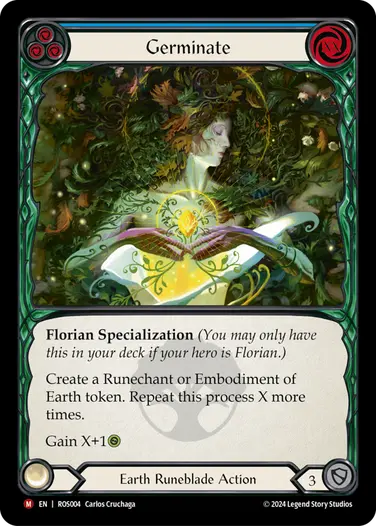
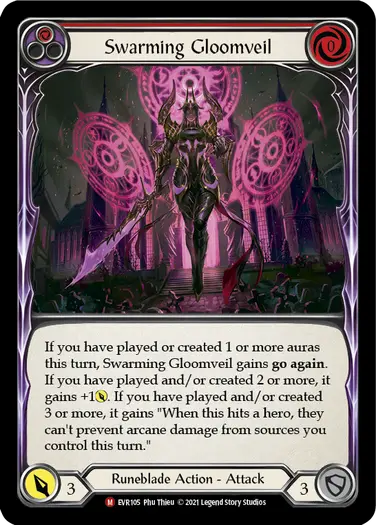
Once Florian is online, it’s time to go to work! Extra value is unlocked from cards like Arcane Seeds // Life and Florian’s specialization – Germinate. Swarming Gloomveil becomes a 4-power go again off of a single token creation, due to Florian’s ability.
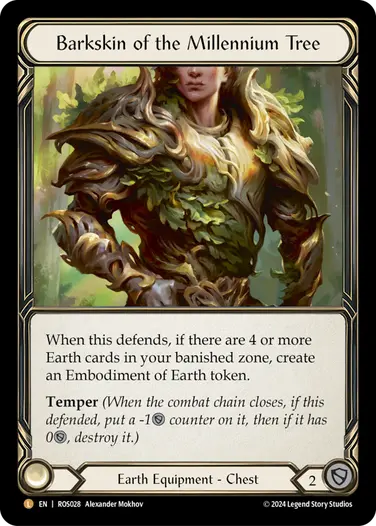
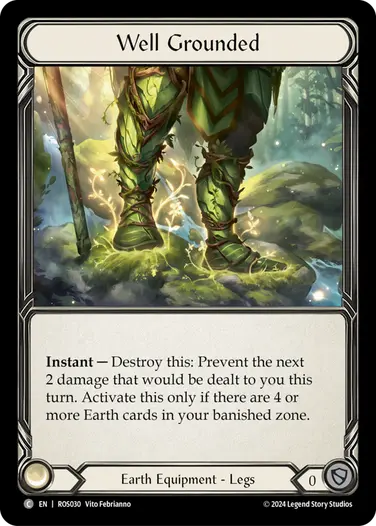
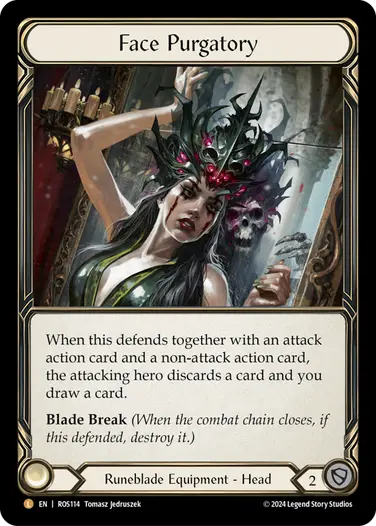
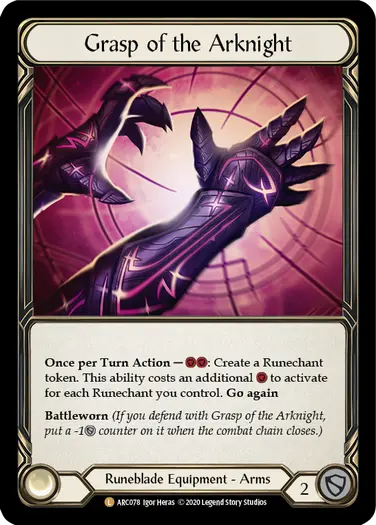
Florian’s equipment suite is a bit of a double-edged sword. Once he hits the 4 banished Earth threshold, his chest piece Barkskin of the Millennium Tree creates insanely effective defense, and Well Grounded steps in (pun intended) for on-demand prevention. However, until that point, Grasp of the Arknight and Face Purgatory have to carry the armor burden.
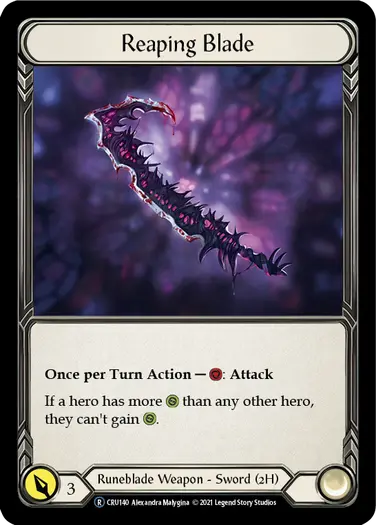
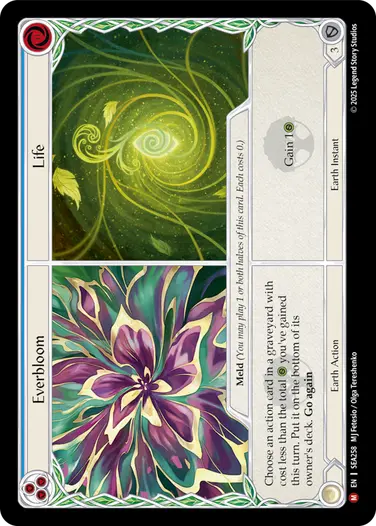
For grindier matchups, or ones in which you lose control of tempo, Florian is quite robust to play into the late game. Grasp of the Arknight into Reaping Blade represents 5 points of damage off of a single blue, and demands two cards from the opponent. Combined with the life gain and recursion from Everbloom // Life, Florian is nearly impossible to grind out to fatigue.
Sideboarding
This deck has a 38-card main core, intended for flexibility based on matchup. The following cards make up the sideboard:
- 2x Fruits of the Forest (red)
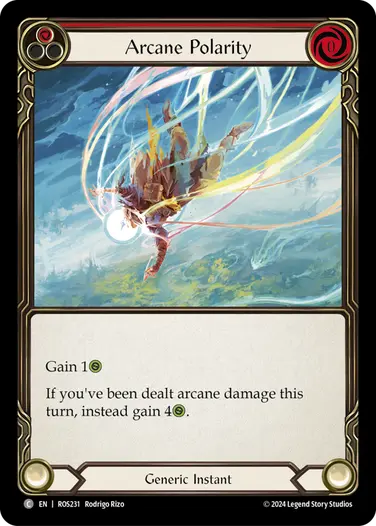
- 2x Arcane Polarity
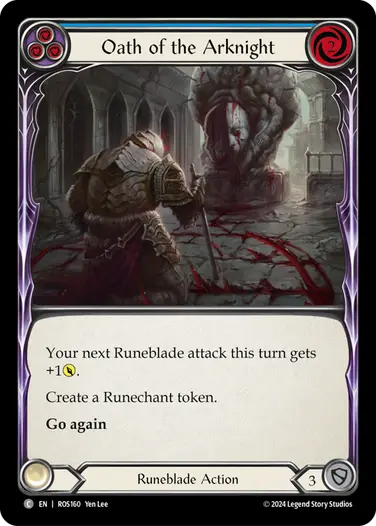
- 2x Oath of the Arknight
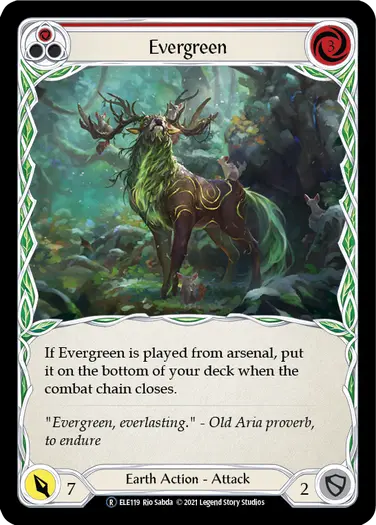
- 1x Evergreen
- Crown of Dichotomy
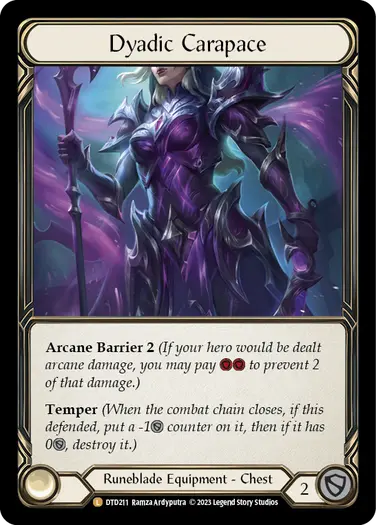
- Dyadic Carapace
Most of the time we will run Fruits of the Forest (red) to make up 40 cards, especially in the Wizard matchup, as the life gain effect both keeps us alive and helps fill our discard with decompose targets.
Due to his Earth focus, Florian loses advantage when it comes to Arcane Barrier equipment. As such, two sideboard slots are committed to Arcane Barrier: Dyadic Carapace and Crown of Dichotomy.
Arcane Polarity and Oath of the Arknight replace Rootbound Carapace (red and yellow) for both value and additional pitch into Blaze.
The final sideboard slot goes to a single copy of Evergreen. We have six natural poppers (if we include Fruits of the Forest) and this can provide a 7th. However, Evergreen’s true purpose is to work in conjunction with Grasp-Blade to set up an anti-fatigue win condition.
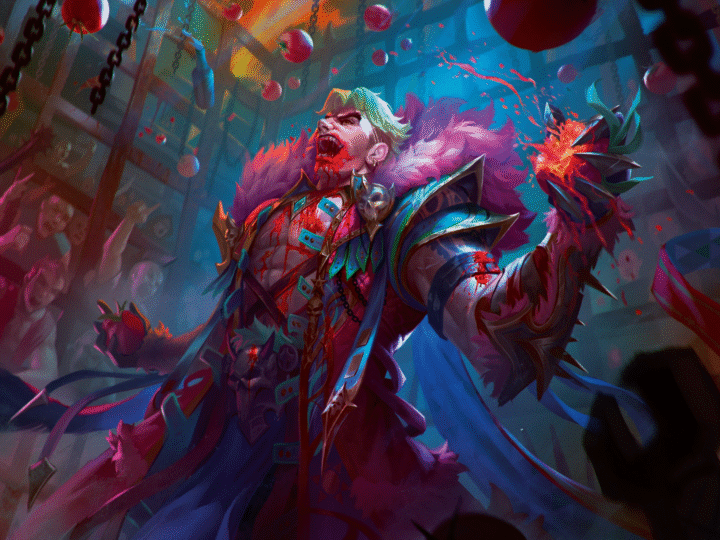
Arakni, Solitary Confinement
Arakni, Solitary Confinement (affectionately ‘ASC’) has access to an incredible toolkit. ASC’s on-board go again for stealth attacks facilitates multiple threats each turn and forces difficult decision points for the opponent.
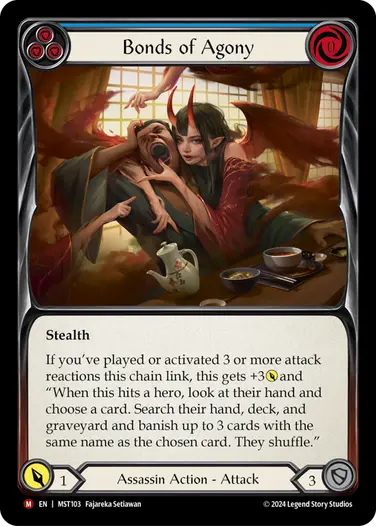
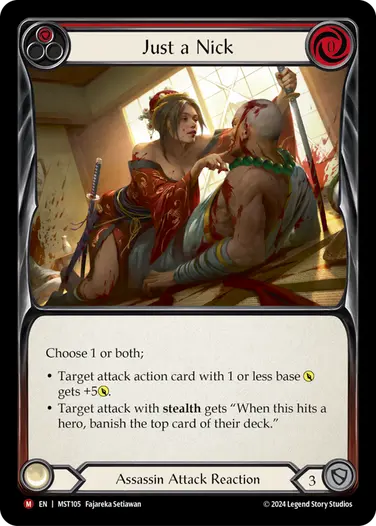
While banned in Classic Constructed, Bonds of Agony remains legal within the Blitz format. The impact of this card demands we build into it. In combination with reaction threats like Take Up the Mantle and Just a Nick, opponents often face no-win situations. Supporting stealth attacks Double Trouble and Persuasive Prognosis further diversify the threat pool.
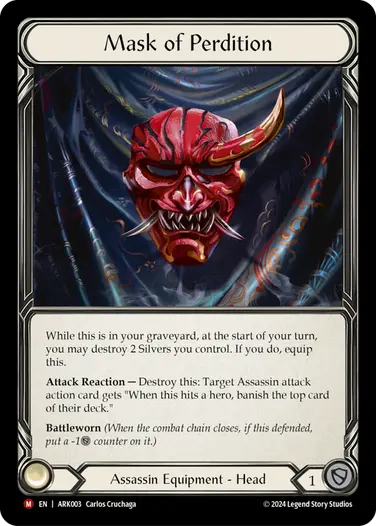
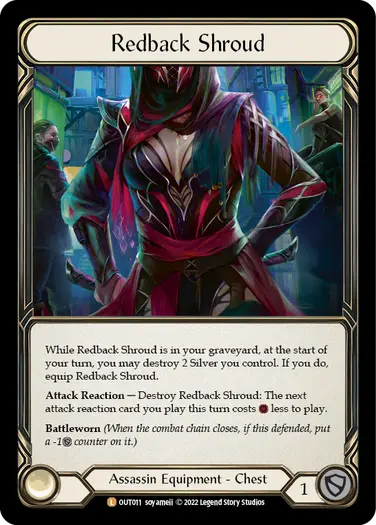
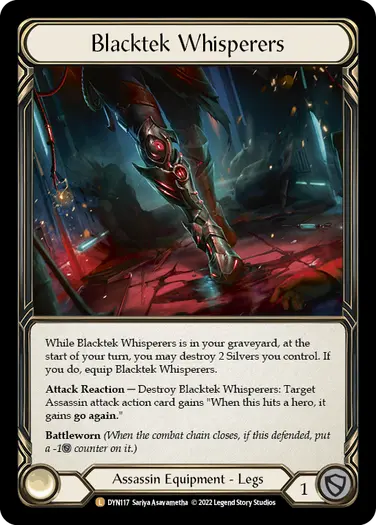
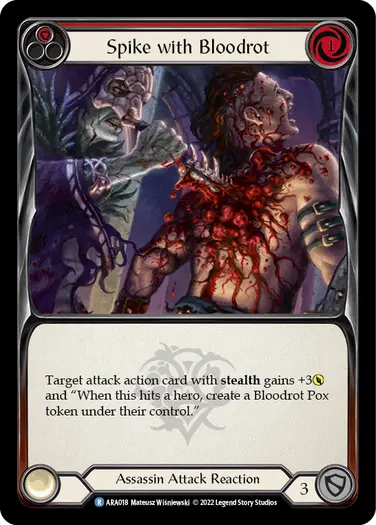
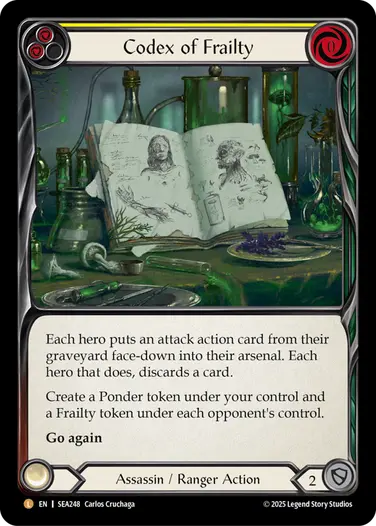
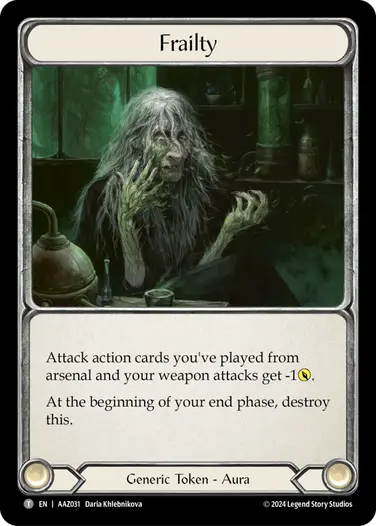
ASC’s equipment suite is designed to provide on-demand attack reactions in support of your attacks. Mask of Perdition exists really only to provide an additional reaction; while the on-hit banish is a bonus, it’s not the primary purpose (although it’s worth noting that the extra banish synergizes well with Art of Desire: Body). Redback Shroud excels in short form, being available from the start. Its 1 resource reduction is ideally used for Spike with Bloodrot, providing two reactions for no pitch. Blacktek Whisperers can set up an end-chain Codex of Frailty, which can be a devastating blow.
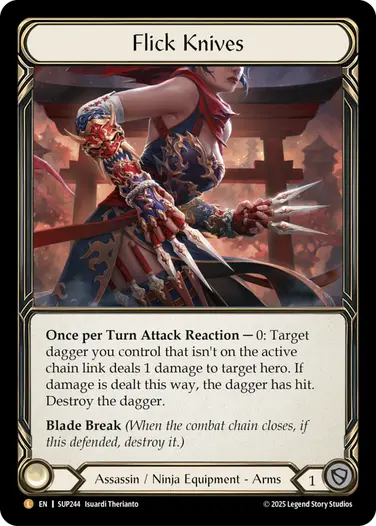
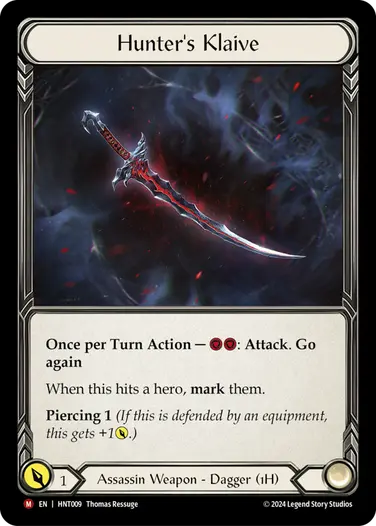
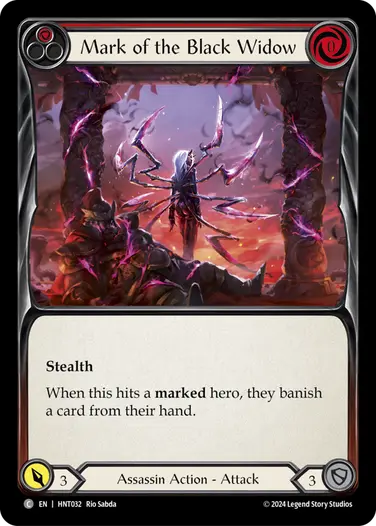
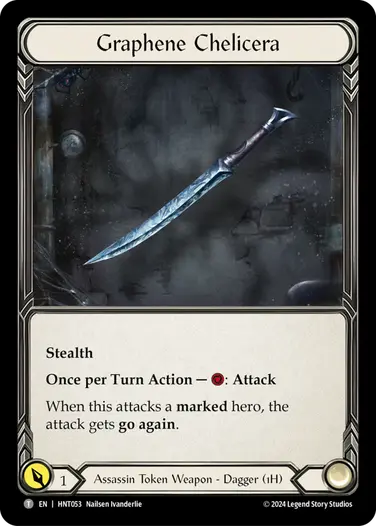
Flick Knives not only threatens reactions and damage, but also marks the opponent with Hunter’s Klaive to enable Mark of the Black Widow, as well as freeing up slots for Graphene Chelicera.
Note that while it’s technically possible to generate Silver during the game, it is quite uncommon. Thus, ensure that your equipment is timed well and used with a “once-and-done” mindset.
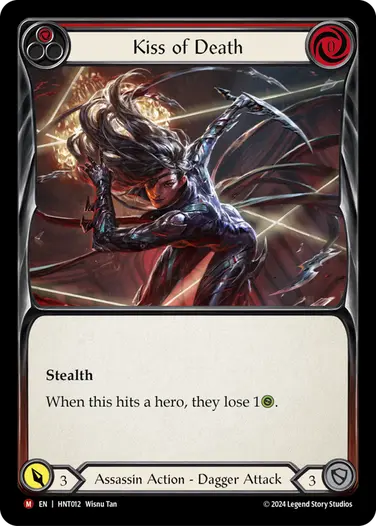
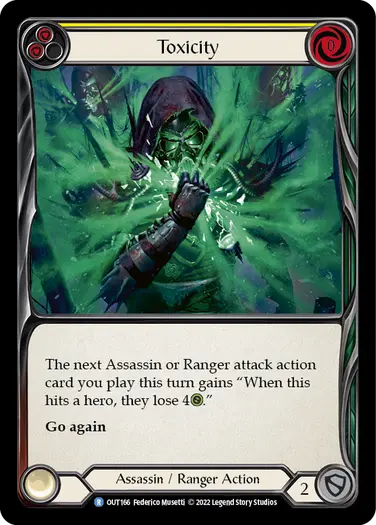
We round out the deck with a dagger damage package. Carried on the back of Flick Knives, Kiss of Death and Toxicity make a deadly pair in the low life pool. Apply on-hit effects such as Toxicity or Spike with Bloodrot to Kiss of Death, then follow up with another attack and use Flick Knives to force the Kiss of Death to hit!
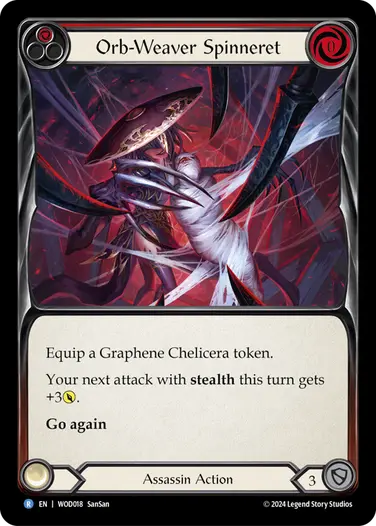
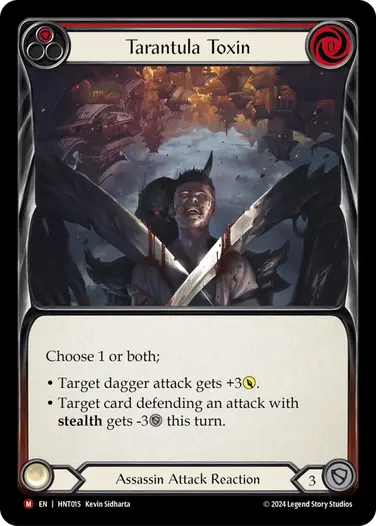
Orb-Weaver Spinneret generates a Graphene Chelicera, providing both dagger backfill and a +3 pump. It’s also worth noting, ASC’s ability can give Graphene Chelicera go again. Tarantula Toxin’s synergy, not just as a ‘shred’ effect, but also as a pump for Kiss of Death and Graphene Chelicera, makes it an impressive endgame threat.
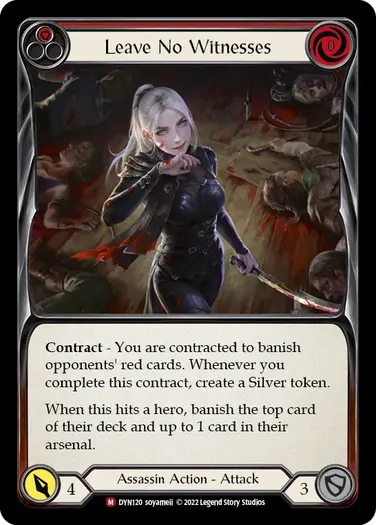
Finally, the long-proven combination of Codex of Frailty and Leave No Witnesses can mess with your opponent’s plans. A well-timed Codex can potentially destroy an opponent’s turn setup.
Sideboarding
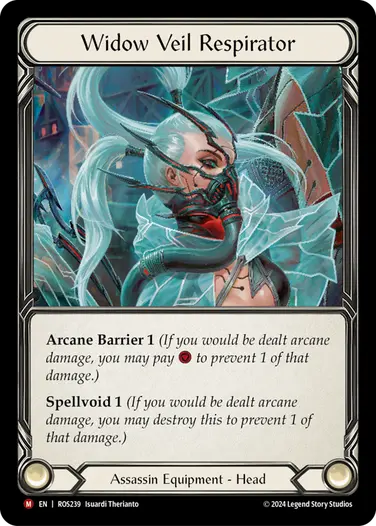
As a dual-wield hero, once we take arcane barrier our sideboard slots are limited. Because we have both Arcane Barrier 1 and Spellvoid 1 on the Widow equipment set, a compromise is made to go with Arcane Barrier 2 – striking a balance between protection and sacrificing our on-board reactions. In Runeblade matchups, Arcane Barrier 1 is sufficient, bringing in the head slot.
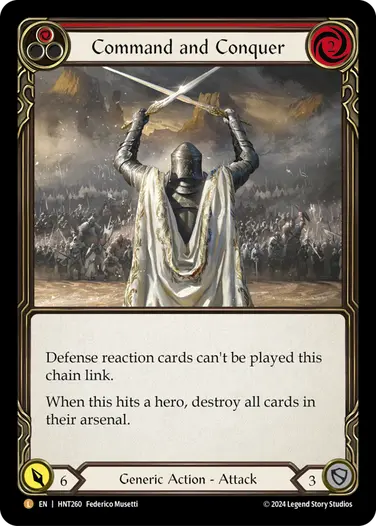
Arcane Polarity and Command and Conquer make up the remainder of the sideboard. Arcane Polarity tags in for Spike with Bloodrot in Runeblade matchups, and for Sink Below against Blaze. Command and Conquer comes as a popper and for grindy matchups, swapping for Double Trouble (red).
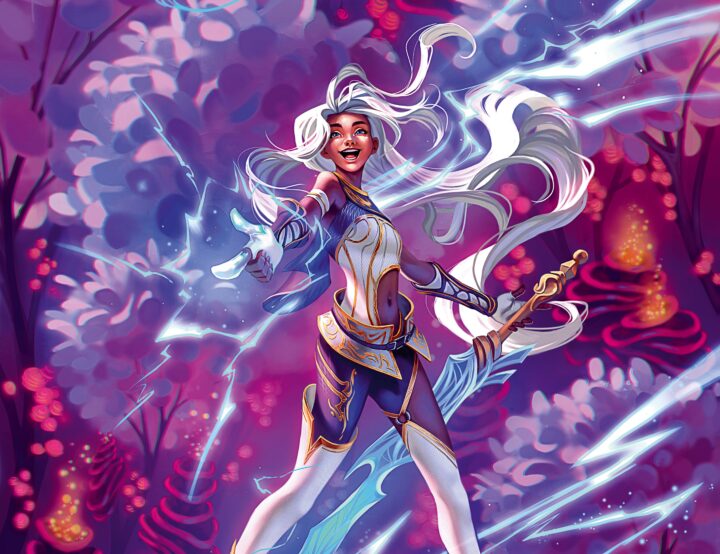
Aurora
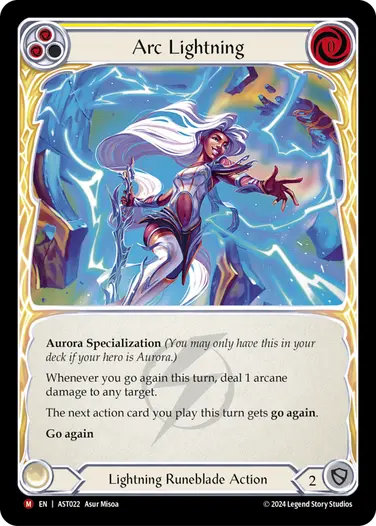
There are two potential strategies for Aurora in Blitz. One shuns armor and leans into equipment that facilitate go again effects for the purpose of fueling an all-out Arc Lightning turn. This build is explosive, but a glass cannon – overly vulnerable to disruption and crush effects.
The other, more popular strategy is to instead lean into Aurora’s consistency, backed by her incredible equipment suite. Aurora’s equipment suite may in fact be her largest advantage in Blitz, providing 9 net defense with Arcane Barrier 3 built in. Not only is that itself strong, but it also means she can run this setup into every matchup. This frees up valuable sideboard space, allowing her more tech slots than any other hero.
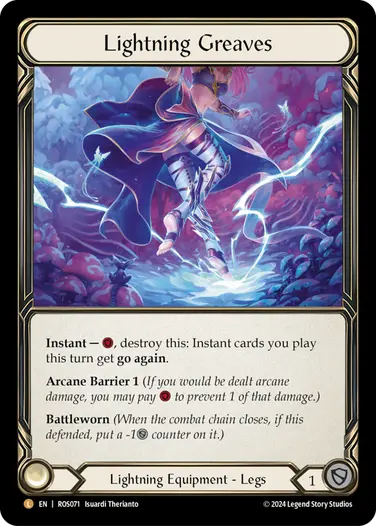
Grasp of the Arknight not only defends for 2 with Battleworn, but also provides a source of two arcane pings on an Arc Lightning turn. Dyadic Carapace carries 2 with Temper and Arcane Barrier 2, which together with the Arcane Barrier 1 on Lightning Greaves forms a complete arcane protection package. Face Purgatory can be incredibly impactful as a way of shutting down a big turn but can come at high cost as Aurora’s non-attacks are incredibly powerful. As such, don’t hesitate to use Face Purgatory merely as a 2-defense to protect your own big turn.
Aurora’s deck has a high threat density, the headliner of which of course is Arc Lightning. Arc Lightning generates an arcane damage ping every time you go again that turn, as well as giving go again to the next action card you play. Note this for your sequencing, ensuring that a Red 0 for 4 gets the effect as opposed to a non-attack that already has it built in. When you draw Arc Lightning, it’s time to “GO” – use your armor suite to stave off any disruption and maximize your big turn.
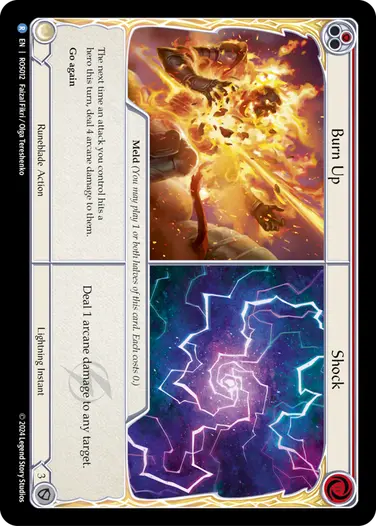
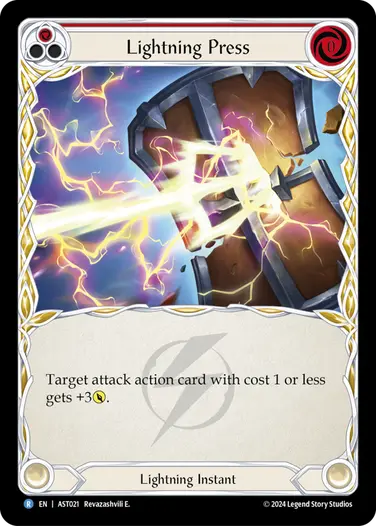
Burn Up // Shock is a momentum shifting weapon. Throwing 1 arcane damage itself, it also demands blocks, as any hit for the rest of the turn generates a packet of 4 arcane damage. While obviously a well-timed Lightning Press can do devastating damage in this situation, using Burn Up // Shock to retake tempo is sufficient to shift the game in your favor.
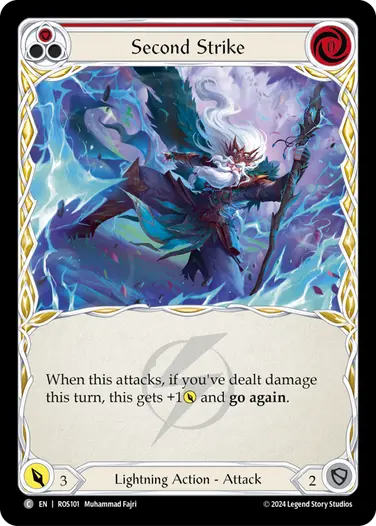
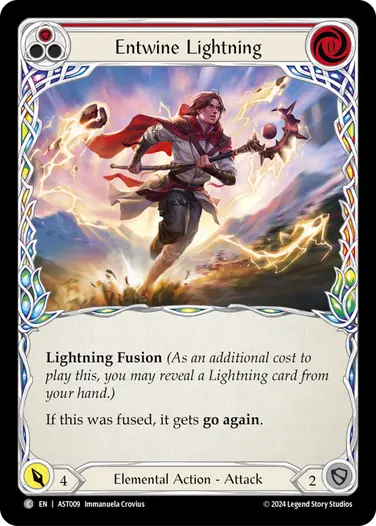
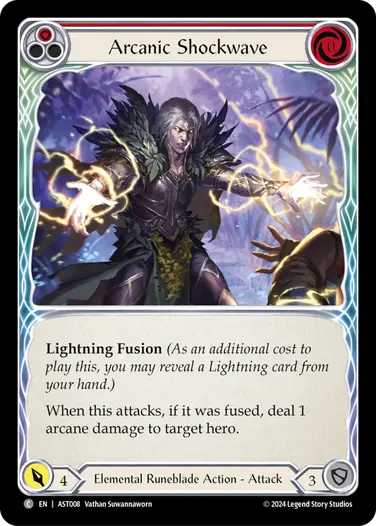
The core of Aurora’s deck is a high density of Lightning cards and breakpoint 0 for 4 attack actions. These are not only cost efficient, but highly synergistic. Cards like Flittering Charge, Entwine Lightning, Second Strike, and Lightning Surge are essential for extending the combat chain, and Arcanic Shockwave provides options for mixed damage.
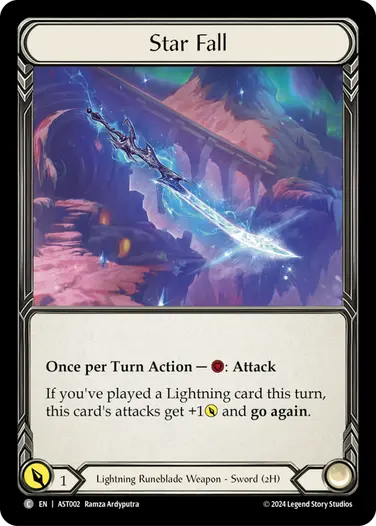
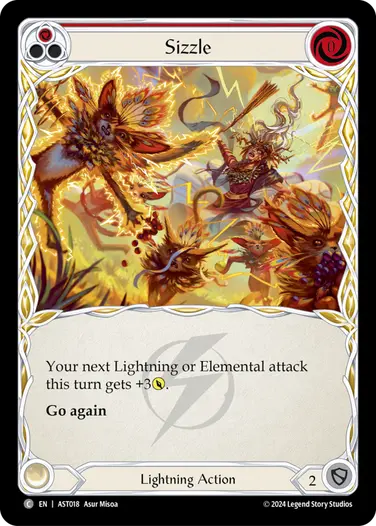
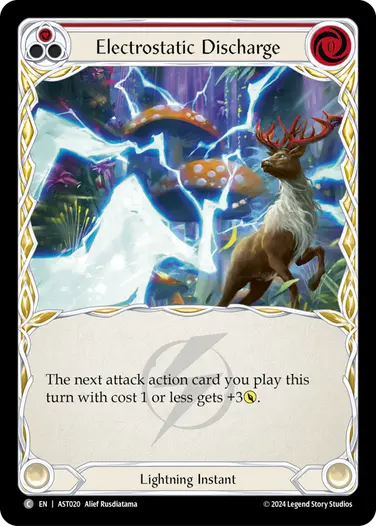
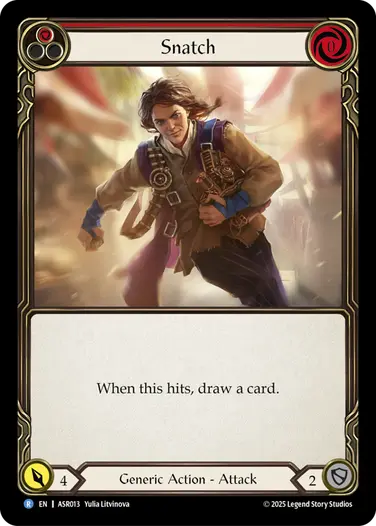
Sizzle provides a +3 power pump to any Lightning or Elemental attack but is often best used to enable Star Fall. In combination with a blue, Sizzle into Star Fall is a 5-power attack, leaving 2 resources for Aurora’s ability to produce an Embodiment of Lightning and threaten two attacks on the back end. While Electrostatic Discharge doesn’t buff Star Fall’s attack, it does enable the go again and carries for a follow up 7-power attack threat, such as Snatch.
Sideboarding
The flexibility of Aurora’s sideboard gives her agency into a lot of different matchups, with room for 7 tech cards:
- 2x Arcane Polarity
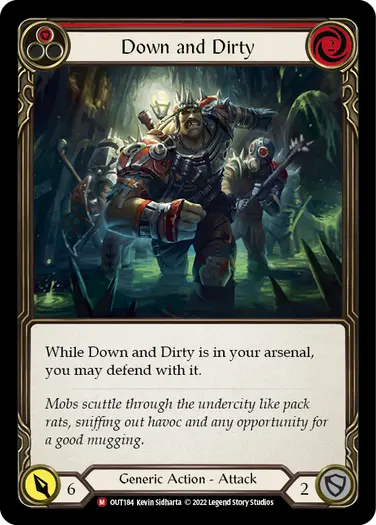
- 2x Down and Dirty
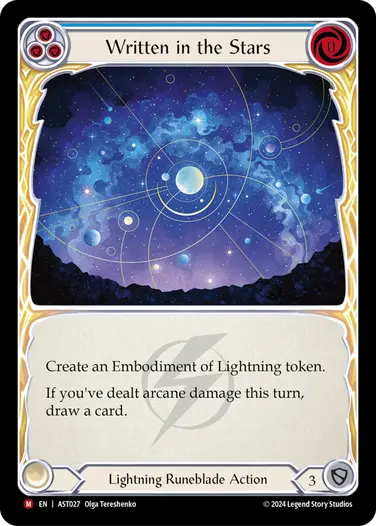
- 2x Written in the Stars
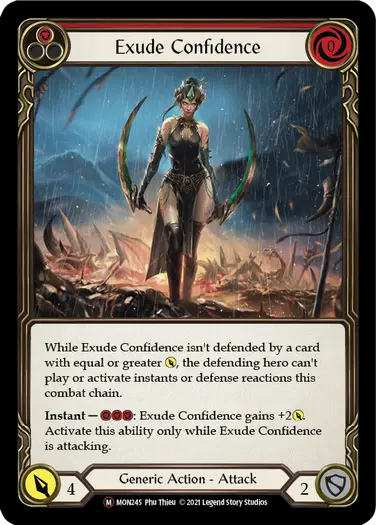
- 1x Exude Confidence (the other copy is included in the main 40-card core)
Arcane Polarity comes in against all arcane matchups, swapping with Sigil of Suffering against Blaze and with Electromagnetic Somersault and Lightning Surge against Runeblades.
Because Aurora often has early momentum, Down and Dirty is the best choice of popper. Because it can be put into arsenal, it doesn’t demand a hand slot and thus doesn’t slow down your offense. Swap for Enlightened Strike against Illusionists.
Written in the Stars pulls double duty, both as a blue Lightning card that also defends for 3. It provides additional resource density in the Blaze matchup, swapping with Enlightened Strike. For matches where better defense is needed, such as a Fai, swap with Electrostatic Discharge.
Finally, a second copy of Exude Confidence is present for grindy heroes with a higher density of defense reactions, and also for Blaze. Swap with Scar for a Scar, as you will often have the early momentum in these matchups.
This final season of Blitz promises to run the gauntlet of our emotions: nostalgia, excitement, frustration, and triumph. As we bid the Blitz format farewell, remember the good, and remember the bad. But most importantly, have fun with your community in the Flesh and Blood.
And of course, my Flesh and Blood friends… Go Commando!