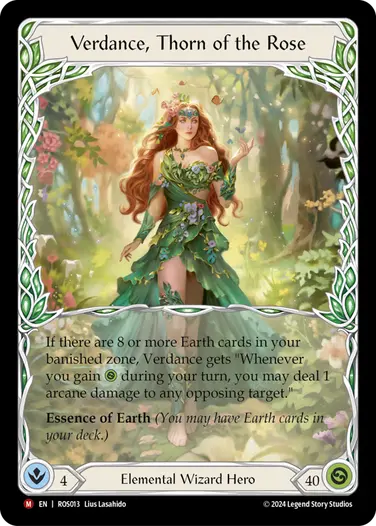
Learn from the best with a monthly Masterclass lesson from renowned pro player Yuki Lee Bender. This month, Yuki’s bringing you a full comprehensive guide to playing Verdance, the most popular arcane hero in the metagame right now. Not a Verdance player? That’s perfect too, because this guide also breaks down how to BEAT her!

This article will cover everything you need to know about one of the strongest heroes in the current Classic Constructed metagame: Verdance, Thorn of the Rose. Topics covered include strengths and weaknesses, managing decompose, how to combo, arsenal priority, managing threats in deck, sideboard packages, and finally, playing against Verdance. For those of you not interested in playing Verdance yourself, you could consider skipping ahead to the Defeating the Thorn of the Rose section, however I do think that understanding what Verdance wants to achieve also helps you understand how to play against her.
Strengths and Weaknesses
As with any hero, being familiar with their strengths and weaknesses is important for playing as them and against them. Verdance is interesting because I think both her strengths and weaknesses are quite pronounced.
Strengths
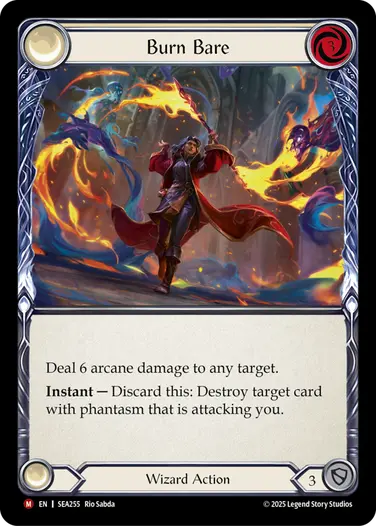
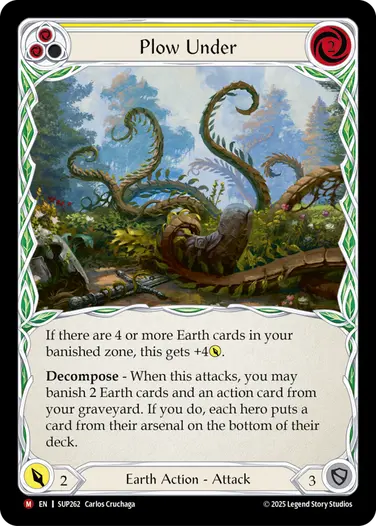
- Strong 2-card plays like Felling of the Crown, Plow Under, and Burn Bare.
- Good defense with reactions, life gain, and prevention effects.
- Ability to flex between being assertive, outvaluing opponents in a long game, and combo-ing opponents who try to fatigue her.
- Lots of reach due to tall arcane spells going over what most opponents can Arcane Barrier.
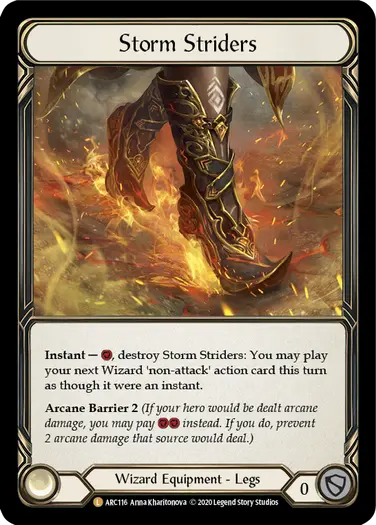
- Storm Striders makes being low on life against Verdance incredibly dangerous.

Weaknesses
- Difficulty fully converting large hands, especially before she has 8 Earth cards in banish.
- Can be prone to fatigue if she doesn’t manage her threats properly or is caught off guard by an opponent’s defensive strategy.
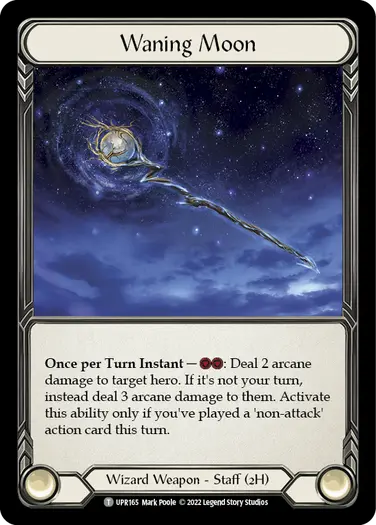
- Waning Moon, her most widely played weapon, doesn’t do anything on its own and doesn’t threaten cards out of deck.
- Lacks 1-card plays, especially when her hero ability isn’t online.
- Lack of action points and reliance on 2-card plays can make allies quite difficult to clear, especially before she has 8 Earth cards in banish.
Managing Decompose
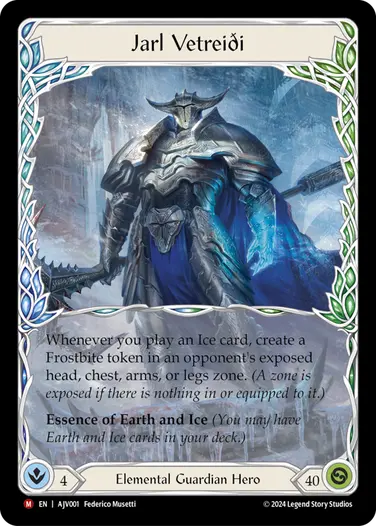
Decompose is a key mechanic for Earth heroes, and anyone with experience on Jarl or Florian should feel quite at home managing Verdance’s Earth cards in graveyard and banished. When we decompose, we can choose to banish either 2 or 3 Earth cards, which means that in order to get to 8 Earth cards and enable Verdance’s hero ability we can either play 3 decompose cards, banishing 2, 3, and 3 Earth cards, or we can play 4 decompose cards, banishing 2 Earth cards each time. Since these are the two ways we can get to 8, we should always decompose only 2 Earth cards on our first decompose, as this gives us greater flexibility to later choose to play towards the 2/3/3 or 2/2/2/2 decompose play patterns.
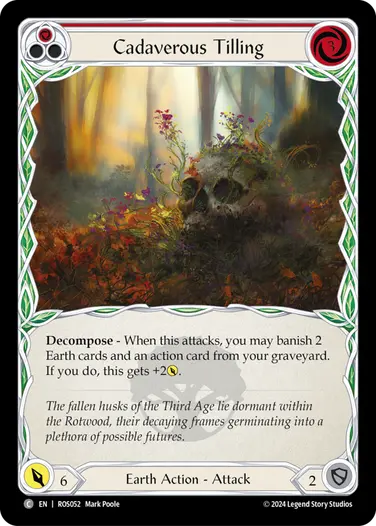
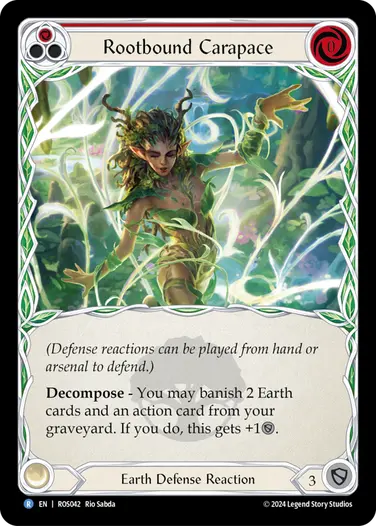
As a rule of thumb, we should try to prioritize being able to decompose each of the Earth cards we play, especially Felling of the Crown, Plow Under, and Cadaverous Tilling for extra value, even if it means turning on our hero ability slightly slower. This means we should generally default to the 2/2/2/2 decompose pattern, unless we have an abundance of Earth cards in graveyard, meaning we can comfortably decompose 2/3/3 without missing out on opportunities to decompose. Additionally, resolving our first decompose is generally a very high priority, as it means our Fellings and Plows will get the additional 4-power bonus for having at least 4 Earth in banished. Cadaverous Tilling and Rootbound Carapace are our best options for first decomposes and are extremely premium arsenals/plays if we have not decomposed yet.
The main exception to this rule is in matchups where getting access to our hero ability is extremely important, or finding spots to decompose is especially challenging. Examples of this include playing against Gravy Bones where we want to be able to ping allies, and the mirror where arcane damage can make it hard to resolve Rootbound Carapace to decompose. Another exception to this rule is Prism, due to the existence of Figment of Judgement being able to turn Earth cards in banish face-down. As a result, against Prism we often want to decompose 3/3/3 if possible to help play around this.
Because of the importance of decomposing in Verdance, getting Earth cards into graveyard early in the game, is of utmost importance. Make sure when you are planning your turns you are always considering if you have enough cards to decompose. If you are playing a decompose card and then putting another one in arsenal, you may even want to plan 2 turns ahead, keeping in mind the card you are attacking with will also go to the graveyard.
Arsenal Priority
Generally, the best cards to arsenal are powerful attacks like Cadaverous Tilling, Felling of the Crown, Plow Under, and Burn Bare to help ensure we have something strong to do each turn, as we don’t have an unconditional weapon to fall back on. Defense reactions are also great arsenals, especially against decks with on-hits, as they allow us to do some extra defending when we do draw threats we want to resolve.
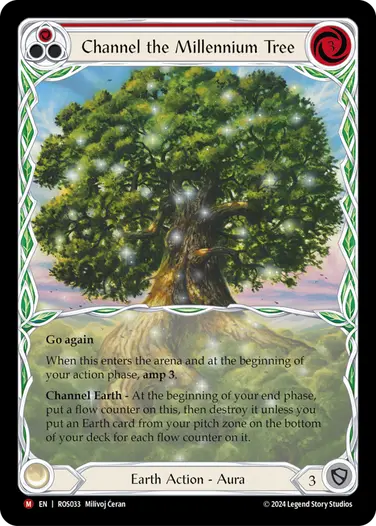
When we are resolving Channel the Millennium Tree it is often best to try to then arsenal a big red spell, even if it means just activating Waning Moon and nothing else that turn. This helps increase our odds of being able to keep Channel Millennium Tree for an additional turn by playing our red spell and activating Waning Moon pitching 2 earth cards on the following turn.

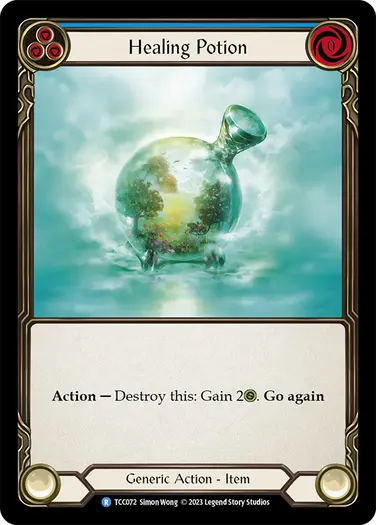
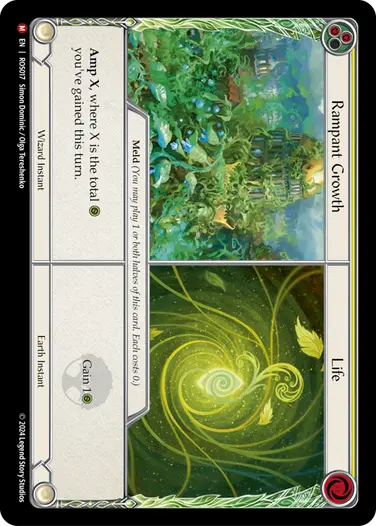
Healing Potions are dangerous to arsenal against Earth heroes since we generally want to resolve them right away and if they get hit by Plow Under it can be a major setback to our combo. Rampant Growth // Life is generally best pitched to second cycle, although once we have most of our potions, putting a Rampant Growth // Life in arsenal and waiting for the next one can be quite powerful, especially if we haven’t seen any and are close to second cycle, or know they are coming up soon.
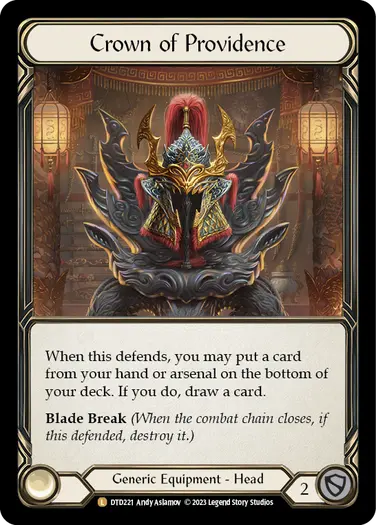
Often Verdance is presented with the option of putting a weak blue card like Arcane Twining in arsenal if we are either not able to fully convert our hand, or the Ponder token from Mental Block draws something weak. Generally, we want to avoid these weak arsenals unless Crown of Providence is still up to help us turn this card into a real card.

Storm Striders Kill Range
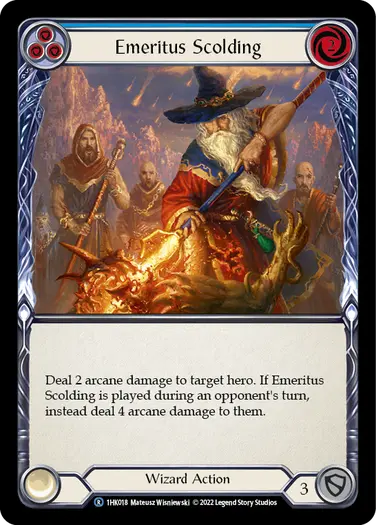
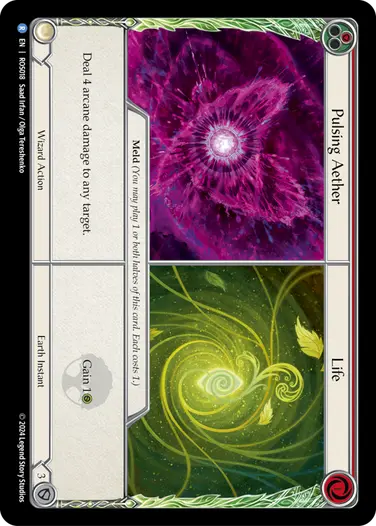
Storm Striders is one of the most powerful equipment in all of Flesh and Blood and is core to Verdance’s gameplay. The main idea is that because we get to play a spell and Waning Moon on our opponent’s turn, in some senses they almost start at a lower life total. Our usual kill ranges are 9 with a 6 power spell like Burn Bare or Light Up the Leaves, and 7 with Emeritus Scolding or Pulsing Aether // Life. Notably any wizard spell can also enable Waning Moon for 3 damage. We can sometimes get a bit of extra reach with cards like Rampant Growth // Life, Metacarpus Nodes, and Arcane Twining, but 9, 7, and 3 are generally the most important breakpoints for kill ranges.
Remember to play around life gain or prevention effects if you know your opponent is running them and you are able to do so. A good practice is to wait for your opponent to empty their hand as much as possible before using Storm Striders to reduce their ability to Arcane Barrier or play prevention effects. Keep in mind when calculating your damage that they can Arcane Barrier both the Waning Moon and the spell itself, and additionally some decks may have access to life gain or damage prevention effects.
The Combo
You are likely aware of Verdance’s combo, but may not be familiar with how to execute it. This section will dive into the particulars of how to combo and calculate the damage output.
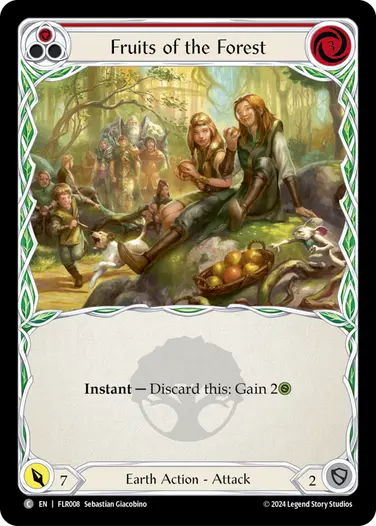
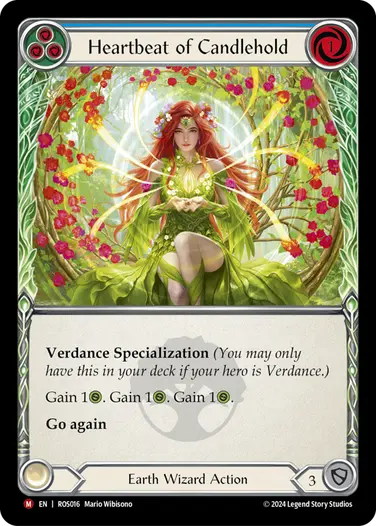
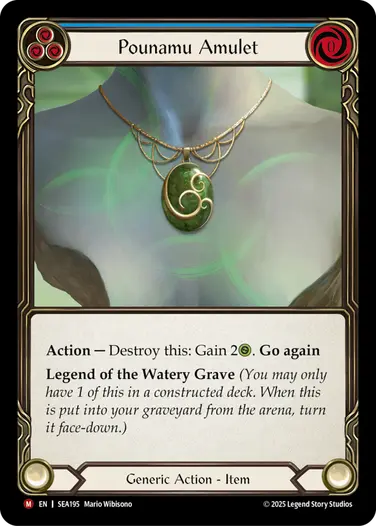
Comboing with VerDANCE Pings Only
In order to combo with no arcane damage outside of Verdance’s hero ability you must have 8 Earth cards in banished. You should activate all of your Healing Potions and Pounamu Amulet and play any additional life gain like Heartbeat of Candlehold or Fruits of the Forest and let them all resolve. You should also let all but your very last Verdance trigger resolve. Before the last trigger resolves you can hold priority, play Rampant Growth // Life which will resolve right to left. Let Life resolve and let the Verdance trigger resolve dealing 1 arcane, before the Rampant Growth resolves you can then play a second Rampant Growth // Life once again letting the Life and Verdance trigger resolve. Before the second Rampant Growth resolves you can play the final Rampant Growth // Life, let Life and the Verdance trigger resolve, let all 3 Rampant Growths resolve and amp, and then let the final Verdance ping from your life gain that you were responding to resolve and gain all the amp from Rampant Growth. The damage you will deal can be calculated as:
(total life gained) x (number of Rampant Growth) + 1 + (1 arcane per instance of life gain – 1)
The first line will be all as 1 source of arcane, and the second line will be all instances of 1 arcane for the purposes of Arcane Barrier. For example, if we break our potions and amulet, discard Fruits of the Forest, and play 3 Rampant Growth // Life for 13 total life gain, we would get:
13 x 3 + 1 = 40 arcane + 7 pings for 1 arcane
Comboing with a Spell
This is functionally the same as comboing with only Verdance pings, but instead of holding priority and responding to the last Verdance trigger from our life gain, we can let that resolve. Then we resolve all of our Rampant Growth // Life in the exact same way, and then end on our spell. The formula for this is almost identical:
(total life gained) x (number of Rampant Growth) + (spell’s damage) + (1 arcane per instance of life gain)
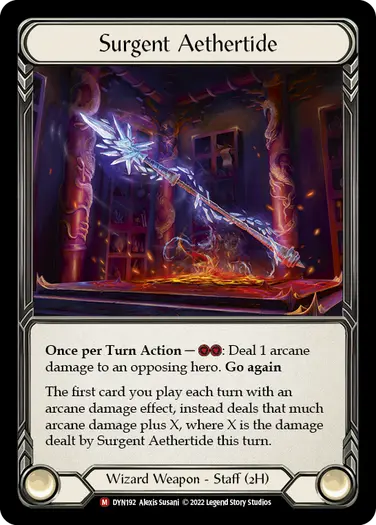
Comboing with Surgent Aethertide and a Spell
The highest damage Verdance’s combo can output is when leveraging Surgent Aethertide in conjunction with a spell. Execution wise, we once again break all our Healing Potions and resolve all our life gain and Verdance triggers. Stack our Rampant Growth // Life one by one, letting the Life and Verdance triggers resolve, and then responding to the Rampant Growth with another Rampant Growth // Life. After all our amps resolve we activate Surgent Aethertide, let it resolve, then play our spell giving it + damage equal to the amount of damage dealt by Surgent Aethertide. Damage for this combo can be calculated as:
(total life gained) x (number of Rampant Growth) + 1 – (opponent’s prevention)
(damage dealt by Surgent Aethertide) + (spell’s damage) + (1 arcane per instance of life gain)
The top line is Surgent Aethertide’s damage, the second line is the spell’s damage and all the instances of 1 arcane from Verdance triggers.
For example, if we break 3 Healing Potions, play 3 Rampant Growth // Life for a total of 9 life gain, activate Surgent Aethertide, then play Burn Bare against an opponent with Arcane Barrier 3, we deal:
9 x 3 + 1 – 3 = 25 arcane from Surgent Aethertide after prevention
25 + 6 = 31 arcane from Burn Bare before prevention
6 pings for 1 arcane
An important part of executing the combo is remembering that you don’t always need the max damage combo to win, 2 potions with 2 Rampant Growth can be plenty of damage if your opponent is low on life, especially if you combine it with Surgent Aethertide and a spell. Additionally, your combo doesn’t always have to kill. Generally, you will take your opponent’s full hand when you combo, and if they are low enough to be in Storm Striders range or even just very close to Storm Striders range if you have lots of threats left, that can be more than sufficient to put you into a winning position. Waiting too long to combo can give your opponent time to find counterplay or kill you.
Adapting on the Fly
Verdance’s greatest strength is her incredible adaptability that allows her to play on many different axes and threaten many angles of attack. She’s simultaneously an assertive deck that can burn the opponent out with Storm Striders and arcane damage, a defensive midrange deck that can outvalue opponents in a long game, and a combo deck that can go over the top of fatigue strategies. Being a strong Verdance player often means understanding not only how to play each of these strategies individually, but also understanding which strategy is important in any given matchup and any given game state. Rarely is your strategy so straightforward as to focus solely on one of these gameplans. Instead, you are usually flexing between two of these plans and adapting to your opponent’s strategy and pace of play.
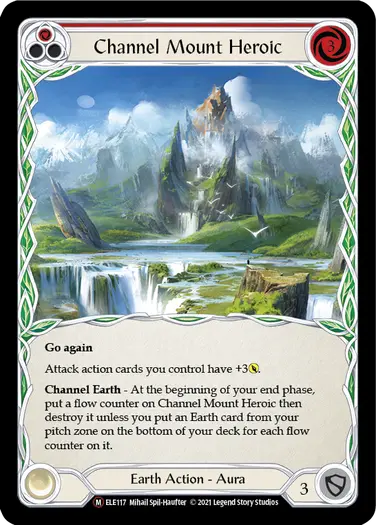
In fact, committing too hard to one of Verdance’s gameplans when your opponent pushes hard on a different axis can often be one of the downfalls of Verdance players. An example of this can look like trying to set up a Healing Potion combo and playing Channel the Millennium Tree with Burn Bare and Light Up the Leaves to push over Florian’s fatigue strategy, when instead they are on Channel Mount Heroic and charging down your life total at full force. Even just a single turn or two of misevaluating the game state can leave you with far too little life to actually combo your Florian opponent, and because you focused on Millennium Tree you might also be too behind on the value axis to win a more traditional game. Instead, the Verdance player needs to be able to identify that the Florian isn’t trying to fatigue when he decides to declare no blocks and take damage.
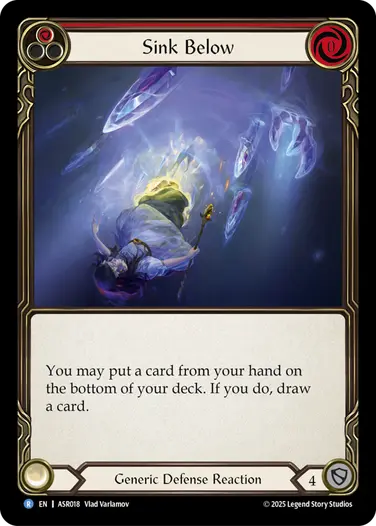
From here Verdance needs to make a judgement call on if she should lean fully into the combo or instead play a value plan. If she wants to combo, she needs to protect her life total at all costs and weather the storm until she gets to establish her Healing Potions and find her Rampant Growth combo. If she chooses to play a value game instead, she should focus on mostly on playing her most efficient attacks like Felling of the Crown, Plow Under ,and Cadaverous Tilling. When playing for value she can opt to instead pitch Healing Potions and block with Channel the Millennium Tree. Rampant Growth // Life can be difficult to convert sometimes when playing a value plan but can be placed in arsenal to combine with life gain like Fruits of the Forest, Heartbeat of Candlehold, or Healing Potions that may have been played out early in the game when the Florian’s strategy had yet to be identified. Alternatively, Rampant Growth // Life can be put to the bottom of the deck with the likes of Sink Below or Crown of Providence, or pitched to Waning Moon.
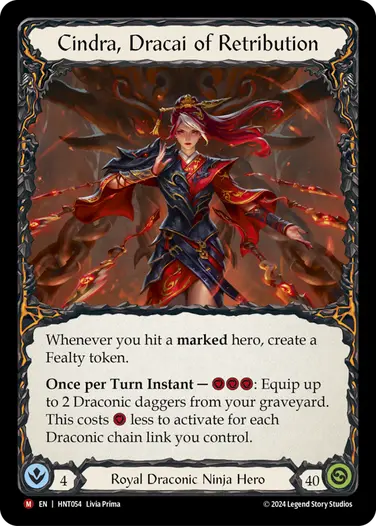
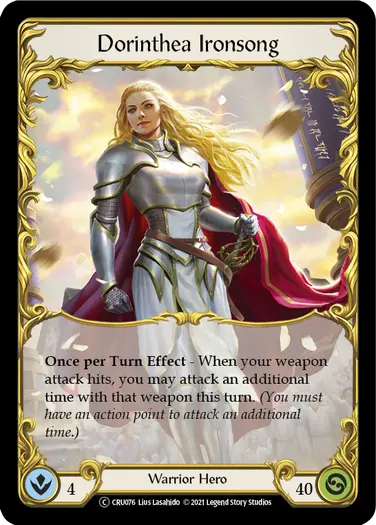
The real challenge and art of playing Verdance is correctly identifying your opponent’s strategy as quickly as possible and choosing the optimal response on the fly. When I play as Verdance, I find myself constantly assessing what my opponent is trying to do, what axis is most important in this game, and how I should adapt accordingly. So, how can one hope to optimally make these types of decisions? On some level this relies on your understanding of the other hero and the matchup. Before the game even starts you should have an idea of how capable the hero is of fatiguing you. For example, Cindra will never fatigue you due to lack of resource cards, Dorinthea or Florian can flex between being aggressive or fatiguing you, and a deck like Victor or Jarl mainly threatens fatigue. This should then inform how many of your anti-fatigue tools like Channel the Millennium Tree, Rampant Growth // Life, and Healing Potion you need to play (this will be discussed more later on in sideboarding).
This matchup knowledge and experience can also inform how you decide to approach the first few turns of the game based on what you expect your opponent to do. Having reps in the matchup will also make it easier to identify if your opponent is starting to deviate from the gameplan you expected when you sat down. The other important concept here is managing your threats in deck which will be discussed in detail in the next section.
Managing Threats
Verdance is prone to fatigue if players aren’t careful, due to the combination of not having an unconditional weapon that deals physical damage and a lot of her cards dealing arcane damage, which do not take cards out of deck to prevent. Because of this, Verdance players need to constantly be aware of how many threats they have left in their deck relative to their opponent’s life total when playing against decks that can fatigue them. This looks like keeping track of how many cards you have left that can push damage past what your opponent is capable of preventing. Enlightened Strike, Heartbeat of Candlehold when Verdance is online, and Channel the Millennium Tree are great ways of going wide, especially when you can follow them up with a big attack like Cadaverous Tilling or Felling of the Crown. Additionally, your Burn Bares and Light Up the Leaves can reliably push damage over your opponent’s Arcane Barrier. For example, if your opponent has Arcane Barrier 3, each 6-arcane spell is worth 3 points of their life total.
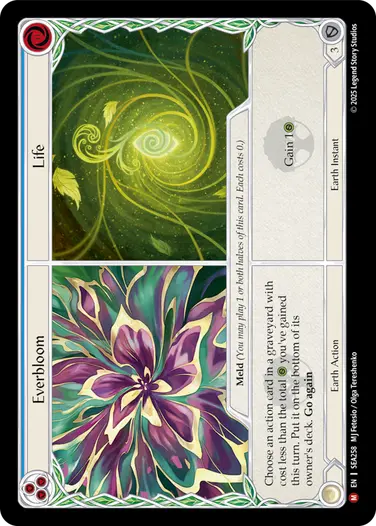
Another important tool in longer fatigue games is Everbloom // Life. If you choose to play it and put back another Everbloom // Life, you can gain life and threaten 1 arcane damage without taking any cards out of deck. The card can also be used to put back other threats like Enlightened Strike or occasionally even Felling of the Crown if you can combine it with other sources of life gain.

On some level you can think of figuring out your risk of fatigue as counting damage left in your deck until you get to their life total. For example, if you have 4 spells with 6-arcane and they are on Arcane Barrier 3, that is 12 damage they can’t prevent and any Channel the Millennium Tree you can line up with these spells is an additional 3. In this case, let’s say you estimate you can line up Channel the Millennium Tree with 2 of these spells for 6 extra damage, bringing us to 18 total points. Plays like Enlightened Strike or Heartbeat of Candlehold + Waning Moon into Felling of the Crown present 5 damage into 8 and the Felling trigger, which assuming their hand defends for 12 will generally leak 4 damage unless they have defense reactions. If we can line this up twice that gives us 8 more damage, putting us at 26.
From here we can also Storm Striders, which can present another 7 damage if we can line up Emeritus Scolding or Pulsing Aether with a spot where we took all the cards from their hand on their turn. If they have 1 blue in hand this would be 4 damage above what they can prevent. In this example, we might estimate we have 30-33 damage left, depending on how efficiently we can line up our Storm Striders turn.
How at risk we are of fatigue in this situation depends entirely on our opponent’s life total. Just don’t forget to also account for equipment defense and possible life gain, if you have seen them playing cards like Sigil of Solace or Fruits of the Forest. If you estimate that after they resolve their life gain they have 40 life, you are at a high risk of fatigue and need to really make sure you preserve your threats and only play them when you can go over the top of what they can block. This might look like trying to keep Channel the Millennium Tree for multiple turns and ensure they line up with 6 power arcane spells. It also may look like exclusively playing Felling of the Crown on turns where you have access to extra go again to help push damage.
If instead they are at 30 life, we are roughly on pace with where we need to be. We need to ensure we line up all of our threats properly, and avoid defending with our important attacks, but can still comfortably get there, as they are likely to leak small amounts of damage somewhere over the course of the game. If they are at 20 life or even less we are in an incredibly comfortable spot and should focus entirely on maximizing turn-to-turn value. Just make sure that while you do this you continue to monitor your threats relative to their life total. If you continue to walk their life total down while staying ahead on threats, you can just continue to maximize value. If they start to defend a lot and you’ve gone through multiple threats without reducing their life total much, you may need to start preserving and maximizing threats more.
You can conceptualize this management of threats in deck relative to life total as a sliding scale. When your damage is high relative to their life total you can lean heavily into maximizing value, and when your damage is low relative to their life total you need to make sure all your premium threats are lowering their life total as much as possible. This balance needs to constantly be monitored throughout the game as it shifts with every turn cycle. If your opponent defends Cadaverous Tilling for 8, the game has shifted slightly towards fatigue mattering more, and if they take 8 damage the game has shifted significantly towards being about value because they have lost 20% of their starting life total.
At a baseline, I like to approach the game from a value axis, which usually looks like sending a big attack, and then waiting to see my opponent’s response. If my opponent favors defending, they have less cards in hand to threaten damage back, giving me more space to line up my threats in ways that can push over the top of their defenses. I like to continually exert pressure in these spots with some of the less essential threats in my deck like Cadaverous Tilling or Plow Under while putting my premium threats in arsenal to create large turns.
In extremely fatigue oriented games you should also consider pitching reds and key threats for later and avoid defending with them as much as possible. The real strength of pitching reds to the bottom of your deck is that keeping Millennium Tree for multiple turns and lining them up with big spells becomes much easier in second cycle. Additionally, adding an Enlightened Strike into Felling of the Crown turn immediately before your Rampant Growth // Life combo turn can easily buy space to pull it off. Often pitching reds to the second cycle of your deck means losing value on the current turn cycle, which is perfectly acceptable so long as you don’t do it too much and get too low on life too quickly.
The baseline of constantly applying some pressure to take cards from opponents trying to play hyper defensively into you is a great way to ensure you don’t fall too far behind while executing this strategy. Just make sure that if you are overpitching reds, the game is leaning heavily towards fatigue and you are confident you have the life total to get to second cycle. Trying too hard to overcome fatigue or playing in this manner in a value-oriented game is completely game losing.

On the other hand, if I send my Cadaverous tilling and my opponent favors trading damage by defending with 0 or 1 cards, I will simply arsenal the most efficient card in my hand, and continue to play on a value maximization axis until my opponent starts defending and makes me consider having to manage my threats in deck.
Keep in mind that most of your games end up being ones decided by value, and for this reason I think you should generally lean as hard into the value direction as you can, while making sure you are still staying ahead of fatigue. By practicing and getting experience with constantly managing threats in deck relative to life total, you can develop a good feel for where exactly that balance lies. The strongest Verdance players generally feel extremely assertive to play against while constantly staying just outside of being able to be fatigued.
Sideboarding
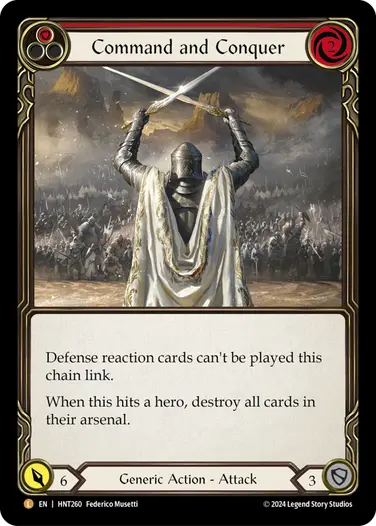
We have a 52-card core, with 3 Channel the Millennium Tree, 2 Command and Conquer, 1 Red Fruits of the Forest, 3 Shelter from the Storm, 3 Sink Below, 3 Rampant Growth // Life, 3 Healing Potion, 1 Pounamu Amulet and 1 Amulet of Echoes in the sideboard. I will discuss broadly the different sideboard packages Verdance tends to play.

Anti-Aggro
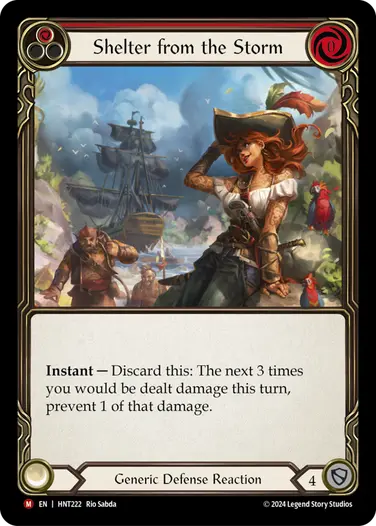
Against decks that want to attack you, like Cindra or Kayo, we like to bring in 3 Sink Below, 3 Shelter from the Storm, and 2 Command and Conquer to help us defend and disrupt them. This plan focuses on good defense and efficient 2-card plays.
Anti-Fatigue/Combo
Against decks where we need access to the full combo, like the mirror or Florian, we want to bring in 3 Rampant Growth // Life, 3 Channel the Millennium Tree, 3 Healing Potion, and 1 Pounamu Amulet. This means boarding out 2 more cards, which generally should be Destructive Aethertide, as we are bringing in more blues.
Hedge Board
It’s also possible to bring in just Channel the Millennium Tree and potentially 2-3 Rampant Growth // Life if you think you want to have some extra reach, but don’t need the full combo to win. The advantage to this is that you don’t have to play as many non-defense cards in case the opponent is aggressive, but still have Rampant Growth which can be combined with Heartbeat of Candlehold or Fruits of the Forest for a mini-combo to close out the game. Gravy Bones is a good example of a matchup where this can be relevant.
Equipment
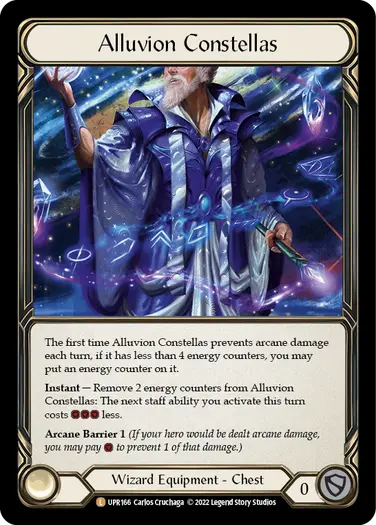
Alluvion Constellas is primarily for the mirror and Kano, giving you free weapon activations when you have 2 counters. Metacarpus Nodes is helpful for the same matchups ,giving you access to Arcane Barrier 4, and also for matchups when you want to play extra Arcane Barrier but still want access to Barkskin of the Millennium Tree, such as Runeblades. Finally, Surgent Aethertide is reserved mostly for the mirror, but can be brought in if you want to have a bigger combo at the expense of some of Waning Moon’s efficiency.

other tech
Red Fruits of the Forest is an extra popper for Prism, and Amulet of Echoes is tech for Oscilio. These are flex slots in the deck depending on what kinds of heroes you expect/want to beat.


Defeating the Thorn of the Rose
Exactly how you can bring down Verdance depends a lot on the style of deck you are playing, but generally you can either choose to try to pressure her life total and kill her, or aim to fatigue her. This section will give you some good heuristics and tips for playing against Verdance for each of these strategies. Although of course every hero will have small nuances and optimizations to consider when playing against Verdance, or any hero for that matter.
One easy rule of thumb that every hero should follow is to not attack Verdance on the first turn. Even if you leak a couple points of damage, the Earth cards are so beneficial to Verdance’s gameplan it is almost never a winning proposition. I think I would want to be pushing at least 5 damage and having an arsenal if I was thinking about attacking Verdance on turn 0.
For both styles of decks, it’s also important to remember her Storm Striders kill range. Assuming she’s playing Waning Moon, she can do 9 damage with a 6-arcane spell, which requires minimum three cards in hand, and with a 4-arcane spell like Emeritus Scolding or Pulsing Aether she can do 7 damage. Her ceiling can sometimes go slightly past this with cards like Arcane Twining or Rampant Growth // Life, but these are generally the most important health thresholds to consider, and trying to make sure you can Arcane Barrier enough to survive these amounts of damage is quite important in the late game, especially if you can do so comfortably.
That being said, I often see players fall into the trap of playing around Storm Striders too much when they can’t afford to. If your hand presents lethal damage and she doesn’t have a spell, I think it is usually correct to just accept that you need to go into Storm Striders kill range and give her only one turn to find the spell. The problem with defending a bunch to stay at 10 life is that you put yourself in a spot where it’s almost impossible to keep enough cards to threaten lethal, and she can just constantly threaten to put you into kill range with any red threat, and will eventually find tall arcane spells to get the job done.
For decks looking to pressure Verdance’s life total, it’s important to remember that Verdance loves to play 2-card hands, and these represent all of her most powerful plays, like Felling of the Crown, Plow Under, Cadaverous Tilling, or Burn Bare. By extension, this also means she’s usually very keen to defend with a card and arsenal another card, or perhaps even more frequently defend with two cards. You should generally avoid taking damage to play small hands that push 6-8 damage against Verdance, as this is playing into her preferred play patterns and lets her comfortably defend and convert her hands.
The importance of this is doubled when she lacks cards to decompose in her graveyard. Sometimes attacking her with a small hand can actually help her fuel a Felling of the Crown or a Plow Under. It’s very important to avoid playing into this play pattern and keeping track of her ability to decompose. This means you generally should be looking to either play 4-5 card hands that can push 12+ damage to force Verdance to either fully block out or take damage to send damage. If your hand doesn’t do a bunch of damage, you may want to instead defend and look to set up a 5-card hand to push over what she’s comfortably able to defend, rather than send a small turn and help her convert. This comes up frequently when your hand is already paired down by a Felling of the Crown.
Keep in mind that while 5-card hands are very powerful against Verdance, she also has multiple ways to punish you for putting cards in arsenal, so you need to be very careful about when you choose to do this. Command and Conquer or Plow Under are her main ways of targeting your arsenal, so keeping track of how many she has seen relative to how many cards she has drawn is very important. For example, if we’ve played 5 turns and seen 20 cards and she’s seen 2 Plow Under and 2 Command and Conquer, she’s relatively less likely to draw them. Similarly, if you are 20 cards in and she hasn’t played or pitched any, she’s extremely likely to have arsenal disruption. Additionally, if she defends with arsenal disruption you can assume she most likely has more disruption, although that disruption could also be Felling of the Crown.
These arsenal decisions can be very much viewed as a risk-reward type scenario. If your choice is to defend an Enlightened Strike for 6 and arsenal or defend for 7, taking 1 to get the arsenal is a very low cost even if she’s likely to draw disruption. On the other hand, if you could have attacked for 4 and chose to arsenal instead, you might be giving up a lot of value, especially if you think she doesn’t want to defend with any extra cards at that point. Because arsenal decisions are risk-reward scenarios you should be more willing to take risks by putting cards in arsenal when you believe you are behind in the game, and lean into the variance of her not being able to properly convert. By contrast, when you are ahead on life I prefer to fully convert and avoid arsenals, as allowing her to Plow Under your arsenal is a way she can start to catch up.
Remember that Verdance needs two cards to be able to disrupt your arsenal and if the disruption is Plow Under she also needs enough cards to decompose. This means sometimes you may identify spots where putting a card in arsenal is quite free, like when she has a Ponder token and one card in hand, or has played multiple Command and Conquers and lacks Earth cards to decompose.
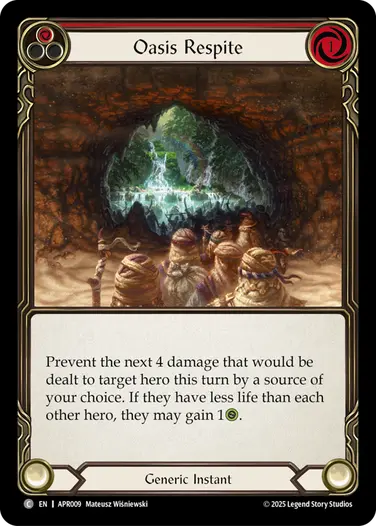
As a more defensive deck, you have two main avenues of attacks against Verdance, either surprising her, or finding a way to deal with her combo. We talked at great lengths earlier the importance of Verdance properly assessing what’s important in the matchup and adapting to it, so this means sometimes going in with a strategy that is opposite to what is expected can be quite powerful. We already used the example of Florian who often fatigues Verdance being super aggressive with cards like Outed and Channel Mount Heroic hoping to catch Verdance teched too heavily for fatigue. Another example could be a deck like Dawnblade Dorinthea, who is generally fairly assertive, playing cards like Oasis Respite to fatigue Verdance and hope to catch Verdance without Healing Potions and Rampant Growth sideboarded in.
Very strong Verdance players can counteract this by boarding in a way that gives them the ability to adapt to either plan, however this plan is still hard to execute, and the element of surprise in Flesh and Blood can be very powerful and should not be underestimated. These types of surprise strategies are especially powerful at events like Pro Quests and Battle Hardeneds and generally do less well at events like Pro Tours both due to the average player skill level being higher, as well as the higher likelihood of your strategy being scouted in a longer event.
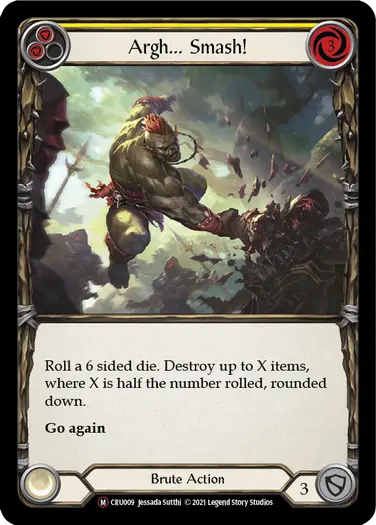
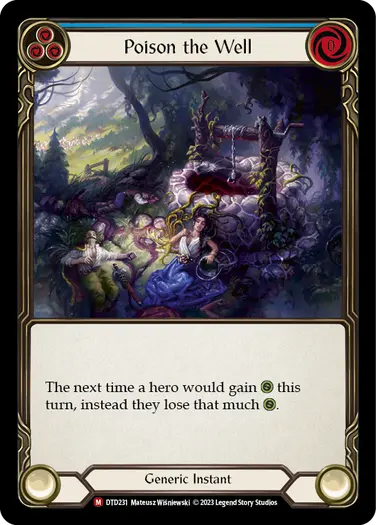
The other strategy is finding a way to deal with Verdance’s Healing Potion combo in conjunction with life gain, lots of Aracane Barrier, and a healthy blue count. There are two main ways to deal with Verdance’s combo, one is through item destruction like Argh… Smash! to deal with her potions, like some Kayo, Underhanded Cheat decks can play. The other way is to attack Verdance’s ability to gain life with cards like Poison the Well, Deny Redemption, or Dread Scythe. Verdance still has counterplay to these types of strategies, such as using Heartbeat of Candlehold or Fruits of the Forest to combo with Rampant Growth // Life, and finding lots of chip damage by maximizing Channel the Millennium Tree with 6-arcane spells. However, these strategies can require a lot of skillful execution on the Verdance’s side and throwing that extra challenge to her can give you a fighting chance.
Defensive decks tend to struggle a bit more to find reliable strategies to defeat Verdance, as the Healing Potion combo is so strong. However, forcing your opponent to execute properly is a lot more powerful than just having no plans into her combo and sitting there while you wait her to go off.
Down to Earth
Verdance is one of my favorite decks to play as and against in the current Classic Constructed metagame as it often feels like midrange matchups tend to be a battle of what matters and why, and aggressive matchups feel like very tight races where every single point of value matters. Flesh and Blood is a game where matchup knowledge and understanding is incredibly important, and perhaps no deck exemplifies that as much as Verdance. Hopefully this guide gives you a good footing on both how to play as and against Verdance, Thorn of the Rose.