Learn from the best with a monthly Masterclass lesson from renowned pro player Yuki Lee Bender. This month, Yuki breaks down everything you need to know about deckbuilding in Flesh and Blood at the highest level of competitive play.
This article will outline my own deckbuilding process to help give you ideas on how to build your own Flesh and Blood decks. This article will cover everything from day 1 deckbuilding with a brand new hero, to refining decks, to building an effective sideboard. When working on heroes new to the game, the entire process is valuable. But when you are working on existing heroes you may be able to shortcut some of the earlier steps by borrowing from decklists other people have been working on, and instead focus on some of the later steps. That being said, sometimes it can be valuable to go back to the basics and reimagine the deck, especially if there are lots of new card choices or problems that you need to solve.
Keep in mind that deckbuilding is both a fluid and iterative process. This means you shouldn’t necessarily expect to visit each of these steps only one time, and you also may not follow these steps in this exact order. It’s fine to jump around between steps and come back to them as needed. Often as we play games and have new learnings, we may need to revisit earlier steps with new knowledge and perspectives to refine our deck.
As this article outlines the different steps in the process, we will also look at examples of how decklists for established heroes apply these concepts. Throughout the article we will use the same three main examples: Verdance, Thorn of the Rose, Arakni, Marionette, and Kayo, Armed and Dangerous, so that you can understand how these ideas come together to form a finished decklist. However, we also will occasionally draw on a few additional examples for certain sections to illustrate a wider range of ways that each step can be considered.
Why care about deckbuilding?
Before we get into the nitty gritty, you might be wondering, why build decks when you can just see what other people have built? The process can be daunting and more often than not, the decks we build just aren’t good enough anyway. For me, the biggest reason is personal enjoyment. I find deckbuilding to be a very compelling creative exercise and creating something from scratch is part of the fun and joy of TCGs for me. Additionally, I think deckbuilding has the added benefit of helping you understand how a hero functions which improves your overall knowledge of how to play as and against that hero.
From a competitive standpoint, deckbuilding also has a lot of merit. Finding solid builds of decks early in a format can often have a large surprise factor, and many of my strongest tournament performances come from successful deckbuilding endeavors, especially early in a format’s life span. Additionally, even as we get later into a format’s life span, it’s important to understand how to solve bad matchups and configure a sideboard that feels right to you. Flesh and Blood has by far the most fluid deckbuilding and sideboarding process of any TCG I have ever played, and I think there is so much room for personal preferences when it comes to card selection, even amongst most “solved” heroes. It’s my general philosophy that while it’s worth seeing what other player’s have been working on, if their sideboard cards of choice don’t make sense to you, you should consider playing other cards that you know the use cases for.
Now, onto the main topic, how do we build an 80 card Flesh and Blood deck?
What does the hero and weapon ask of you?
The first thing we need to understand when deckbuilding for a hero is the types of cards the deck naturally wants to play based on the hero’s textbox and their weapon options. In most cases, each hero wants us to play certain types of cards, colors of cards, or cards with specific properties. Examples of this include:
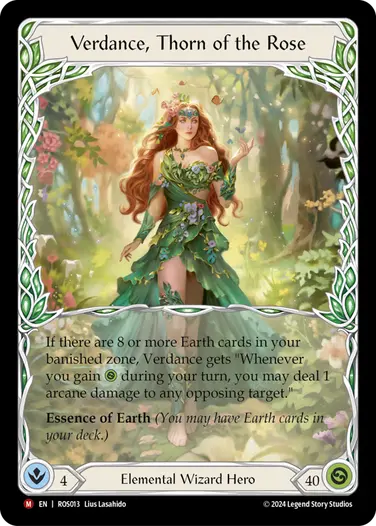
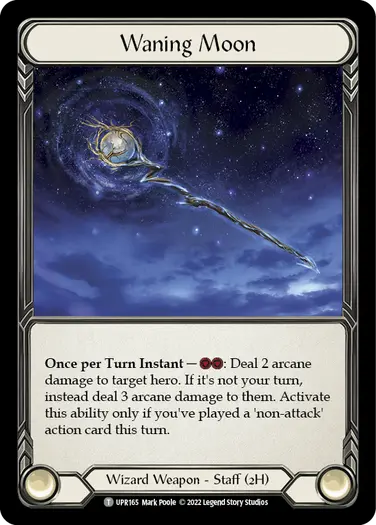
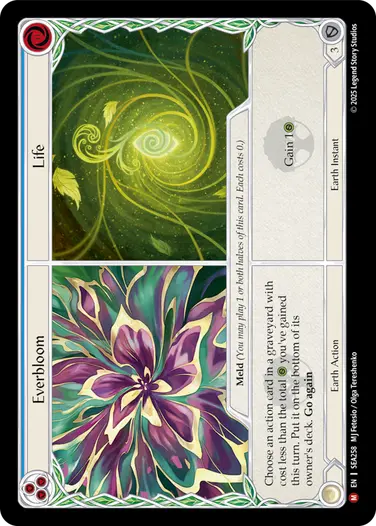
- Verdance wants Earth cards, decompose, and life gain, while Staff of Verdant Shoots and Waning Moon want non-attack actions.
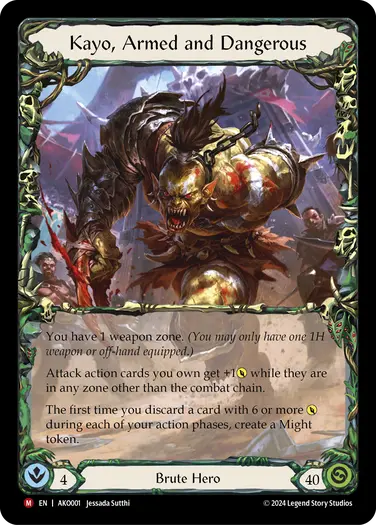
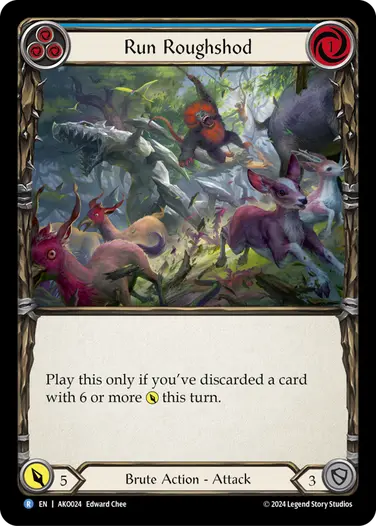
- Kayo wants cards with 6 or more power, which in practice means 5+ power cards because of his static hero ability.
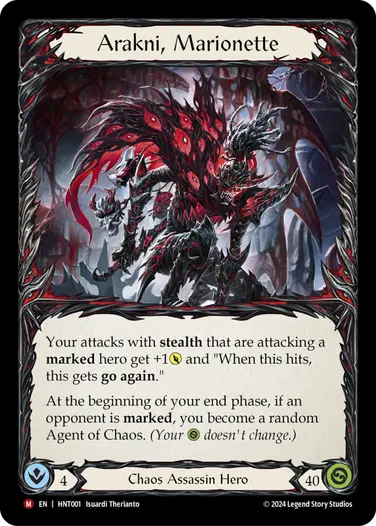
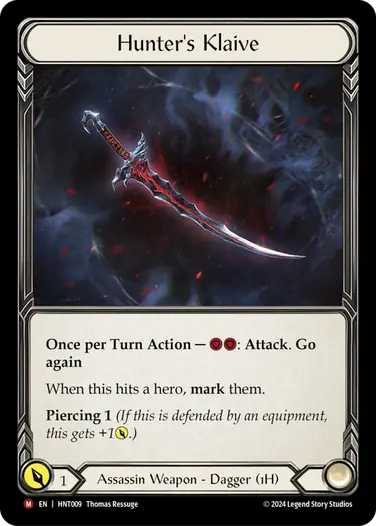
- Arakni asks us to find ways to mark our opponent and have some attacks with stealth to help leverage the extra +1 power value. Additionally, Tarantula asks us to be comfortable swinging daggers and Trap-Door asks us to include some number of traps. Notably, Hunter’s Klaive is a solid way to mark, although 2 resources for 1 damage is not very efficient on its own.
- Aurora wants Lightning cards for both Star Fall and her hero ability.
- Fang wants us to find ways to make Fealty tokens and/or mark, and Draconic cards to enable his daggers.
- Gravy Bones wants blue cards with go again, allies, and ways to make Gold or discard those allies through other means.


How does equipment inform deckbuilding?
Equipment is very powerful in Flesh and Blood because we start with it on the board. In some cases, equipment simply provides some extra defensive value and doesn’t really have any major deckbuilding implications. However, many equipment do have effects that ask us to build around them which can create very intimate ties with the play patterns and cards that our deck plays. With this in mind let’s evaluate our example heroes’ equipment.
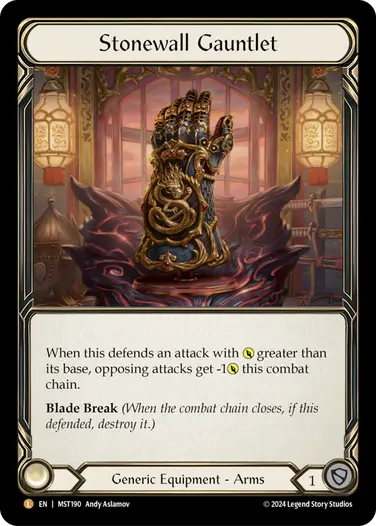
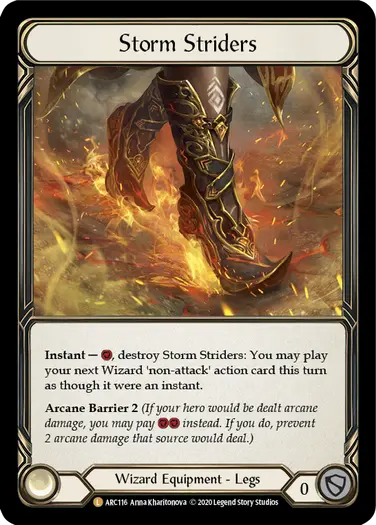
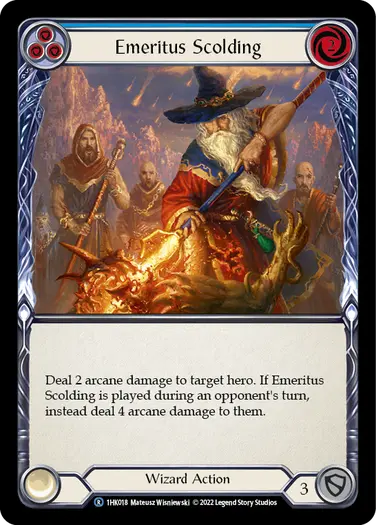
Verdance primarily has equipment that offers defense like Barkskin of the Millennium Tree, Crown of Providence, and Stonewall Gauntlet. However, Storm Striders as her boots of choice are very powerful since they let her get essentially one turn ahead of her opponent, which is a crucial part of her gameplan in most of her matchups. Storm Striders has a relatively low deckbuilding cost, but does ask us to play some arcane damage spells to help close out the game. A card like Emeritus Scolding is directly informed by this equipment choice. In this sense. Storm Striders is a minor example of a build around.
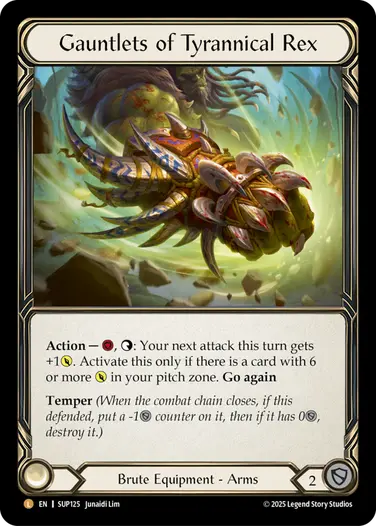
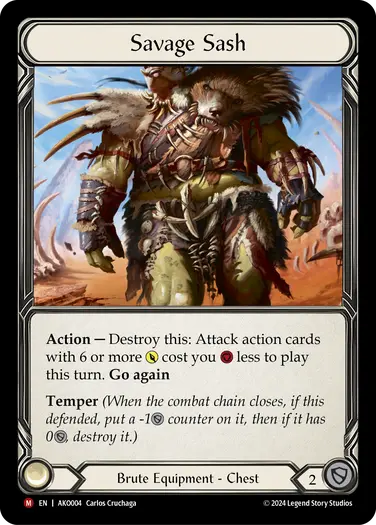
Similar to Verdance, Kayo’s armor is largely defensive value. However, Gauntlets of Tyrannical Rex are a new armpiece that Kayo can play, which allow him to make better use of extra resources. This in turn can help him justify playing a higher blue count without losing too much value when drawing blue heavy hands. Additionally, Savage Sash is a potential build around equipment for decks that want to lean very heavily into extra action points as it can enable a four or five attack wide combat chain which can be absolutely game winning, especially in conjunction with Bloodrush Bellow. That being said, Savage Sash also can just be a solid include in basically any Kayo deck as additional armor and resources at a key juncture.
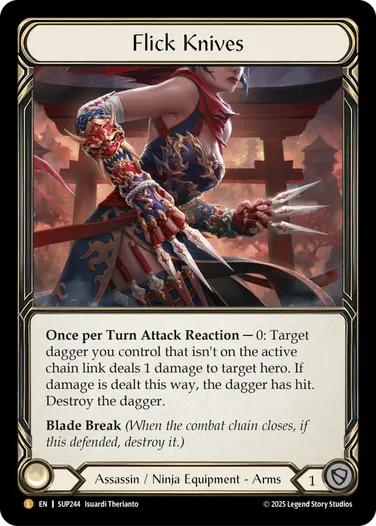
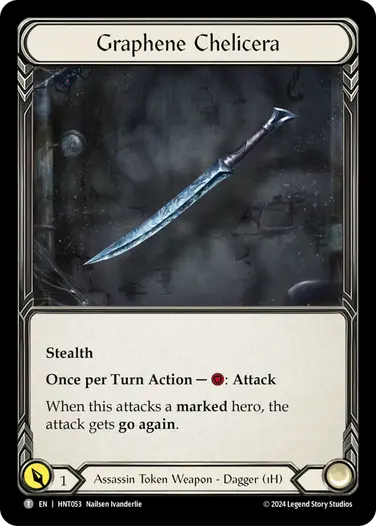
Arakni, on the other hand, is full of build-around equipment. Fyendal’s Spring Tunic is a card that is widely played but needs to be considered when planning a deck’s resource curve to ensure you have powerful use cases for it. In Arakni’s case, the main outlets for Fyendal’s Spring Tunic are Graphene Chelicera, and Hunter’s Klaive into Command and Conquer. Flick Knives is easily Arakni’s most important piece of equipment as it allows you to mark opponents on demand, and is why many Arakni lists play a low number of additional ways to mark. Flick Knives is a good example of a build-around in the sense that to maximize the equipment Arakni wants ways to generate Graphene Chelicera tokens, which can be flicked, or play retrieve cards for Hunter’s Klaive for additional marks and dagger swings.

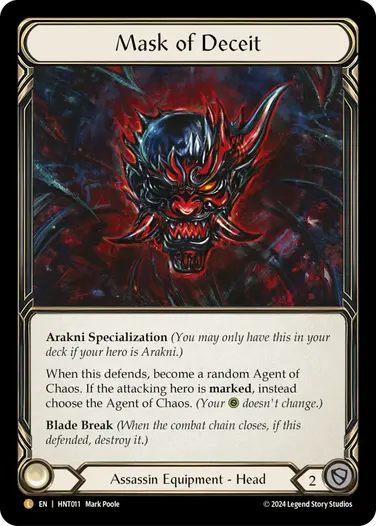
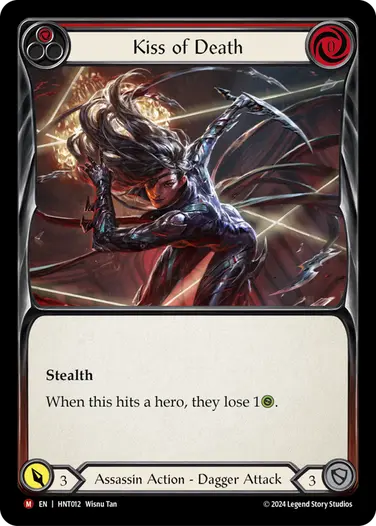
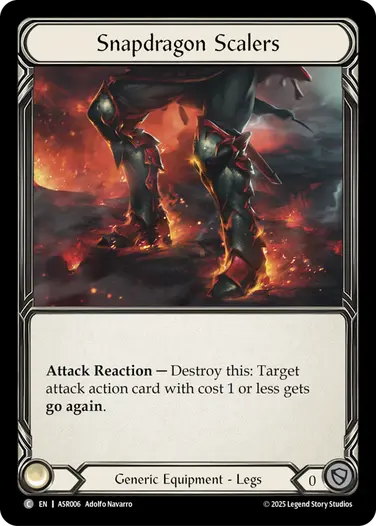
Mask of Deceit opens up many plays for Marionette, but largely doesn’t ask anything different of us as our hero ability already wants us to mark and we can access all of the Agents of Chaos naturally. However, some decks choose to play Snapdragon Scalers which allows them to block with Mask of Deceit to transform into Black Widow, activate Black Widow on a Kiss of Death, Snapdragon Scalers the Kiss and then Flick the Kiss of Death which also triggers the Black Widow on-hit. Snapdragon Scalers in these decks is a build around that also heavily informs the decks play patterns.

Card Evaluation
Understanding how to evaluate cards and being able to identify powerful cards or combinations of cards is essential to deckbuilding. In this section I want to go over some basics on card evaluation to give you an idea of how to identify these powerful cards or plays. Flesh and Blood is a very mathematical game and many of the cards we play follow certain patterns in terms of their cost to damage efficiency. Often the most important means of card evaluation is through numerically quantifying how powerful cards are.
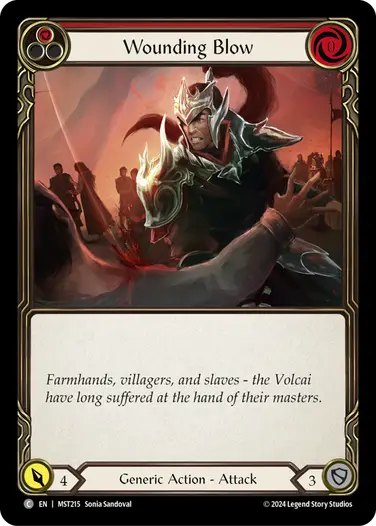
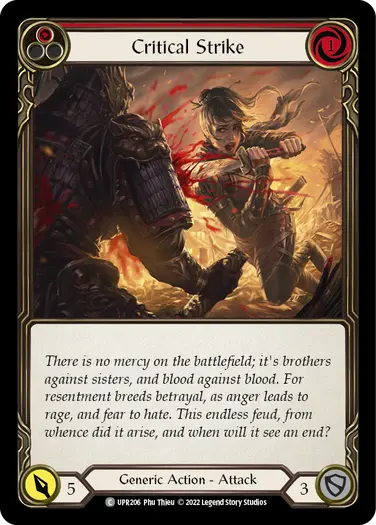
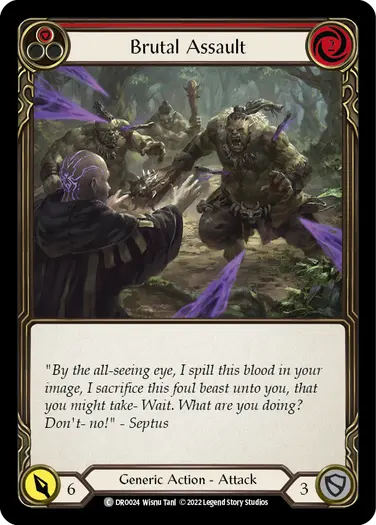
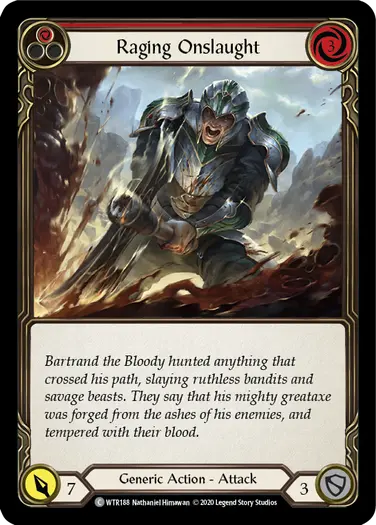
At a baseline it’s good to consider our vanilla attacks – Wounding Blow, Critical Strike, Brutal Assault, and Raging Onslaught. From these we can see that 4 power for an attack that costs 0 and defends 3, and then from there 1 additional resource in exchange for 1 additional damage, is a common baseline for cards. These stats on their own aren’t quite good enough to be playable in Classic Constructed, but many Classic Constructed staples like Leave no Witnesses, Infecting Shot, or Command and Conquer offer this efficiency with some kind of upside.
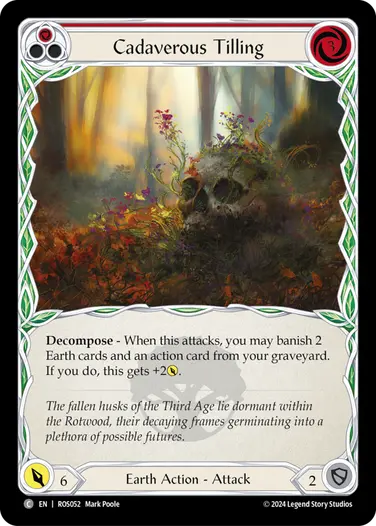
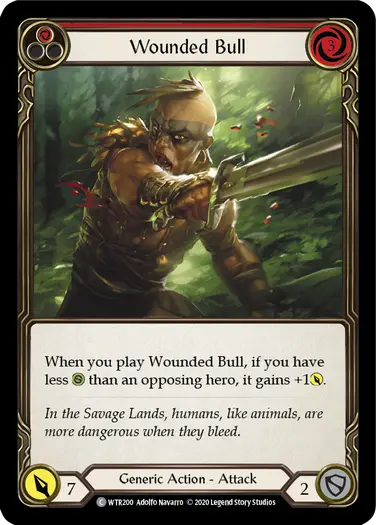
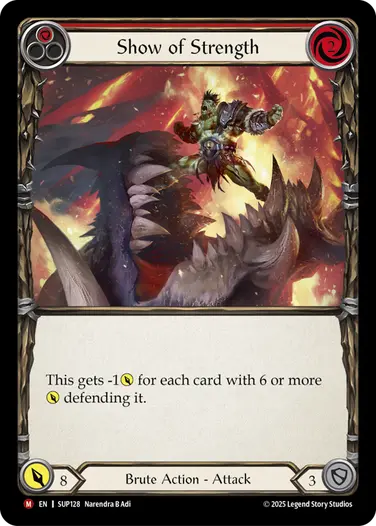
Other cards like Cadaverous Tilling or Wounding Bull offer an additional point of power on offense which is enough to generally make them playable in Classic Constructed, but not so strong that they are an auto-include. A card like Show of Strength, which has 3 defense and 1 power more than Raging Onslaught for 1 resource less, would be considered 2 points of value above rate and represents a very strong Classic Constructed card. Generally, cards that are 2 or more points above value I would consider a power outlier and a card I almost definitely want to include in my deck if possible.
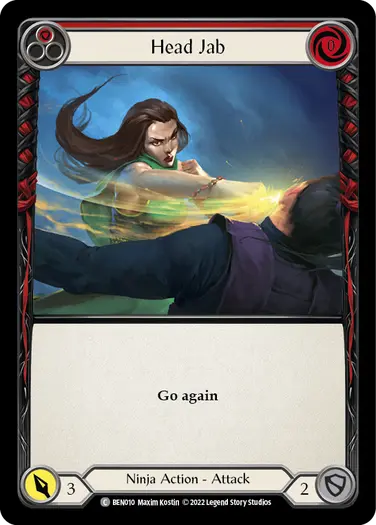
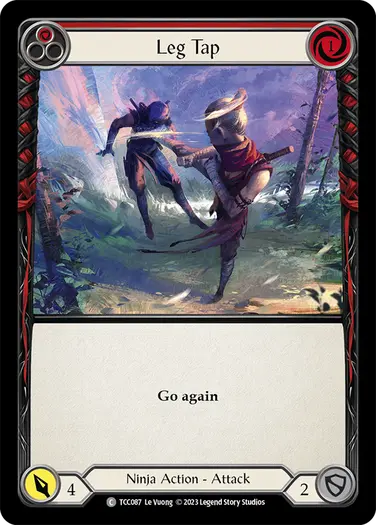
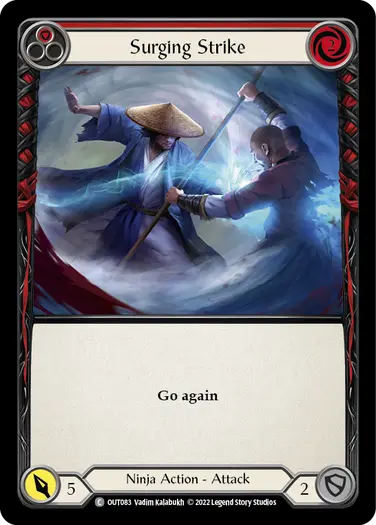
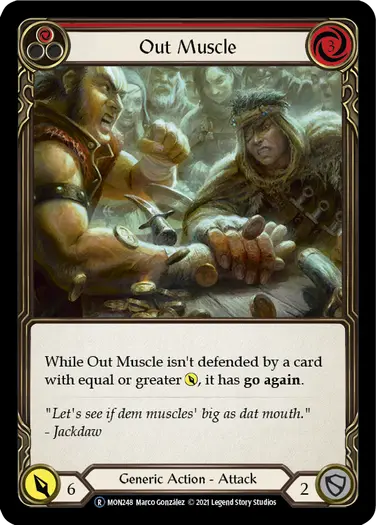
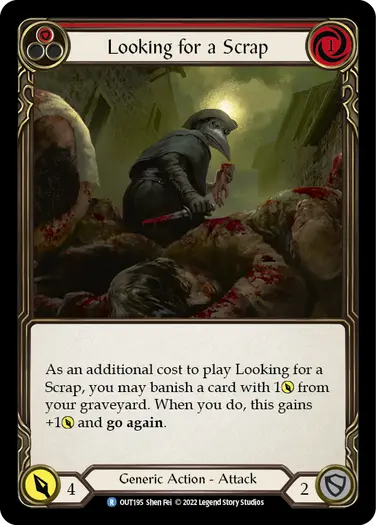
We can also consider go again cards to get a good baseline by looking at Head Jab, Leg Tap, Surging Strike, and Out Muscle. Head Jab defends for 2 and has 1 less power than Wounding Blow in exchange for go again, while the others follow the pattern of paying 1 additional resource for 1 additional power. Once again, these stats on their own tend to be slightly below what is playable in Classic Constructed, but if they have some kind of upside like Bittering Thorns or Looking for a Scrap, they tend to be solid constructed cards.
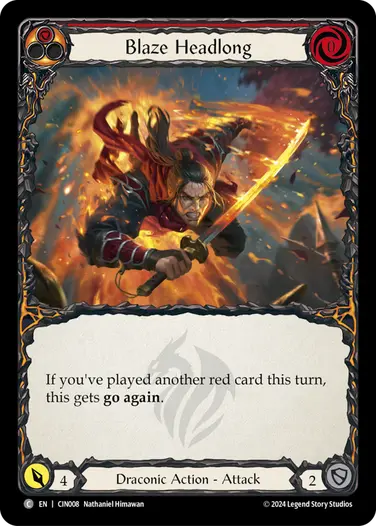
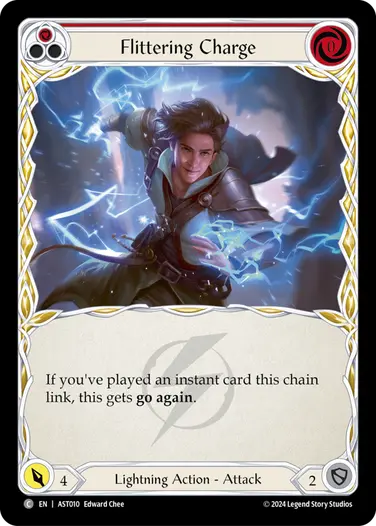
We have also seen 0 for 4 go again cards, which is one value above Head Jab, be widely playable across top tier aggressive decks in Classic Constructed. Examples include cards like Blaze Headlong, Ravenous Rabble, Flittering Charge, or Pouncing Qi. Once again, if cards are 1-2 points of value above rate, they are often considered very good cards. Wild Ride in Kayo is another great example of this as a 2 for 6 that makes a Might token and has go again, which is 2 points of value above Surging Strike.

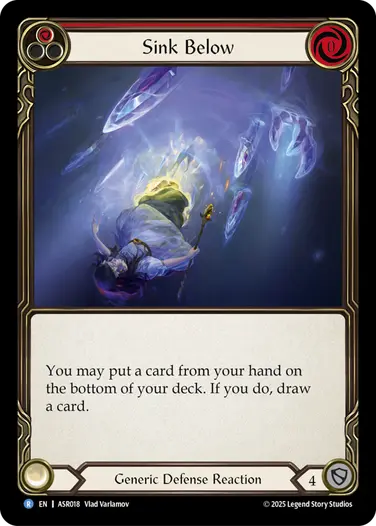
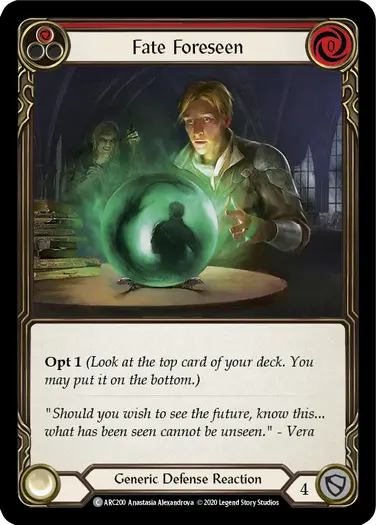
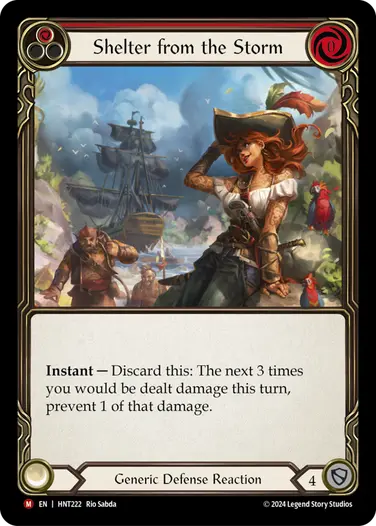
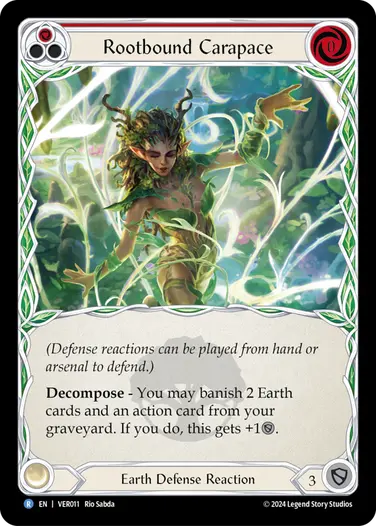
On the defensive side, we can widely see that the baseline is that cards defend for 3. Defense reactions that block for 4 and cost 0 like Sink Below, Fate Foreseen, Shelter from the Storm, and Rootbound Carapace are another good example of Classic Constructed staples that are 1 point above rate, but on defense. In many ways these cards are analogous to the aggressive 0 for 4 stat line that sees widespread play.
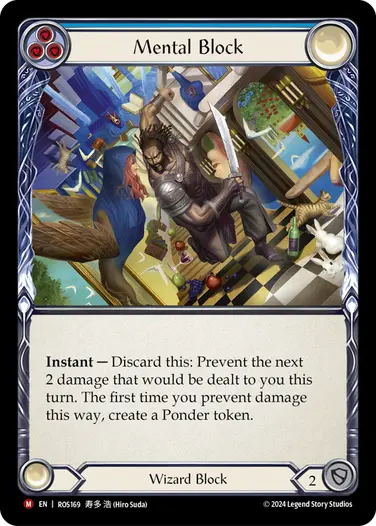
Another important heuristic for card evaluation is that generally card draw is worth approximately 3 value. This comes from cards defending for 3 and Head Jab attacking for 3. This means Mental Block when discarded prevents 2 damage and draws a card which makes it worth roughly 5 points, far more than a usual card worth 3 defense, therefore making it significantly above rate.
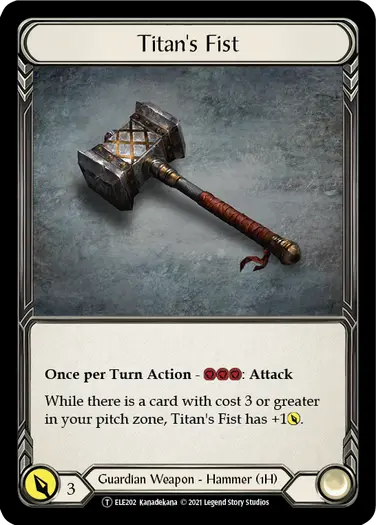
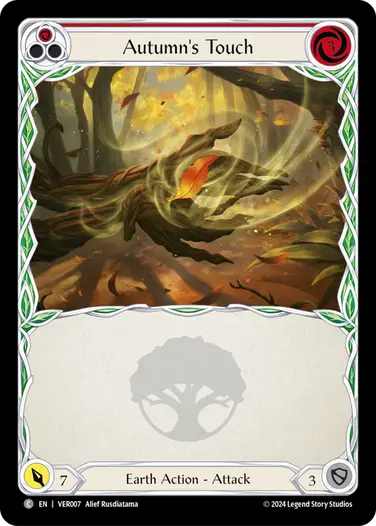
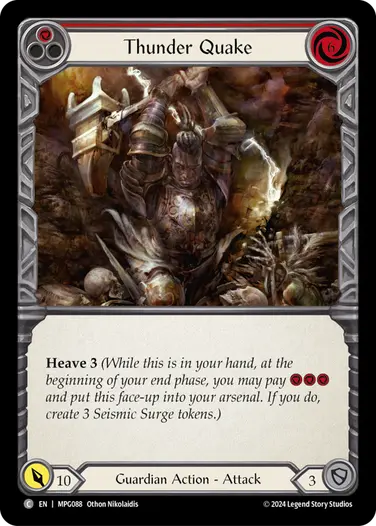
In addition to evaluating specific cards, it can also be important to value certain combinations of cards, especially when considering cards with go again. At a baseline we should consider Titan’s Fist, Autumn’s Touch, and Thunder Quake. Assuming we pitch blues, this offers 1 card for 4 damage, 2 cards for 7 damage, and 3 cards for 10 damage, respectively. Note that cards can also be used to defend for 3. This gives us a baseline of a card being worth 3 and our action point being worth 1. This means most hands should be worth roughly 13 points of combined offensive and defensive value to be considered on rate. However, being simply on-rate is not really strong enough for a Classic Constructed deck, as many meta decks approach 14-16 points of value per hand instead.
By considering some common plays that are roughly average in power level we can see that this metric largely holds true. Cadaverous Tilling represents a 2 card 8 play, which translates to a 4 card 14 if we also block for 6. Cindra playing 3 Draconic Head Jabs, activating Flick Knives, and playing a Lava Burst represents a 4 card 15 and is a solid turn. Generally, 4 card plays which start pushing 16 or more points of value are very above rate and are the kinds of plays most decks try to create at least a few turns per game.

Power Plays
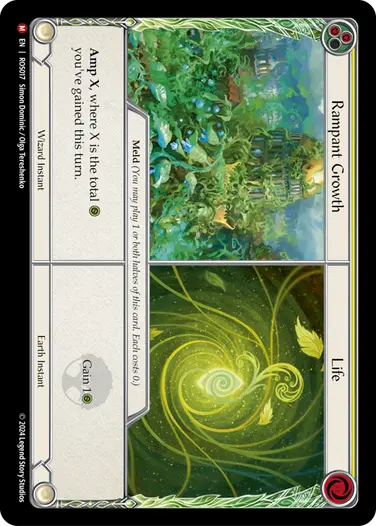
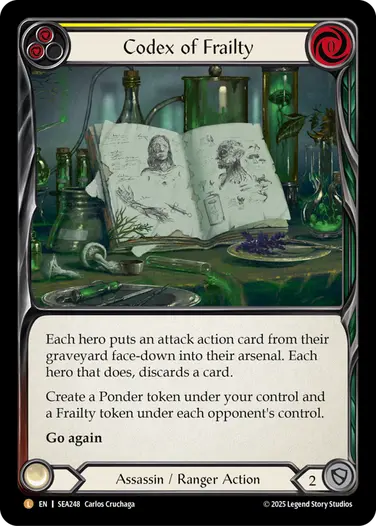
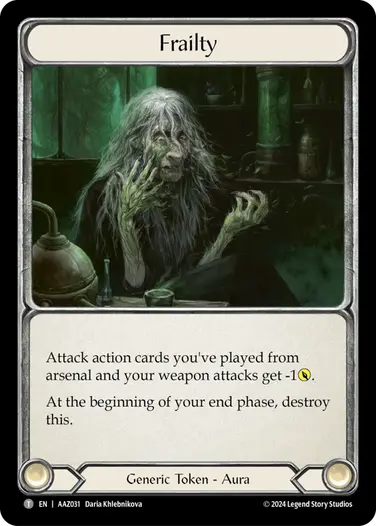
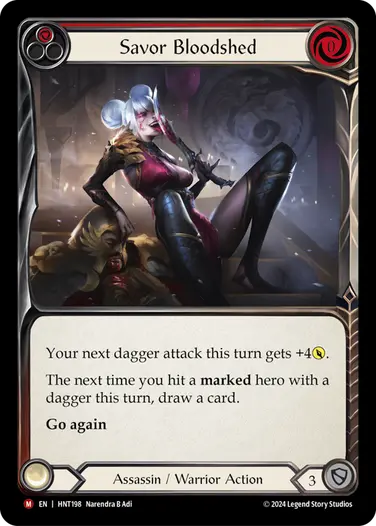
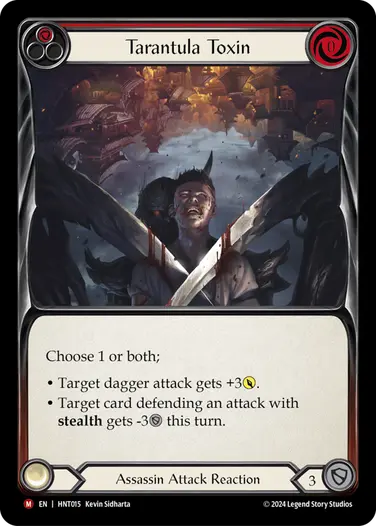
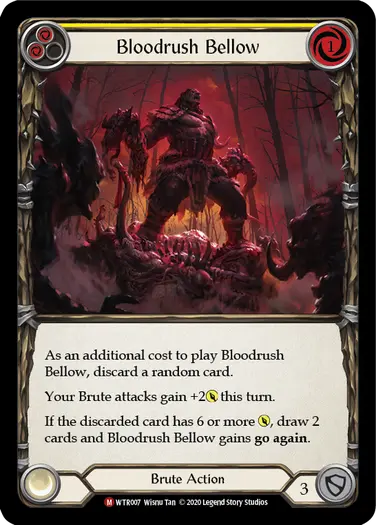
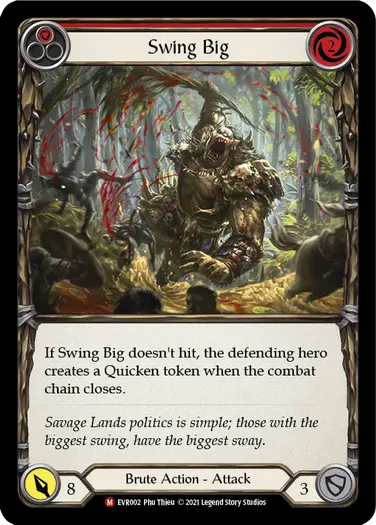
With these basics of card evaluation in mind, look for power outliers that are above rate. Sometimes these are individual cards like Codex of Frailty, Felling of the Crown, and Bloodrush Bellow. Other times they are specific combinations of cards like Kiss of Death, Savor Bloodshed, and Tarantula Toxin, or Rampant Growth//Life in multiples with life gain, or Wild Ride with 2 blues and a Swing Big. Generally, I would recommend doing the math on these cards or combinations of cards and doing so will show why they are so powerful from a numerical standpoint.
In the case of Verdance, Felling of the Crown represents not only a 2 card 8 with decompose, which is already a good rate, but also takes a card from your opponent’s hand at no cost to yourself so long as you empty your hand before playing it. Overall, we would evaluate this as a 2 card 11, which is significantly above our baseline. Similarly, Plow Under is another premium decompose card which represents a 2 card 6 that can also remove an opponent’s arsenal, which represents roughly a 2 card 9 that decomposes.

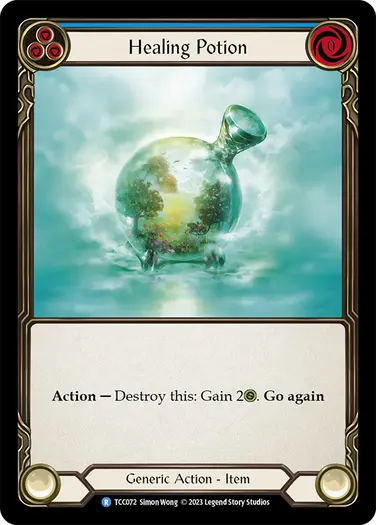
Looking towards combinations of cards, 3 Healing Potions in play with 3 Rampant Growth // Life in hand is a great example. This play gains 2 + 2 + 2 + 1 + 1 + 1 life for 9 life total, and 6 damage from Verdance triggers. Additionally, each Rampant Growth will amp 9 for a total of 27 damage. In aggregate, this play does 33 damage while gaining 9 life for a whopping 6 card 42! This play can get even bigger with additional life gain or spells. The cost of course is that lining up 3 Rampant Growth and playing out 3 Healing Potions takes an incredible amount of time to set up. This particular combination of cards are key to Verdance’s combo gameplan which she can use to overcome decks looking to fatigue her.
For Arakni, Codex of Frailty at a baseline gets you a card of your choice, a Ponder token, and gives your opponent a Frailty token, effectively giving you 2 cards for 1 with a Frailty. However, we can better numerically evaluate Codex by considering common play patterns like Codex of Frailty into Leave No Witnesses – a 1 card 4, draw a card, and give your opponent a Frailty, which is already approximately 7-8 value, not even counting the disruption offered by Leave No Witnesses potentially reducing the efficiency of the opponent’s hand.

Savor Bloodshed and Kiss of Death against a marked opponent is a 2 card 8 that threatens 1 damage, draw a card, and go again on-hit. Should your opponent attempt to block to deny you this on-hit, there is threat of pairing Tarantula Toxin with this play to get both the -3 defense and +3 attack power, making this a potential 3 card 15 that draws a card and has go again. Savor Bloodshed and Tarantula Toxin can also be very powerful on Graphene Chelicera attacks. These combination of cards and Codex of Frailty generally represent the most above rate plays Arakni can make, and also inform how the deck should be built and played.
Finally, Kayo has the same power card as most Brutes in the form of Bloodrush Bellow. Bloodrush Bellow costs 1 resource and 2 cards to draw 2 cards and give +2 power to your attacks for the rest of the turn. Since we use 2 cards to draw 2 cards, Bloodrush Bellow effectively replaces itself, giving it roughly 3 value for the card draw, in addition to the +2 effect which can easily be worth 4-6 extra value if Kayo goes 2-3 chain links wide. Combining the card draw, 4-6 value, and the Might token that Kayo generates, Bloodrush Bellow is frequently worth roughly 8-10 value with go again for the cost of 1 resource, which is incredibly above rate. Big Bloodrush Bellow turns are a huge part of Kayo’s gameplan, and in many ways the deck is built to maximize this card and try to go 3 chain links wide as often as possible.
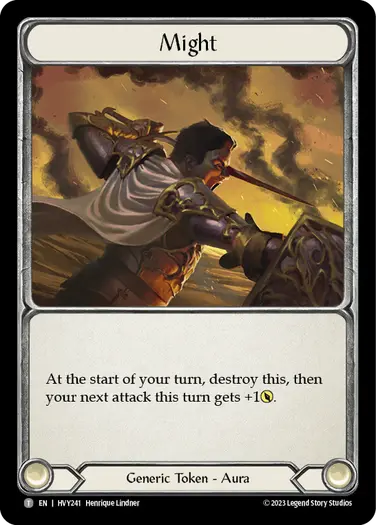
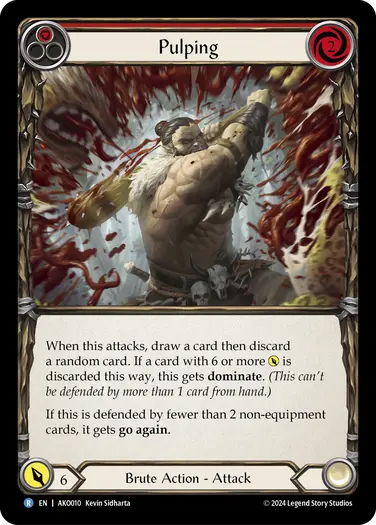
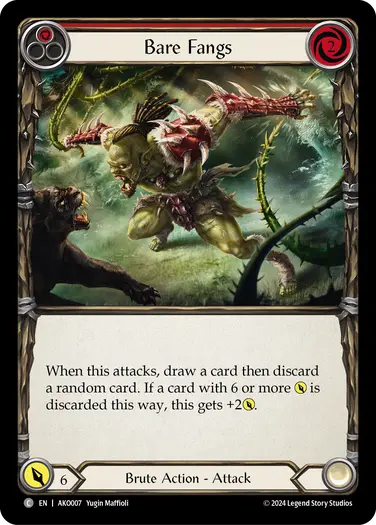
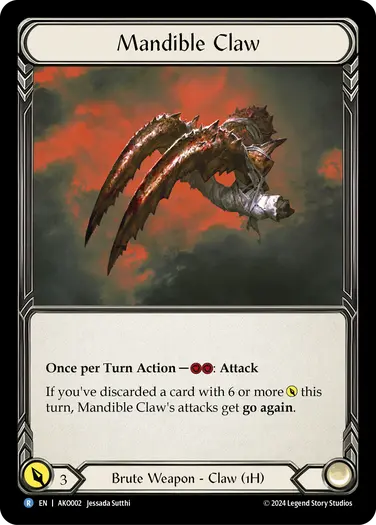
Another powerful thing that Kayo gets to do compared to other Brutes is play cards like Wild Ride, Pulping, and Bare Fangs with excellent consistency, as he can easily construct his deck to be almost exclusively 6 power attacks with the help of his hero ability. These cards also enable Mandible Claw to get go again, and create a Might token. A classic powerful play here is Wild Ride/Pulping, Mandible Claw, Bare Fangs/Swing Big, off 2 blues, which represents 6 + 3 + 8 damage + a Might token for a 4 card 18, which is well above our 3 points per card plus 1 for our action point baseline.
Building a Resource Curve
After identifying some of our heroes’ strongest cards and plays, we want to figure out how to fill in the gaps and the rest of the cards we need. One way to do this is by making sure we are spending the resources that we pitch as efficiently as possible. Blues are the resource cards of choice for the vast majority of heroes, and they should be built to consistently use all of the resources that they pitch off of 1-2 cards. The types of tools heroes have to fill in these resource curves will depend a lot on their card pool, but let’s look at some examples of resource curves:
- Verdance wants to play 3-cost cards because she doesn’t have easy access to go again to use 1-cost or 2-cost cards efficiently. But she can play 1-cost non-attack actions, since the remaining 2 resources can be spent on Waning Moon.
- Kayo wants 2-cost attacks to enable attack-claw-attack power plays like the one we described earlier. Alternatively, he could also potentially make use of 1-costs, but due to a lack of efficient 0-cost discard outlets and Brute 1-cost 5+ power attacks, the 2-2-2 resource curve is far more attractive.
- Arakni has Hunter’s Klaive as their default weapon which costs 2 resources, meaning we can play some 2-costs like Command and Conquer or Surgical Extraction to pair with Fyendal’s Spring Tunic, and 1-costs to fill in the extra resource when we don’t have Fyendal’s Spring Tunic at 3 counters. The need for 1-costs is a big reason for including plenty of Graphene Chelicera generation in the deck, and also why Death Touch is sometimes included as a Codex of Frailty target. 0-cost attack action cards, attack reactions, or dagger pumps also fit nicely with this curve, as often swinging Hunter’s Klaive and Graphene Chelicera will use all of our resources.
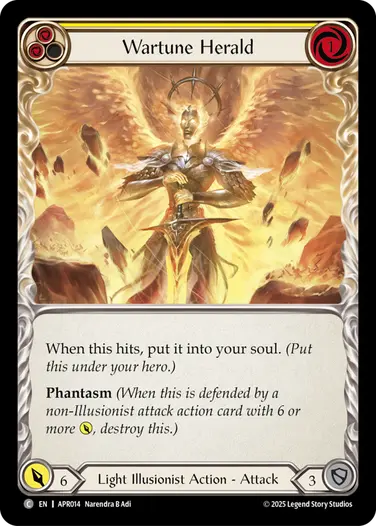
- Prism uniquely wants to pitch yellows to get go again from Luminaris. This also lines up nicely with her 2-cost Heralds and 4-cost auras. It’s also easy to see that Wartune Herald as a 1-cost attack works very nicely with her resource curve, as you can potentially pay for Phantasmal Footsteps or 2 Wartune Heralds off a single yellow. We also can see Prism wants some blue Light cards to pair with Vestige of Sol to enable playing 4-cost auras off a single resource card instead of 2.
- Aurora can efficiently use an entire blue on Star Fall and her hero ability, making her naturally favor 0-cost cards, or alternatively, 3-cost cards. There were some fringe Electromagnetic Somersault decks which focused on 3-cost attacks, but since Lightning cards tend to cost 1 or 0, 0-costs are the easy choice. Notably, 1-cost Lightning attack actions exist, but rarely saw play due to them usually either costing you a Star Fall swing or an Embodiment of Lightning to play, which ultimately makes them not worth while.
How many Blues Should I Play?
A common question you’ve probably encountered is how many blues should my deck play? Figuring this out is partially statistics but also partially an art that requires trial and error to get exactly right. To some degree, the number of blues you want to play is largely influenced by how many blues your most powerful plays need and how many blues you need per hand on average. Here are some useful guidelines and examples of heroes within these guidelines.
Keep in mind these are merely rough starting points, it takes lots of testing to see what number of blues feels right, so don’t be afraid to play around with this number.
| number of Blues required per hand | approximate range of blues played | example heroes |
|---|---|---|
| 0 | 0-3 | Cindra |
| 0-1 | 6-10 | Slippy, Aurora |
| 1 | 15-21 | Arakni, Ira, Dash I/O, Fai, Kassai, Dorinthea |
| 1-2 | 22-27 | Kayo, Verdance, Florian |
| 2+ | 30+ | Gravy Bones, Guardians, Zen, Enigma, Nuu |
Generally, the more efficient your blues are on offense, and the more resource sinks you have like Grasp of the Arknight or Gauntlets of Tyrannical Rex, the higher blue count you can play. Kayo, Gravy Bones, and Mystic heroes are great examples of decks with powerful blue cards that allow them to enjoy having above average consistency without sacrificing too much offense when they draw hands full of blues. Also, decks that are extremely reliant on drawing at least 1 or 2 blues typically want a slightly higher blue count to avoid having hands that don’t function. A good example of this is Ira.
Traditionally, decks that get to play extremely low blue counts or extremely high blue counts are very powerful, as they enjoy extra consistency when compared to heroes in the middle. So if a deck has the ability to build in one of these two directions, it’s often worth exploring.
Adding glue cards and consistency
The strongest Flesh and Blood decks generally enjoy a great deal of consistency by virtue of having many redundant pieces that perform similar roles. This applies both to cards that fill certain parts of the resource curve, as well as cards that fulfill needs in the gameplan. Many of the cards we include in our deck are these so-called glue pieces and may not be power outliers but help us advance our main gameplan.
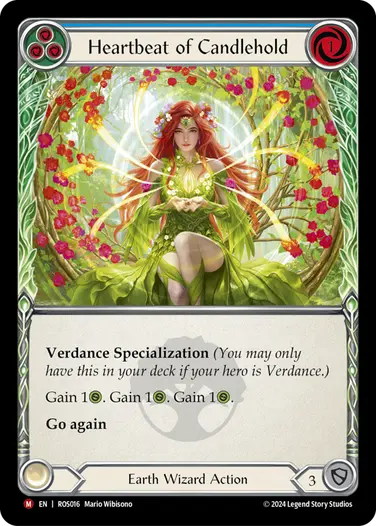
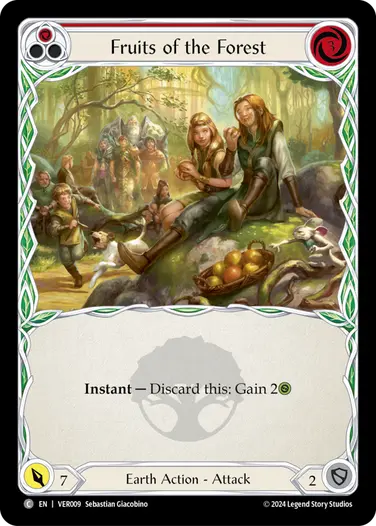
Verdance wants Earth cards, especially ones that defend for 3 or can be discarded to fill the graveyard. Fruits of the Forest, Heartbeat of Candlehold, and Everbloom // Life are great examples of this, while also offering extra life gain for when Verdance has her hero ability active. Additionally, Verdance needs ways to decompose, with some of the most efficient options outside of Felling of the Crown and Plow Under being Rootbound Carapace and Cadaverous Tilling.
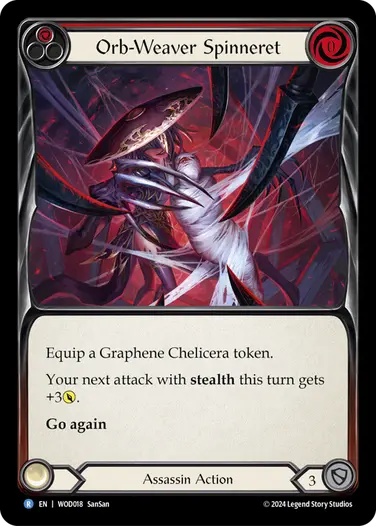
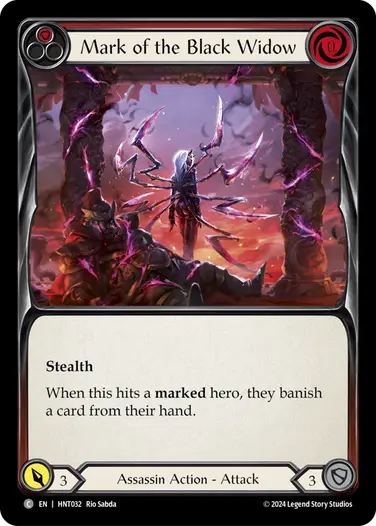
Arakni really wants ways to generate Graphene Chelicera tokens to help get their main gameplan online, such as Orb-Weaver Spinneret. From there they want some additional mark payoffs in the form of Mark of the Black Widow, and some additional ways to mark in the form of Scar Tissue, Lair of the Spider, or sometimes even Exposed.
Kayo wants to fill his deck with primarily 2-cost red attacks that either have go again or are above rate, and blue cards which have 6 power when discarded. This allows him to have excellent consistency with finding 3 attack wide turns both with and without Bloodrush Bellow.
Finding a Direction to Build In
Often decks may present a few different directions they can be built in, sometimes multiple of these directions can be included in a decklist through sideboarding. Some good general questions to ask ourselves are:
- Do we want to add defense reactions to help us defend? Generally, decks with powerful small hands fall into this category.
- Do we have disruption to let us play more midrange? Once again, this generally is represented in decks with smaller hands that want to play a longer game and defend fairly well.
- Do we have access to enough go again to consider aggressive builds/packages? Some heroes can build into converting full hands on offense at the expense of defense.
More concretely, let’s first consider Verdance. She generally has powerful and disruptive small plays like Felling of the Crown and Plow Under, and has low access to go again in her card pool. Additionally, she needs lots of time to get her hero ability active and then even more turns to leverage that added value from life gain effects, so naturally a defensive package fits very well in her deck. This can be seen in the large number of defense reactions we see her play in many matchups. Rootbound Carapace in particular stands out as both a defensive tool and a decomposer that helps progress her gameplan. The other most obvious way to build Verdance is to lean into her Rampant Growth gameplan with cards like Healing Potion, Sigil of Solace, and Fruits of the Forest. Most Verdance lists embody both of these directions, and can sideboard between them depending on the matchup. Although typically lists focus more on a single one of these directions.
Arakni has access to very powerful damage with their Kiss of Death package, as well as good disruption thanks to Surgical Extraction, Leave no Witnesses, Command and Conquer, Codex of Frailty, and Mark of the Black Widow. Since they have access to so much disruption, they can choose to build quite midrange and incorporate lots of defense reactions to help them convert their hands while disrupting. Alternatively, Arakni can also lean more heavily into dagger attack reactions and pumps, which can allow them to convert hands offensively and take on a more proactive role. Once again, most lists combine both of these aspects into their 80, but may make choices to lean heavier into defense or offense depending on the metagame.
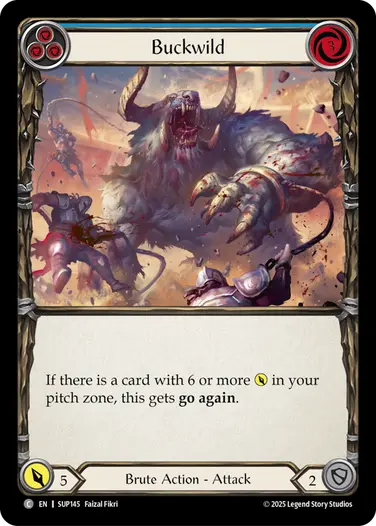
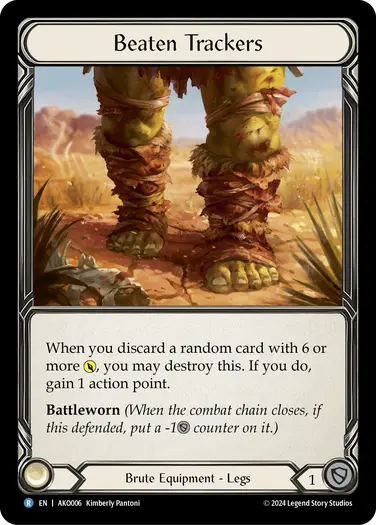
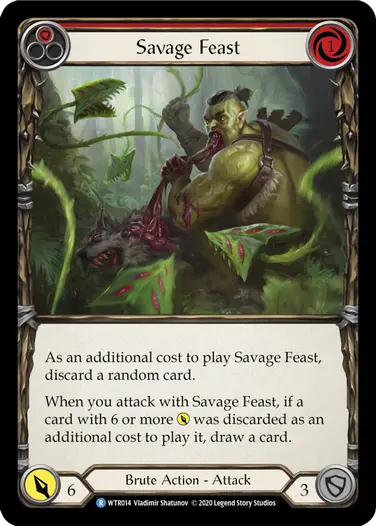
Kayo is always looking to send massive attacks at his opponent, and take advantage of discard effects to make Might tokens, but there’s more than one way he can smash the opposition. Many Kayo decks lean very aggressive with cards like red and yellow Wild Ride, Pulping, and potentially red Buckwild or Tear Limb from Limb for go again. Some aggressive lists can also lean into cards like Beaten Trackers and Savage Feast to help create especially large Savage Sash turns, creating an almost aggro-combo feel. Other builds may still be aggressive, but focus more on consistent turn-over-turn value.
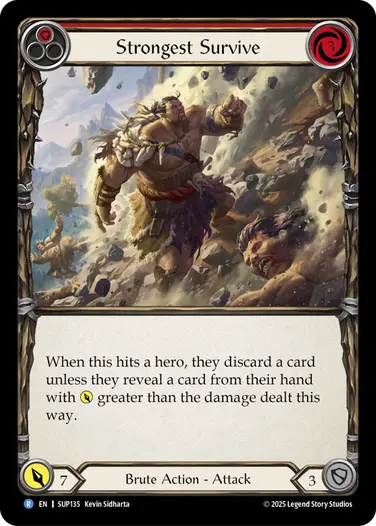
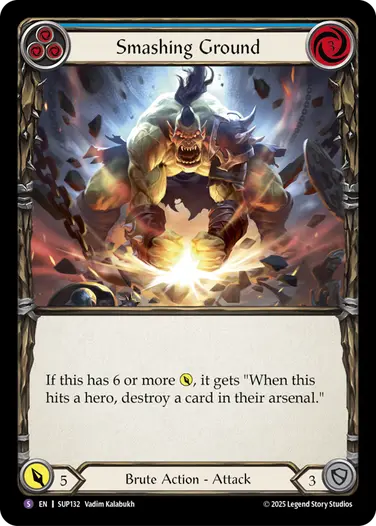
Additionally, with access to new Super Slam cards, Kayo has plenty of disruption, allowing him to take a slightly more midrange role than he previously has. Of course, defense reactions still don’t fit well into a hero that wants to draw and discard random cards with 6 or more power, but he can threaten a potent combination of damage and disruption which can help him stay ahead of other more fragile heroes like Oscilio. Cards like Send Packing, Strongest Survive, Command and Conquer, and Smashing Ground are all good examples of disruptive pieces some Kayo lists can lean on.
Choosing a build
After assessing the hero’s strengths and different build options as discussed above, it’s time to finally choose a direction for the deck. I always like to start with a 60-card deck that is focused on a singular plan. There is of course room for sideboard and additional plans that can be slotted into the deck, but it’s often easier to focus on each plan one at a time and then later figure out if and how they can be combined through sideboarding (more on this later). I would think of this as starting with a goal or a premise for the deck, you should be able to sum up what the deck is trying to do in 1-2 sentences. This is like coming up with a thesis statement for a piece of writing.
One obvious option is to choose one of the directions you identified in the previous step. For example, you could build a defensive Verdance deck that wants to block, play powerful 2 card hands, and preserve life total while she gets online so that she can outvalue her opponent and win with Storm Striders. Alternatively, we could build a combo focused Verdance deck centered on defending, establishing Healing Potions and Pounamu Amulet, then winning with multiple Rampant Growth. Arakni could be built as an aggressive dagger focused deck with disruption to keep opponents on the backfoot, or as a deck focused on defense and small disruptive hands. Finally, Kayo might be built to play aggro-combo and maximize one 4-5 chain link Savage Sash turn per game. Alternatively, he could be built to deal consistent damage while also disrupting the opponent.
Other goals for decks might include maximizing a certain play pattern, playing towards a certain combo, or trying to beat a certain deck in the metagame. Here are some additional examples of goals you could create:
- A Kayo, Underhanded Cheat deck focused on playing Looking for a Scrap into a 2-cost 8-power, and/or Mocking Blow.
- A Zen deck trying to maximize a giant Art of War and Bonds of Ancestry combo turn.
- A Nuu deck aimed to consistently disrupt Zen and preventing him from comboing off.
- A Rhinar deck designed to beat Gravy Bones. This might look like extra go again and claw enablers to help manage allies while also pressuring.
Depending on the direction you choose, what kinds of cards or packages you should be selecting to fill out your 60-card deck should become clearer. Generally, I would suggest incorporating only cards which contribute towards this gameplan. For example, don’t put defense reactions in a deck focused on converting 4-5 cards on offense every turn. This first look at the hero won’t be optimal, but is important for building your understanding of the hero and ensuring the deck has a coherent gameplan.
Taking your deck for a test drive
The next step is to play game with the deck you built with the goal of assessing how the deck functions and looking for ways to refine and improve it. For proactive decks that primarily want to convert their hands offensively, I often like to start with “goldfishing”, which simply means drawing cards and playing out hands without an opponent. The advantage to goldfishing is that you can play a lot of cards very quickly, and for the early stages of deckbuilding where you are likely to be rapidly changing cards in and out of your deck, this can save a lot of time. Other deck archetypes that focus on disruption, defense, or combo typically don’t goldfish as well because they react more to what the opponent is doing.
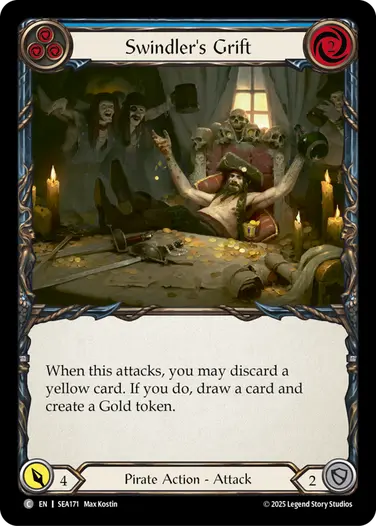
Regardless of whether you are playing against an opponent or not, it’s important to be consciously evaluating the deck as you are playing with it. In particular, I like to look towards what the value per turn is (the combined block and attack value of each hand). Most decks want to aim for 14+ on average, unless they are highly disruptive, or being disrupted. I also like to look for certain cards or combinations of cards that feel impressive and lead to high value turns. Generally, if you find yourself happy to see a card, or hoping you could draw a certain card, it’s a good indication that the card is powerful and belongs in the deck. In these cases, it’s also worth considering if you can get more redundancy in this effect. This might mean playing other colors of the same card, or looking for cards which fill the same resource cost or the same function in the deck. For example, maybe you notice Golden Tipple is excellent in Gravy Bones because of the ability to discard allies and create Gold which are both things he wants, and this may cause you to find Portside Exchange and perhaps even Swindler’s Grift as cards which perform a similar role mechanically. In this case Portside Exchange has seen widespread play and the lack of go again on Swindler’s Grift has been too much of a downside, but there’s value to identifying and trying cards even if they don’t work out.

The inverse is also true, if you frequently find yourself drawing a card and wishing it wasn’t in your hand because it’s clunky or prevents your hands for converting for high value, it might be an indication that the card should leave the deck, unless it’s doing something very important/powerful when it does line up. Additionally, as I play games, I try to look for pain points or areas to improve on such as:
- Are you drawing too many blues?
- Are you drawing too few blues?
- Do you consistently have resources floating that you can’t spend? In this case it might be worth looking for cards which can fill out that resource curve.
- Does your Fyendal’s Spring Tunic have consistent uses, or is it staying at 3 counters almost the entire game? You want to be able to use it regularly.
- Are you having trouble completing your deck’s goal?
- Maybe your Verdance deck doesn’t seem to be drawing enough decompose cards and you need to add more.
- Maybe your Verdance deck is drawing more decompose cards than you can use, meaning you should either increase the number of Earth cards in the deck, or decrease the number of decompose cards.
- Maybe your Verdance deck is too low on life by the time it gets online and wishes it had better defensive options.
- Maybe your Kayo deck is missing its Wild Ride discards too often and you need to reduce your non 6-power count.
Keep in mind that we are still playing a card game so there’s always variance, and just because something happens once, doesn’t mean we should immediately make a change. Even extremely powerful cards like Felling of the Crown, Codex of Frailty, and Bloodrush Below have times where they can be awkward, so a card isn’t necessarily bad if it doesn’t work out once. Similarly, even decks with 35 blues can draw hands with not enough blues, but that doesn’t necessarily mean they have too few blues. Instead, we want to look for consistent patterns that are problematic, or cards that are consistently underperforming.
Going Back to the Drawing Board
Deckbuilding is an iterative process which means you will frequently build on your past work and go back and revisit prior steps. Sometimes its as simple as replacing a card with another card and trying that new one out instead. But depending on what sort of issues you encounter, you may want to go back to prior steps. This might mean re-evaluating your equipment, power plays, resource curve, blue base, or glue cards.
As a general rule of thumb, it’s okay to make changes fairly quickly if something isn’t working out, but I would avoid making too many changes at once as it can be hard to evaluate exactly what makes the deck feel better or worse. Focus on solving one problem at a time, and testing things systematically so you know if your intended solution is working out or not.
Sometimes if you’ve been repeatedly iterating and keep coming up short, it can be time to reassess the main goal or direction of the deck. Make sure you aren’t too hasty with this, as it can be tempting to quickly write off a deck. However, spending too much time on a concept that just isn’t up to snuff can take a lot of time so it’s also important to know when to cut your losses.
Since deckbuilding is an iterative process, you are never truly “finished”, but I generally try to get the deck to the point where it feels like it enacts its main gameplan consistently. I also want the deck to generally have a good resource curve that leaves minimal resources floating and converts hands well on average. Once I get to this point, I like to move on to approaching specific matchups and building a sideboard. The original 60-card deck you built may still be revisited and changed, nothing is set in stone, but I start to look at the deck through a different lens and process.
Troubleshooting Specific Matchups
After the initial concept has been smoothed out, it’s time to work on specific matchups. If your deck is specifically built to beat a certain hero, I would start there. Otherwise, I generally like to start with the meta decks that have been highly represented and performing well at recent events like Pro Quests, Callings, or Pro Tours. The reasoning for this is that often if a deck does poorly into too many of the top decks then it may not be competitively viable at this time, and recognizing that early is good.
As a starting point, I would simply play your base 60 into a hero and see how it goes, even if you suspect that you might need other tools in the matchup. It’s good to get a feel for how close or far off your deck is by default into the matchup, because if the matchup is already good you may not need to spend some of your valuable sideboard space on it. When playing these games, I would look for problems (or strengths) your deck has in the matchup. These observations can give you valuable insights on how to improve the matchup. The exact tools each hero has to adapt to a matchup differ, but here are some common problems and solutions:
- Do your hands convert more efficiently than theirs? If so, you should try simply outvaluing them turn to turn and winning through efficiency.
- Do your hands convert less efficiently than theirs? If they are aggressive, you might want to consider playing disruption or more defensive tools to lower the value of their hands. If their deck is defensive, you might want to find ways to set up and transfer value to future turns by prioritizing playing 5 card hands or playing cards like Cast Bones. By taking setup turns you can deny them defensive value.
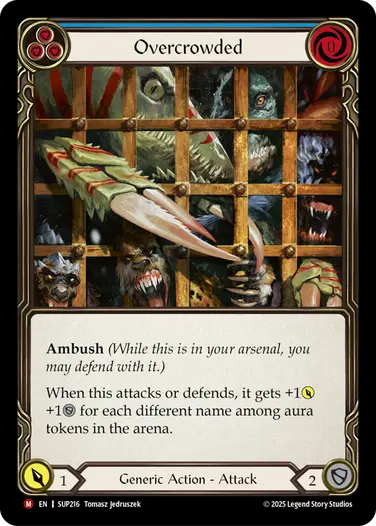
- Are you struggling with on-hits? You might want to try adding defense reactions, Overcrowded, or extra armor. Alternatively, you could try to mitigate the value of the on-hits through gameplay such as avoiding putting cards in arsenal in anticipation of Command and Conquer or Leave no Witnesses.
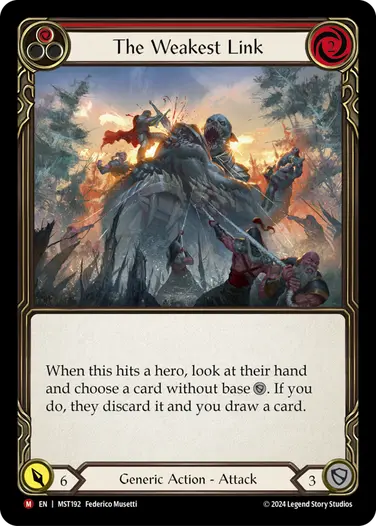
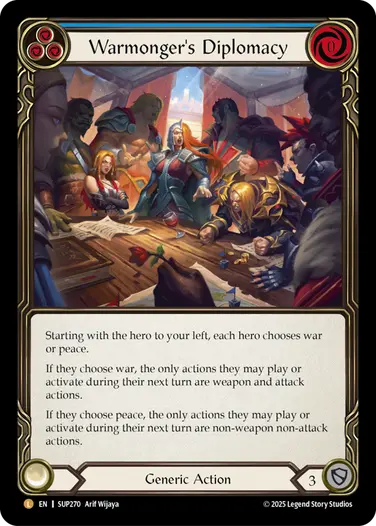
- Are there specific tech cards you can add for the matchup? Look for tools that line up into the strongest part of the opposing hero’s deck. 7-power poppers for Prism, The Weakest Link for Kayo or Mystic heroes, or Warmonger’s Diplomacy for Azalea.
Keep in mind that while these solutions are logical and frequently work out, sometimes if they dilute your plan too much they might do more harm than good! I can think of many decks where I realized the correct plan was just to not play defense reactions at all into Azalea and instead focus on converting offensively as much as possible, as defending was a losing proposition for many decks.
Cards are not the be all end all of how to win a matchup, your strategy and approach can be just as if not more important. Perhaps even more commonly it’s a combination of the two that ultimately end up informing the optimal approach to a matchup. I recommend trying extreme approaches to a matchup to see if anything stands out as improving the matchup. Just keep in mind that the best approach may be somewhere in the middle. Examples of how you might try different strategies could include:
- Try to fully convert on offense every turn and avoid putting cards in arsenal.
- Try to alternate between 3 card hands and 5 card hands on defense.
- Try always blocking on-hits.
- See if you can fatigue the deck by playing extremely defensively.
Often some of these matchups might also loop back and inform which kind of sideboard options you want available to you.
Another thing I like doing, especially for the most highly represented heroes, or particularly problematic ones, is build an ideal 60-card deck to win that matchup. This can help you break away from the core strategy you identified and see what kind of cards you need to fix the matchup. It also lets you make much more drastic changes to how the matchup plays. A big advantage of this approach is it lets you know if it’s possible to win the matchup if you dedicate your whole deck to it. If you devote your whole 60 to winning the Gravy Bones matchup and still can’t seem to get there no matter how many configurations you try, it’s probably time to just accept that it might not be worth sideboarding for Gravy Bones and you should instead be focusing on other matchups. If having a losing matchup to that deck is a deal breaker, then you know you can move on and work on a different deck. Alternatively, if you are successful and make the matchup winnable or even favored, you have a good starting place for how many sideboard slots it might take. This exercise also helps you identify which cards are the most impactful against that hero.
The other advantage to doing this for each of the decks you expect to be most highly represented is that once you have the ideal 60 into each of them, you can then compare each of those configurations. Cards that are played in all matchups are an easy include and generally form the “core” of the deck. From there, I would figure out how many cards in total are needed to encompass all of the ideal configurations. This most likely comes out to more than 80 cards, but it is a great starting point for building a sideboard. During the testing phase I am frequently playing with 85-90 cards until close to the actual event, so that I can gradually evaluate which cards are the most important and what the ultimate 80 card configuration will be. The advantage to taking this approach is that you avoid needing to figure out how to fit cards every single time you want to try a new card in a matchup. I find having the ability to just try cards out and determine if they worthwhile without all the extra legwork to be very liberating. I generally subscribe to the mentality that if the card is a powerful enough sideboard card I can find the space for it later, but the most important part is identifying if it’s a card worth making space for first.
sideboard equipment
Of course, when I mention sideboarding and building the ideal 60 cards for matchups, this encompasses not only main-deck cards but also equipment. In general, equipment tends to be much higher impact per card in matchups than main-deck cards do. Part of this is because the equipment only takes 1 sideboard slot, and part of it is because equipment start in play. If you add 1 defense reaction for Cindra and you are an aggro deck, you may never even draw it by the time the game ends. However, if instead you add a piece of Temper 2 equipment to help you block her Mask of Momentum triggers, you start with that in play. If that equipment replaces Blade Break 1, it should help you block an additional 2 value in addition to on-hits every single game. By comparison, 1 defense reaction might give you 1 more defense than a regular card and only if you draw it. Generally I like looking to equipment first as sideboard options and then main deck cards second.
Blue Tech Cards
Another powerful way to address problems without spending valuable sideboard space is by looking for tech options that can live in the blue base of your main deck. This might have a small cost of reducing your blue quality in some of your matchups, but since blues are primarily resource cards the overall cost of including blue tech cards in your main deck is relatively low. This is especially true if the blue also blocks for 3 as you often use extra blues on defense if you draw too many of them. Good examples of powerful blue tech cards that can be played main deck are: Overcrowded, Warmonger’s Diplomacy, Roiling Fissure, Condemn to Slaughter, Fearless Confrontation, Nasty Surprise or Ripple Away.
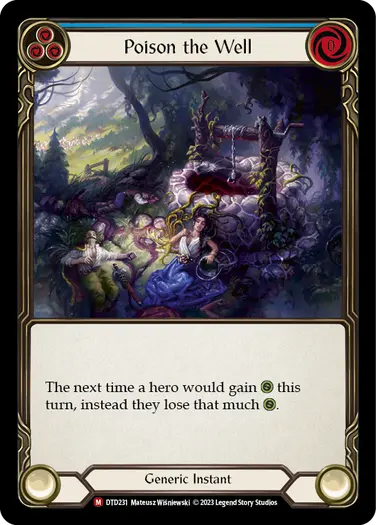
For this reason, with the exception of decks which play a very high number of blues, I generally recommend looking primarily at red sideboard cards. The reasoning for this is that blue 3 defense tech cards are often best just living in the main deck as part of the resource base rather than having entire deck slots dedicated to them. Instead, focus on sideboarding less flexible but highly powerful cards like reds and equipment. However, some blues do have 0 defense which can be included main deck to save space but come at a much steeper cost, so often are worth putting in the sideboard if possible. Examples include Authority of Ataya, Arcane Compliance, Poison the Well, Snag, and Amulet of Echoes.
Building an 80
After figuring out what your ideal configurations into your most important matchups are, I would try to identify cards you can trim in each of these matchups to save deck space. For example, maybe you made the Cindra matchup favorable by adding 12 defense reactions, but maybe after additional testing you realize that the matchup is still quite solid with only 6. The best way to do this is by systematically changing a small number of cards (I usually trim 1 playset at a time) and see how much it swings the matchup. When comparing two potential cards competing for the same slot, I usually like to play one of them and imagine how I’d feel if I drew the other. This can give you a good idea of how much better your replacement tech card is.
Over time your goal is to identify which cards have the largest impact on your win percentage overall, and how many are needed to make the matchup feel solid. This is a function of several factors that need to be considered in tandem. The first is how many matchups the card sees play in. Cards which see play against multiple heroes are more desirable than ones only played for a specific one. The second is how much better than the replacement the card is, or how much it increases your win rate in each matchup it sees play. Sometimes cards that are only for one hero can be good inclusions if they are particularly powerful and have a large effect on win rate for relatively few sideboard slots. The final factor is how frequently you expect to encounter the deck you are teching for. This will be based on the expected metagame, you might get a feel for this by looking at recent tournament results or Pro Quest data. If you are playing at a local Pro Quest, it’s a good idea to try and be in touch with and anticipate your local scene based on what players in the area seem to be playing.
Theoretically, we could calculate the value of each sideboard card as an overall % increase to win rate based on the above factors. For example, if a card is worth 20% against a single hero and that matchup represents 15% of the field, in theory it increases your win rate on average by the product, 20% x 15% = 3% overall increase in win rate. Comparatively, we might consider a card that’s worth 10% win rate into 5 decks, each worth 10% of the field. This card would be worth a 10% x 10% x 5 = 5% overall increase in win rate, indicating it is a stronger sideboard option. In practice, I wouldn’t lean too hard on this calculation, as correctly estimating the increase in win rate of a specific card is nearly impossible to do with reasonable accuracy, and correctly estimating the expected meta share of a deck is also very challenging. However, the reason I mention this calculation is in hopes of it helping you understand how each of these factors relate to win rate and how they affect each other.
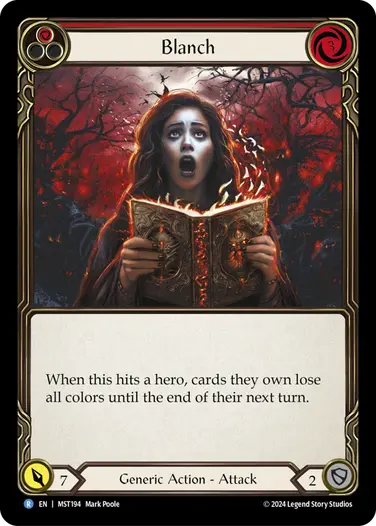
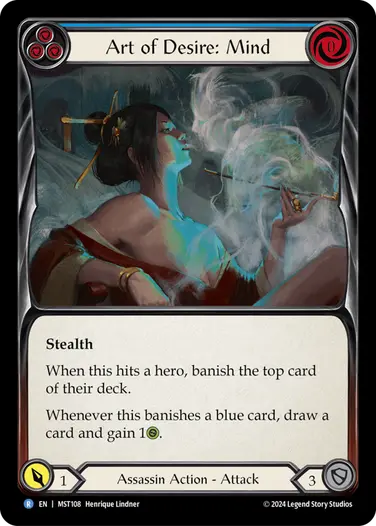
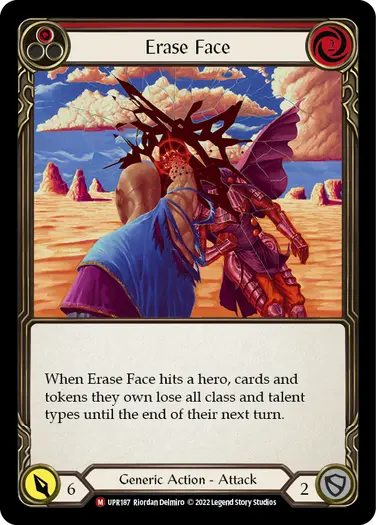
A great way to save space or increase the efficiency of your sideboard cards is by looking for cards which can be played in multiple matchups. Sometimes this might mean not playing the card you have in an ideal 60 for a certain matchup but instead playing a card which is primarily for a different matchup but still has applications here. This card might not be the best option possible, but it might be “good enough” in the matchup. This often can be a more attractive sideboard option as the extra utility of having the card function for multiple matchups is very high. For example, at Pro Tour: Singapore I added Blanch to my Arakni, 5L!p3d 7hRu 7h3 cR4X deck as a slightly less optimal popper than Battlefront Bastion for the Prism matchup, but it had added utility because it was an effective threat against Gravy Bones, as he plays lots of cards that care about color. This sideboard plan into Gravy Bones also necessitated extra sideboard blues which ended up being 3 Art of Desire: Mind, which not only let me resolve Blanch and Command and Conquer more consistently into Gravy Bones, but also let me sideboard in a powerful blue Just a Nick target against Verdance and Florian. Individually, I don’t think 3 Blanch and 3 blues into Gravy Bones, or 3 Art of Desire: Mind into Verdance and Florian are worth the sideboard slots. However, because of the high amount of overlap across multiple matchups I expected to face, the 6-card sideboard package ended up being very high impact and a good use of deck space. Another example might be that your ideal 60 to beat Cindra includes Crush the Weak, however there currently aren’t many other matchups Crush the Weak is applicable to. So, instead we might play Erase Face as a tech option for Cindra that is also good into Dash I/O if that is a matchup we also need help into.
As I continue through the testing process, the number of cards I’m playing in my deck shrinks over time, but I frequently play with 83-85 cards until a week or two before the event. Once its finally time for the event, I like to lay out my 60-card deck for each of my matchups and ensure I have enough cards that I’m happy to play for all of them. Additionally, when I do this, I like to put the cards that I’m not playing in the matchup beside the 60 cards I am playing. The reason for this is sometimes you might notice that you have some extra cards in your sideboard that you would be happy to play in this matchup even if they don’t make the planned 60. In this case you might be over-teched for the matchup and I might consider how my win rate is impacted if I cut some of the sideboard cards for the matchup and play other options available to me in my 80 instead. This can be a great way to help find some of the last cuts you need to make. While going through this process, it should encompass not only the matchups you built ideal 60s into, but also all the other decks in the format. It’s important to make sure you have a reasonable 60 not only into the top decks but also into the whole field.
Often, making the final cuts can be quite challenging and may come with significant trade-offs. For example, you may choose to be able to play either cards for Florian or cards for Cindra, but not both. In these cases, I like to think about how impactful the remaining cards are, and which matchups I want the win percentage into. This might be based on expected representation or how the matchup feels with and without tech. Often we like to focus on shoring up a bad matchup, but don’t underrate the value of making a solid matchup into a favored one. Remember, your goal is to increase your overall win rate into the expected field as much as possible, which is not always the same as improving your worst matchups as much as possible. It’s generally correct to focus on some matchups at the expense of others if you have not found ways to tech for them that feel sufficiently impactful it can be worth letting those sideboard cards go.
As I move through the process of building the final 80 for a tournament, I ideally also go back and double check that my most important matchups still feel solid. However, so long as my testing process has been thorough, this generally doesn’t need much verification outside of one or two key matchups. It’s also important to note that I’ll often go through this process for each tournament, even if they are relatively close together. While the metagame at my recent National Championship is probably close to what I’d expect at a Calling two weeks later, it’s possible that there have been some shifts. Additionally, it’s possible that after my experience of playing Nationals, I might have learned some things about certain cards or matchups that change my card evaluation. For this reason, I would recommend going through the process of considering your sideboard into your matchups again for each major tournament. The good news is, any tweaks you will be making are probably relatively small, and because you should be quite intimately familiar with the decklist at this point, you will probably find the process to be much faster the second time around.
Understanding core vs sideboard
You may have noticed that in all this discussion I may use the words “core” and “sideboard” occasionally, but in the process, there is a much larger focus on 60-card and 80-card decks and very little mention of how to find the “core” of your deck. This is because I view my deck less as a main deck and a sideboard, and instead more as a collection of 80 cards which allows me to play a bunch of different 60-card decks into each matchup. When I create decklists and guides which designate “core” cards and “sideboard” cards, this is always the very last thing I do after I have fully constructed both the 80 and all its 60-card configurations. The “core” is simply the cards that are played in all matchups, or sometimes all but one matchup, whereas the sideboard is the cards that move in and out of my 60 depending on the matchup. For me, arriving at a “core” and a “sideboard” is something that happens organically from the process of building many 60-card decks out of the same 80-card pool. I think the concepts of “core” and “sideboard” are very powerful for explaining how to sideboard a deck you’ve built to others, but don’t actually inform how I build decks at all.
This might sound surprising, but I don’t find the idea of finding a “core” to be very important or helpful to the deckbuilding process as I find the distinction between “core” and “sideboard” quite arbitrary. I care more about which cards should be played in what matchup than what cards are “core” or not. Another reason I dislike this framework, is that I have often seen people not want to consider cutting cards they think are part of the “core” even if it could improve the matchup. I think it can be very limiting to convince yourself that cards can’t be removed from the deck even if they are powerful. A great example of this is that some very strong players actually liked sideboarding out Rain Razors in the Lexi mirror, despite it being a powerful card that saw play in every other matchup. The reasoning for this was that they prioritized defending on-hits and being able to play small hands, and Rain Razors doesn’t let you do either of these very well. However, this can be a nearly impossible sideboarding decision to reach if you have arbitrarily convinced yourself that Rain Razors is part of your “core” and in some sense too “sacred” to be cut from the deck.

Refining the process
In the same way that building a particular deck is something you keep working on, refining, and improving, the actual process that you use for deckbuilding is something that can be worked on over time too. From the time I have started playing Flesh and Blood until now, many concepts I use for deckbuilding have remained the same, but many parts of the process have also been refined and improved over time. My hopes are that in sharing my process with you, you may be able to try parts of the process and explore new ways to build decks for yourself. Deckbuilding is easily one of my favorite ways of engaging with Flesh and Blood and I hope this article can help share some of that passion and joy with you.