Irish player, video maker and editor Ciaran Harrigan, a.k.a. The Ragamuffin Man, brings a wide variety of content and a vibrant head of hair to YouTube, sharing his enthusiasm for Flesh and Blood with a global audience. We're pleased to welcome him as our third guest writer for the Skirmish season, showing you how to roll your way to victory with Kayo, Berserker Runt!
Skirmish Season 5 is underway and you know what that means? It’s time to return to the fast paced action of the Blitz format! One of my favorite parts about Skirmish is that I can use it as an excuse to try out some new heroes, and this season I’ll be embracing the unpredictability of our Berserker Runt, Kayo!
Luckily, my local playgroup is keen on trying new heroes, and so I have run into Kayo in the past. His ability to double or half the base power of large attacks always feels brutishly wild. Any attack by Kayo can be easily prevented if the runt of the litter misses the mark, or can leave you clamoring for the last shred of defense when the Berserker inevitably hits their target.
So let’s dive into a Kayo build and see if we can roll our way to victory!
First, let's understand Kayo and see what his ability allows us to do. When we attack with a base power of 6 or higher we roll a 6-sided die. 1-4 means we half the base power, and 5-6 means we double it. Essentially, we have a one-third chance of doubling our attack and a two-thirds chance of cutting it in half. Those odds don’t stack in our favor, but by applying the correct buffs, we can ensure that bad rolls are only slightly affected, and successful rolls are devastating and can win games from out of nowhere!
A solid build starts with solid equipment, and so we’ll be including two Mandible Claws. These are unaffected by Kayo’s ability, and so can serve as a nice reliable way to use up any remaining resources we find ourselves with at the end of our turn.
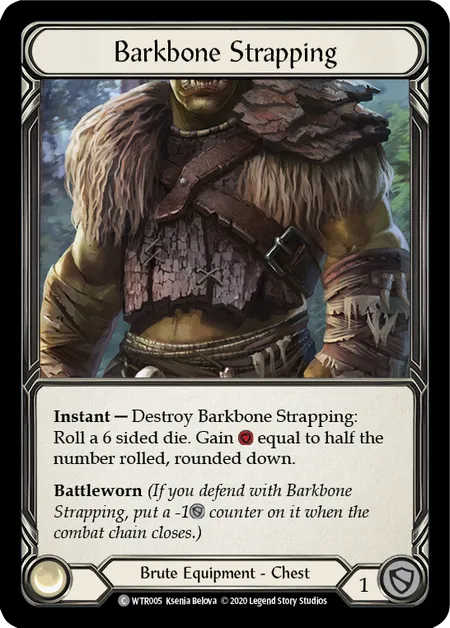
Barkbone Strapping
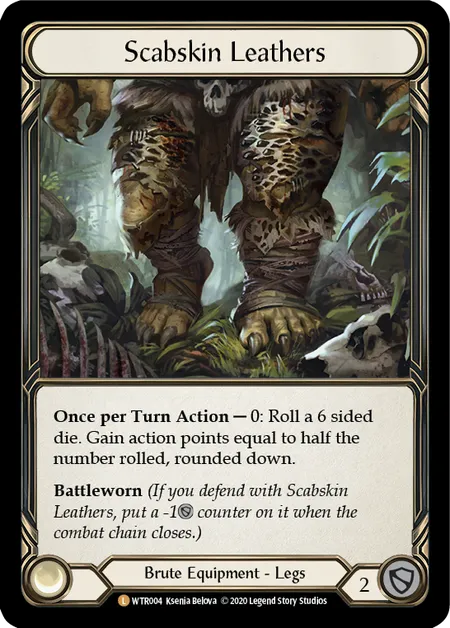
Scabskin Leathers
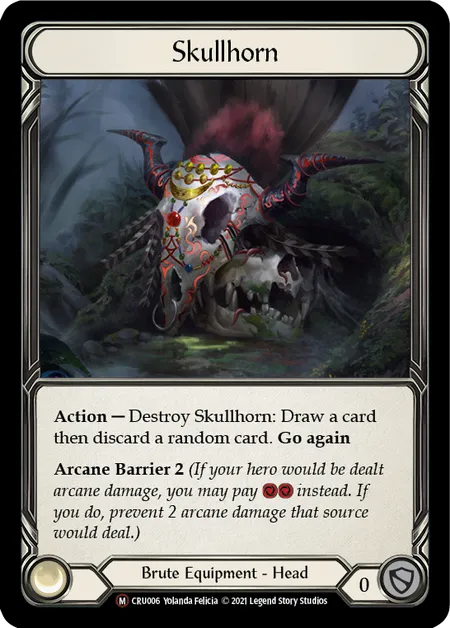
Skullhorn
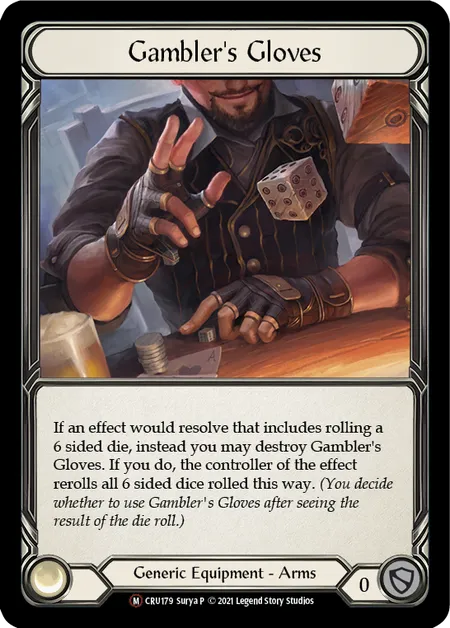
Gambler's Gloves
Cards like Barkbone Strapping and Scabskin Leathers allow us to roll dice to create resources and action points if needed. Skullhorn provides us a nice ability to discard cards to power up other cards, or just to fix a poor hand. But, you know what they say, winners make their own luck, and Gamblers Gloves allows us to turn the tide in our favor! Paired with the Kayo specialization Ready to Roll, we get plenty of opportunities to find the rolls we need to increase our power!
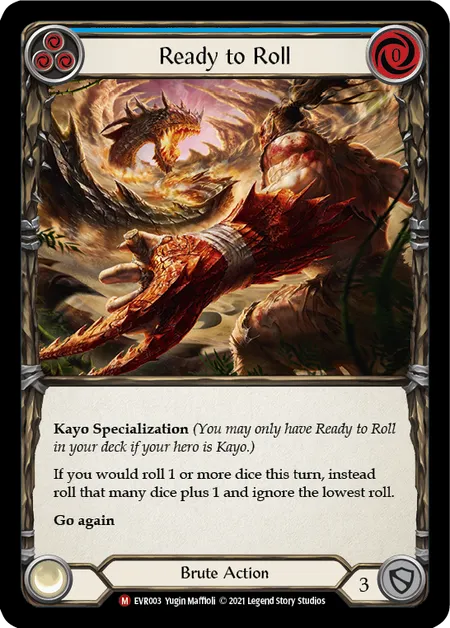
Ready to Roll
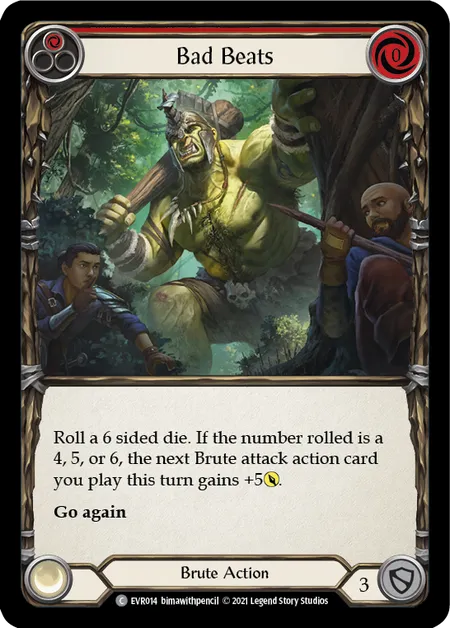
Bad Beats
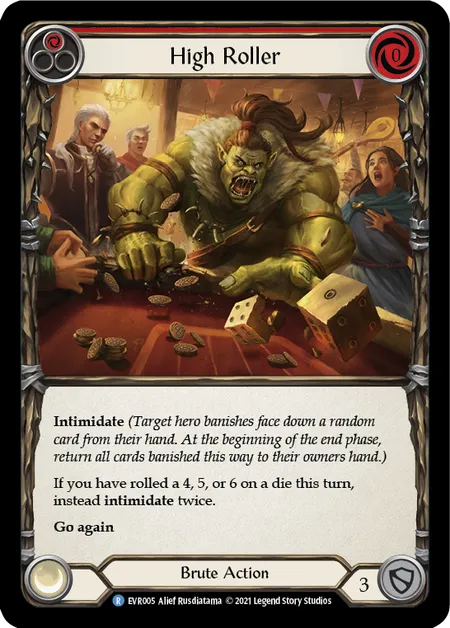
High Roller
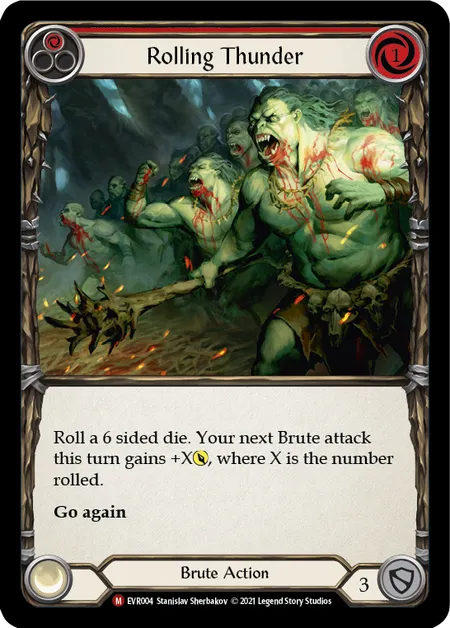
Rolling Thunder
Personally, I like going all in on a strategy. If I’m rolling dice for Kayo, then I want to roll as many math rocks as I can! Bad Beats gives us a 50% chance of giving our next Brute attack +5, whereas High Roller lets us pretend to be our big brother Rhinar and intimidate our opponents. Finally, rounding out our dice rolling shenanigans, Rolling Thunder adds +X power, where X is a roll of the dice. One key strategy here is to arsenal these cards if you can, until you draw Ready to Roll. Dice rolls will always be unpredictable. However, allowing yourself two dice instead of one will only increase your chances of getting the high rolls that you need!
One thing to remember when deckbuilding is to always check which generics can synergize with your class cards. Just because a card isn’t specifically for your class doesn't mean it won’t have excellent synergy within your deck and further your game plan. Whilst our buffs mainly only affect brute attacks, I have also included two copies of red Cadaverous Contraband. This attack presents 6 damage, and so will still allow us to potentially double this with Kayo. However, on hit, this will allow us to recycle our specialization from the graveyard and play it again on our next turn!
Another good example of generic cards that can help smooth out our deck is Talisman of Recompense. I’ve personally included this card in quite a few of my builds because of its amazing ability to generate 3 resources when pitching a red. Sometimes I tend to include a little more reds than I maybe should, and Talisman of Recompense allows me to pay for an all-red hand if the need arises.
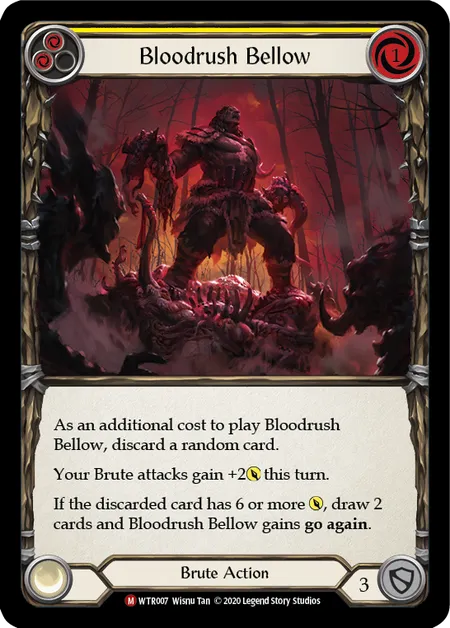
Bloodrush Bellow
Now onto the key power plays of this deck. As someone who has played against Brutes a lot in my local game store, I can only attempt to convey the sense of impending doom I feel when my opponent plays a Bloodrush Bellow. Successfully discarding a 6 power attack (of which all our attacks meet this criteria), we buff all brute attacks by 2, and draw 2 cards. From here, we should have enough resources to play all our buffs, or swing with both Mandible Claws for 5 damage each with Go Again. Needless to say, a successful Bloodrush Bellow can turn a powerful turn into a devastating one, leaving your opponent no choice but to block with every card they have, or take a serious amount of damage.
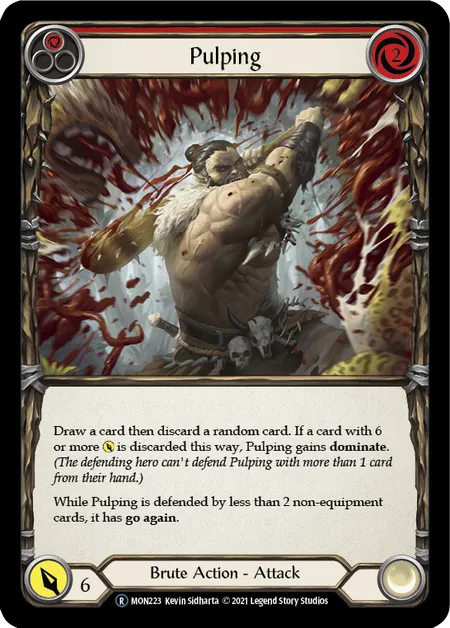
Pulping
Throughout my testing of this deck, each attack feels good to swing at my opponent with. A buff of between 3 and 6 damage isn’t uncommon, meaning a 6 power attack with a bad Kayo roll still comes in for up to 9 damage. However, a successful Kayo roll, doubling the base attack to 12, can total up to 18 damage in a single swing! My favorite attack in the deck though, is red Pulping. Whilst it can potentially achieve the aforementioned 15-18 damage output, it's the card's ability to give itself dominate and go again that can really win almost any game from out of nowhere. Upon playing Pulping we draw a card, and discard a random card. If we manage to discard a card with 6 power or higher (remember, all of our attack action cards meet these criteria), then Pulping gains Dominate. If the card is defended by less than two non-equipment cards it gains Go Again, a feat that is made more difficult by the newly acquired Dominate. A potential 15-18 damage dominated attack with Go Again is never to be taken lightly in the Blitz format, and with Kayo’s dice rolling frivolities, it can be achieved much easier than we would expect.
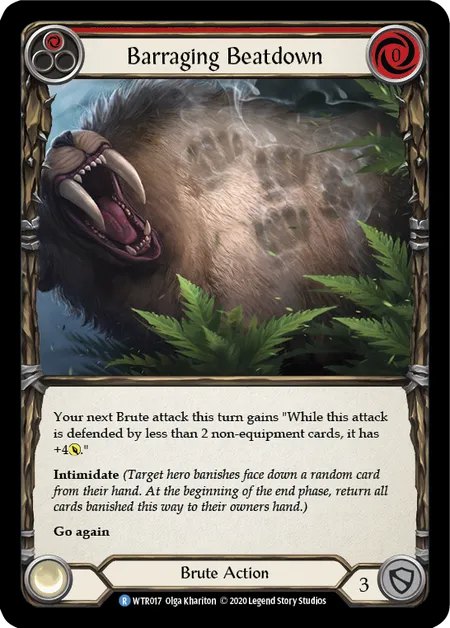
Barraging Beatdown
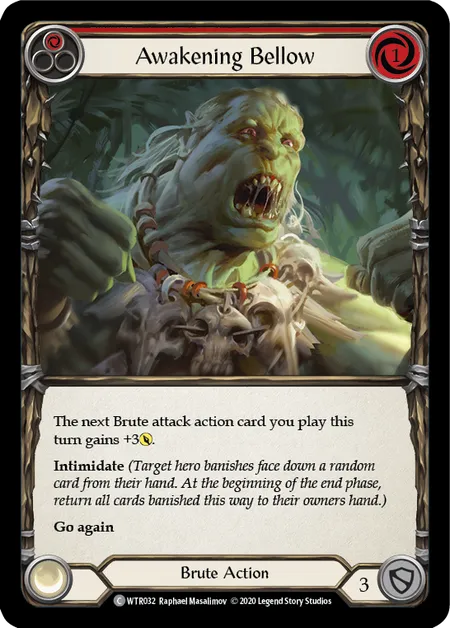
Awakening Bellow
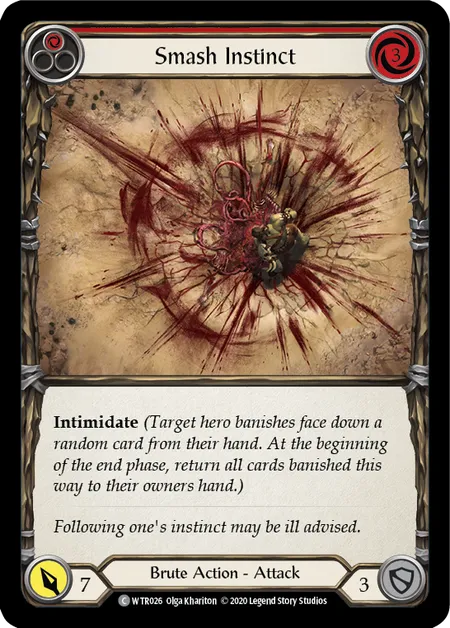
Smash Instinct
One final threat that we can present to our opponent is Intimidate. Whilst doubling our base attack can be devastating in and of itself, taking cards away from our opponent's hand to defend with can be a knockout 1-2 punch! This proves that Rhinar isn’t the only Brute who can intimidate the competition! With cards such as Barraging Beatdown, Awakening Bellow, and Smash Instinct, we can thin our opponent's hand before going in for the kill!
For a full card-by-card rundown of this deck, be sure to check out my YouTube video where I detail the reasons behind each individual card selection, as well as going even further into some key Kayo plays!
In summary, Kayo is a hero that I feel embodies the very spirit of Skirmish. A wildly fun and unpredictable series of events that can provide unique challenges and a blank canvas to try something new and unexpected. So perhaps take a chance and embrace the chaos of the Berserker Runt this Skirmish Season. Who knows? Victory may only be a dice roll away!
Ciaran Harrigan is a competitive Flesh and Blood player and author of content relating to gameplay and strategy. The opinions expressed in the above article are his own and do not necessarily reflect the views of Legend Story Studios.